

Week 9 - Purfling
November 1 - 8

I spent one more day practicing making the channel for the purfling on a practice piece of wood. It felt like I was starting to get the hang of it but I wanted to do a bit more experimenting before tackling the real thing.
When I took the plunge, I went very slowly.
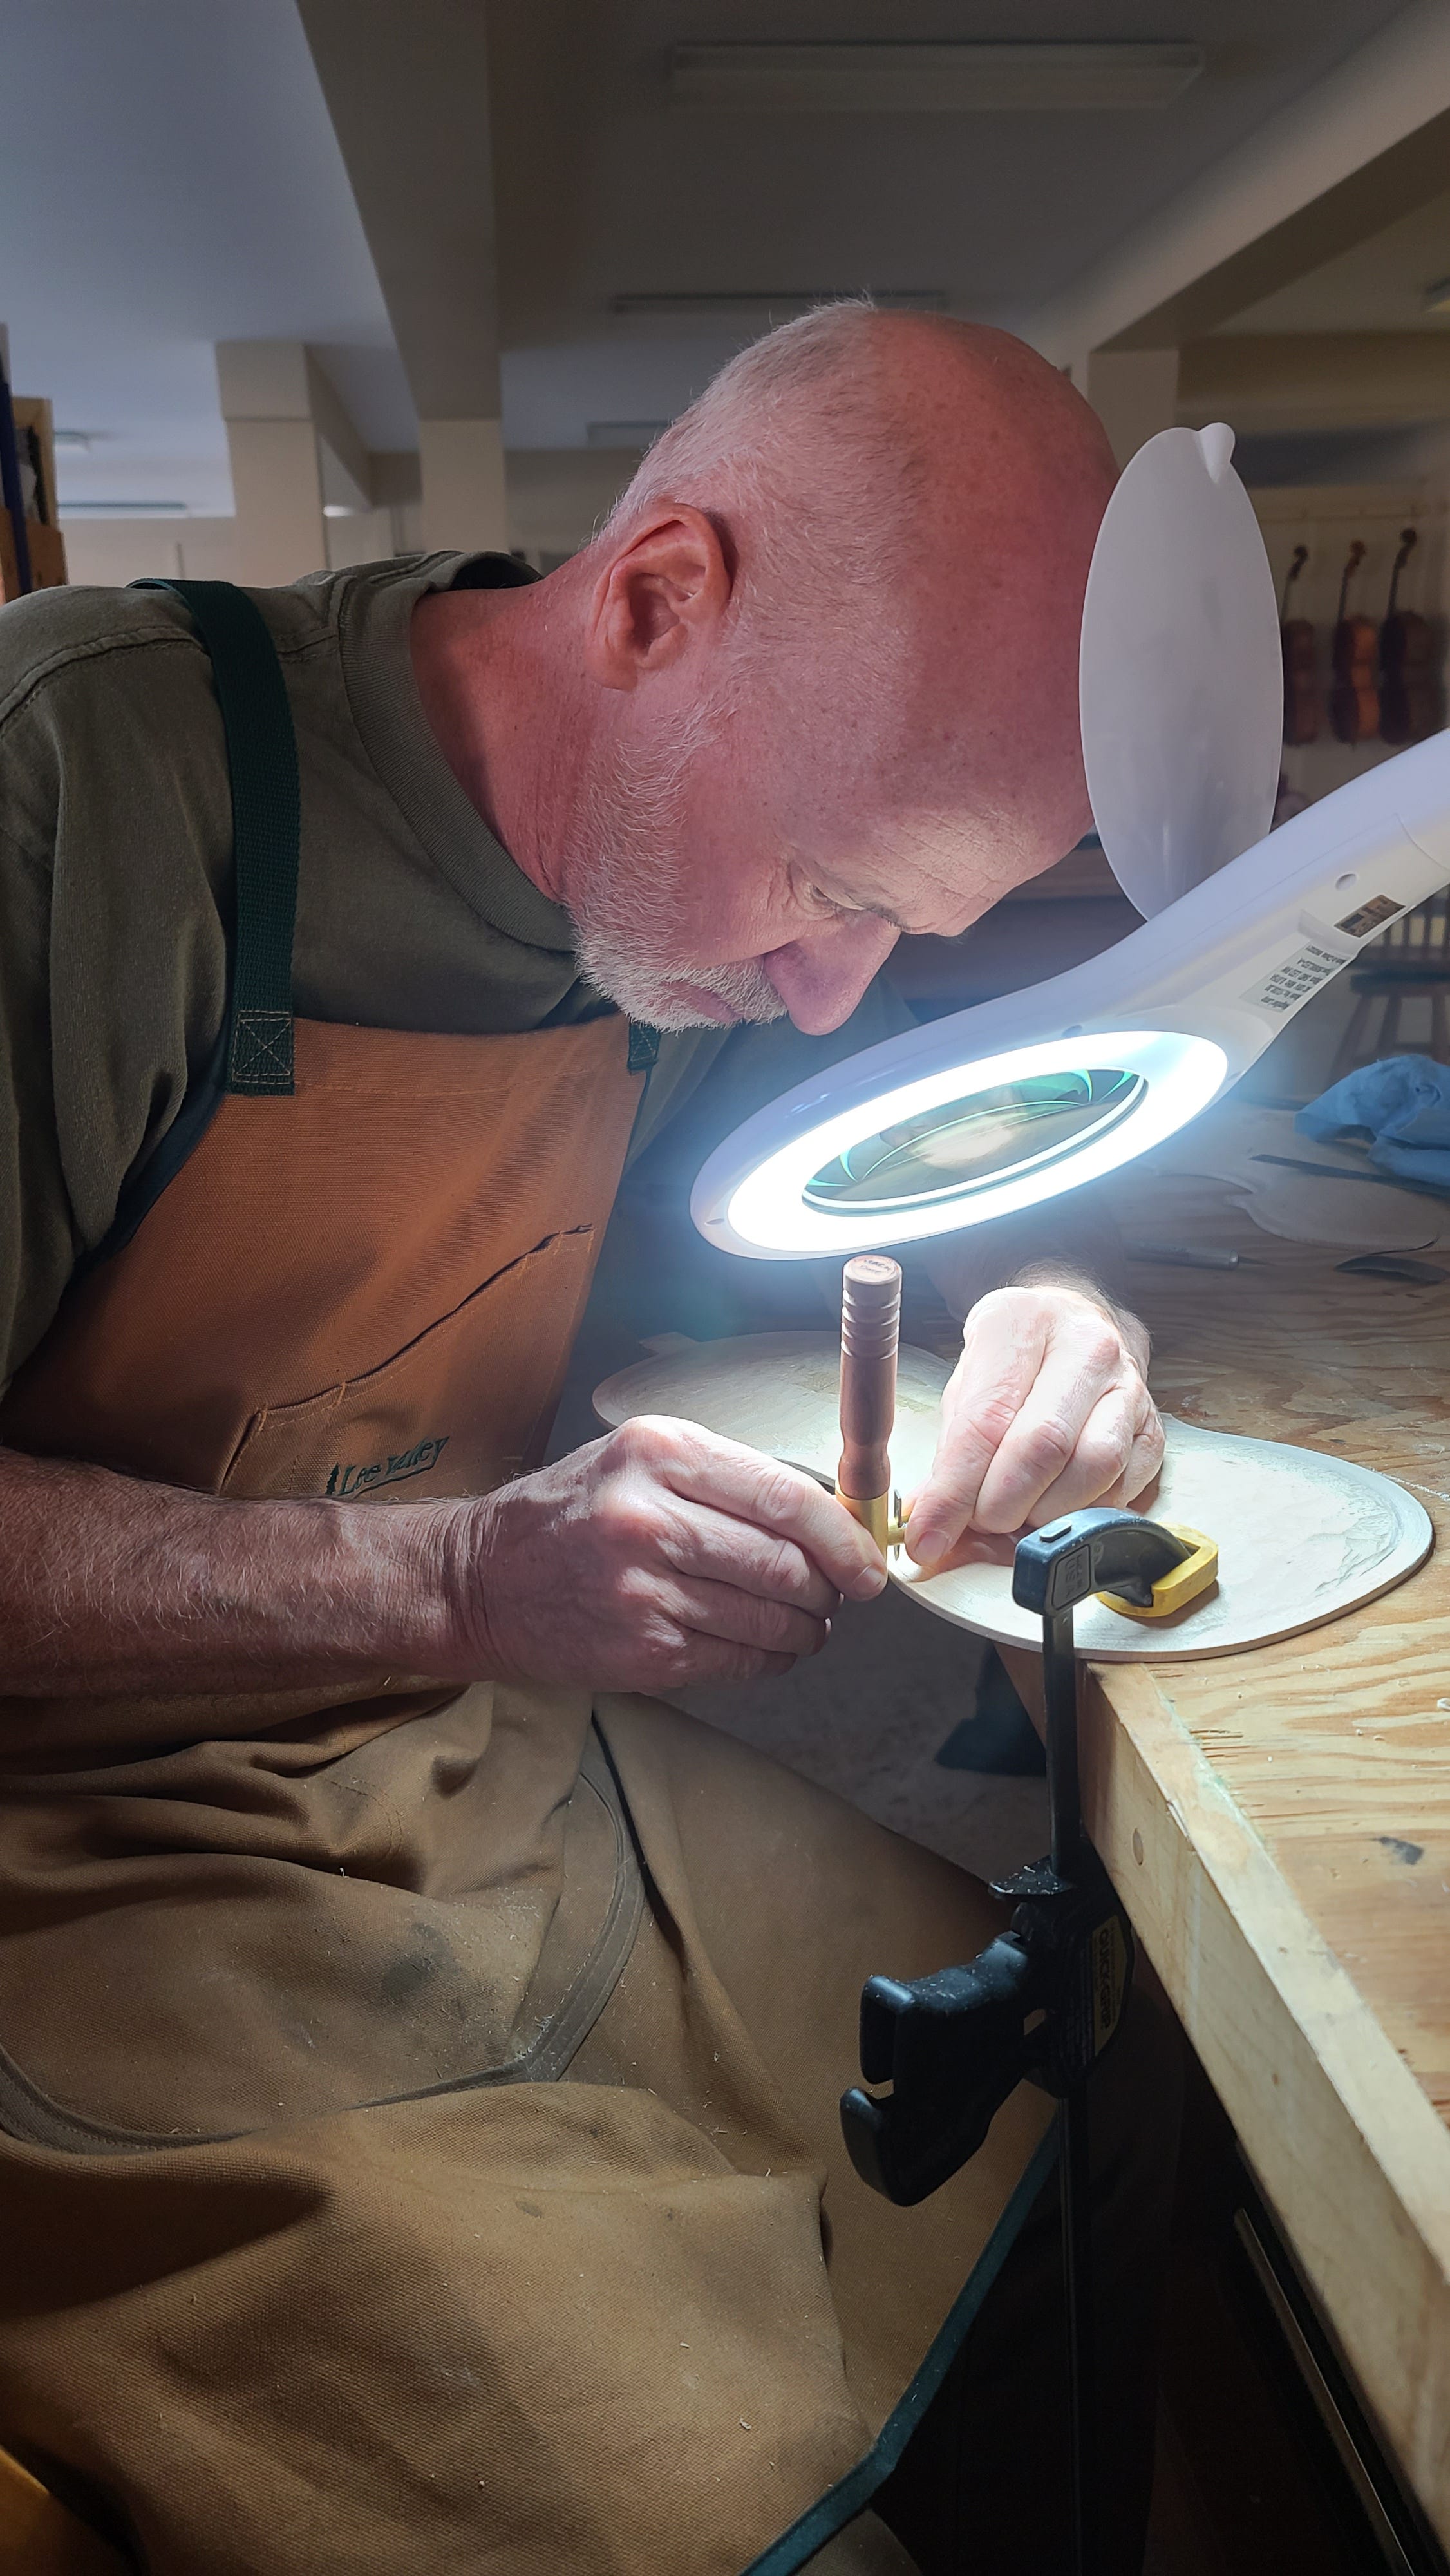
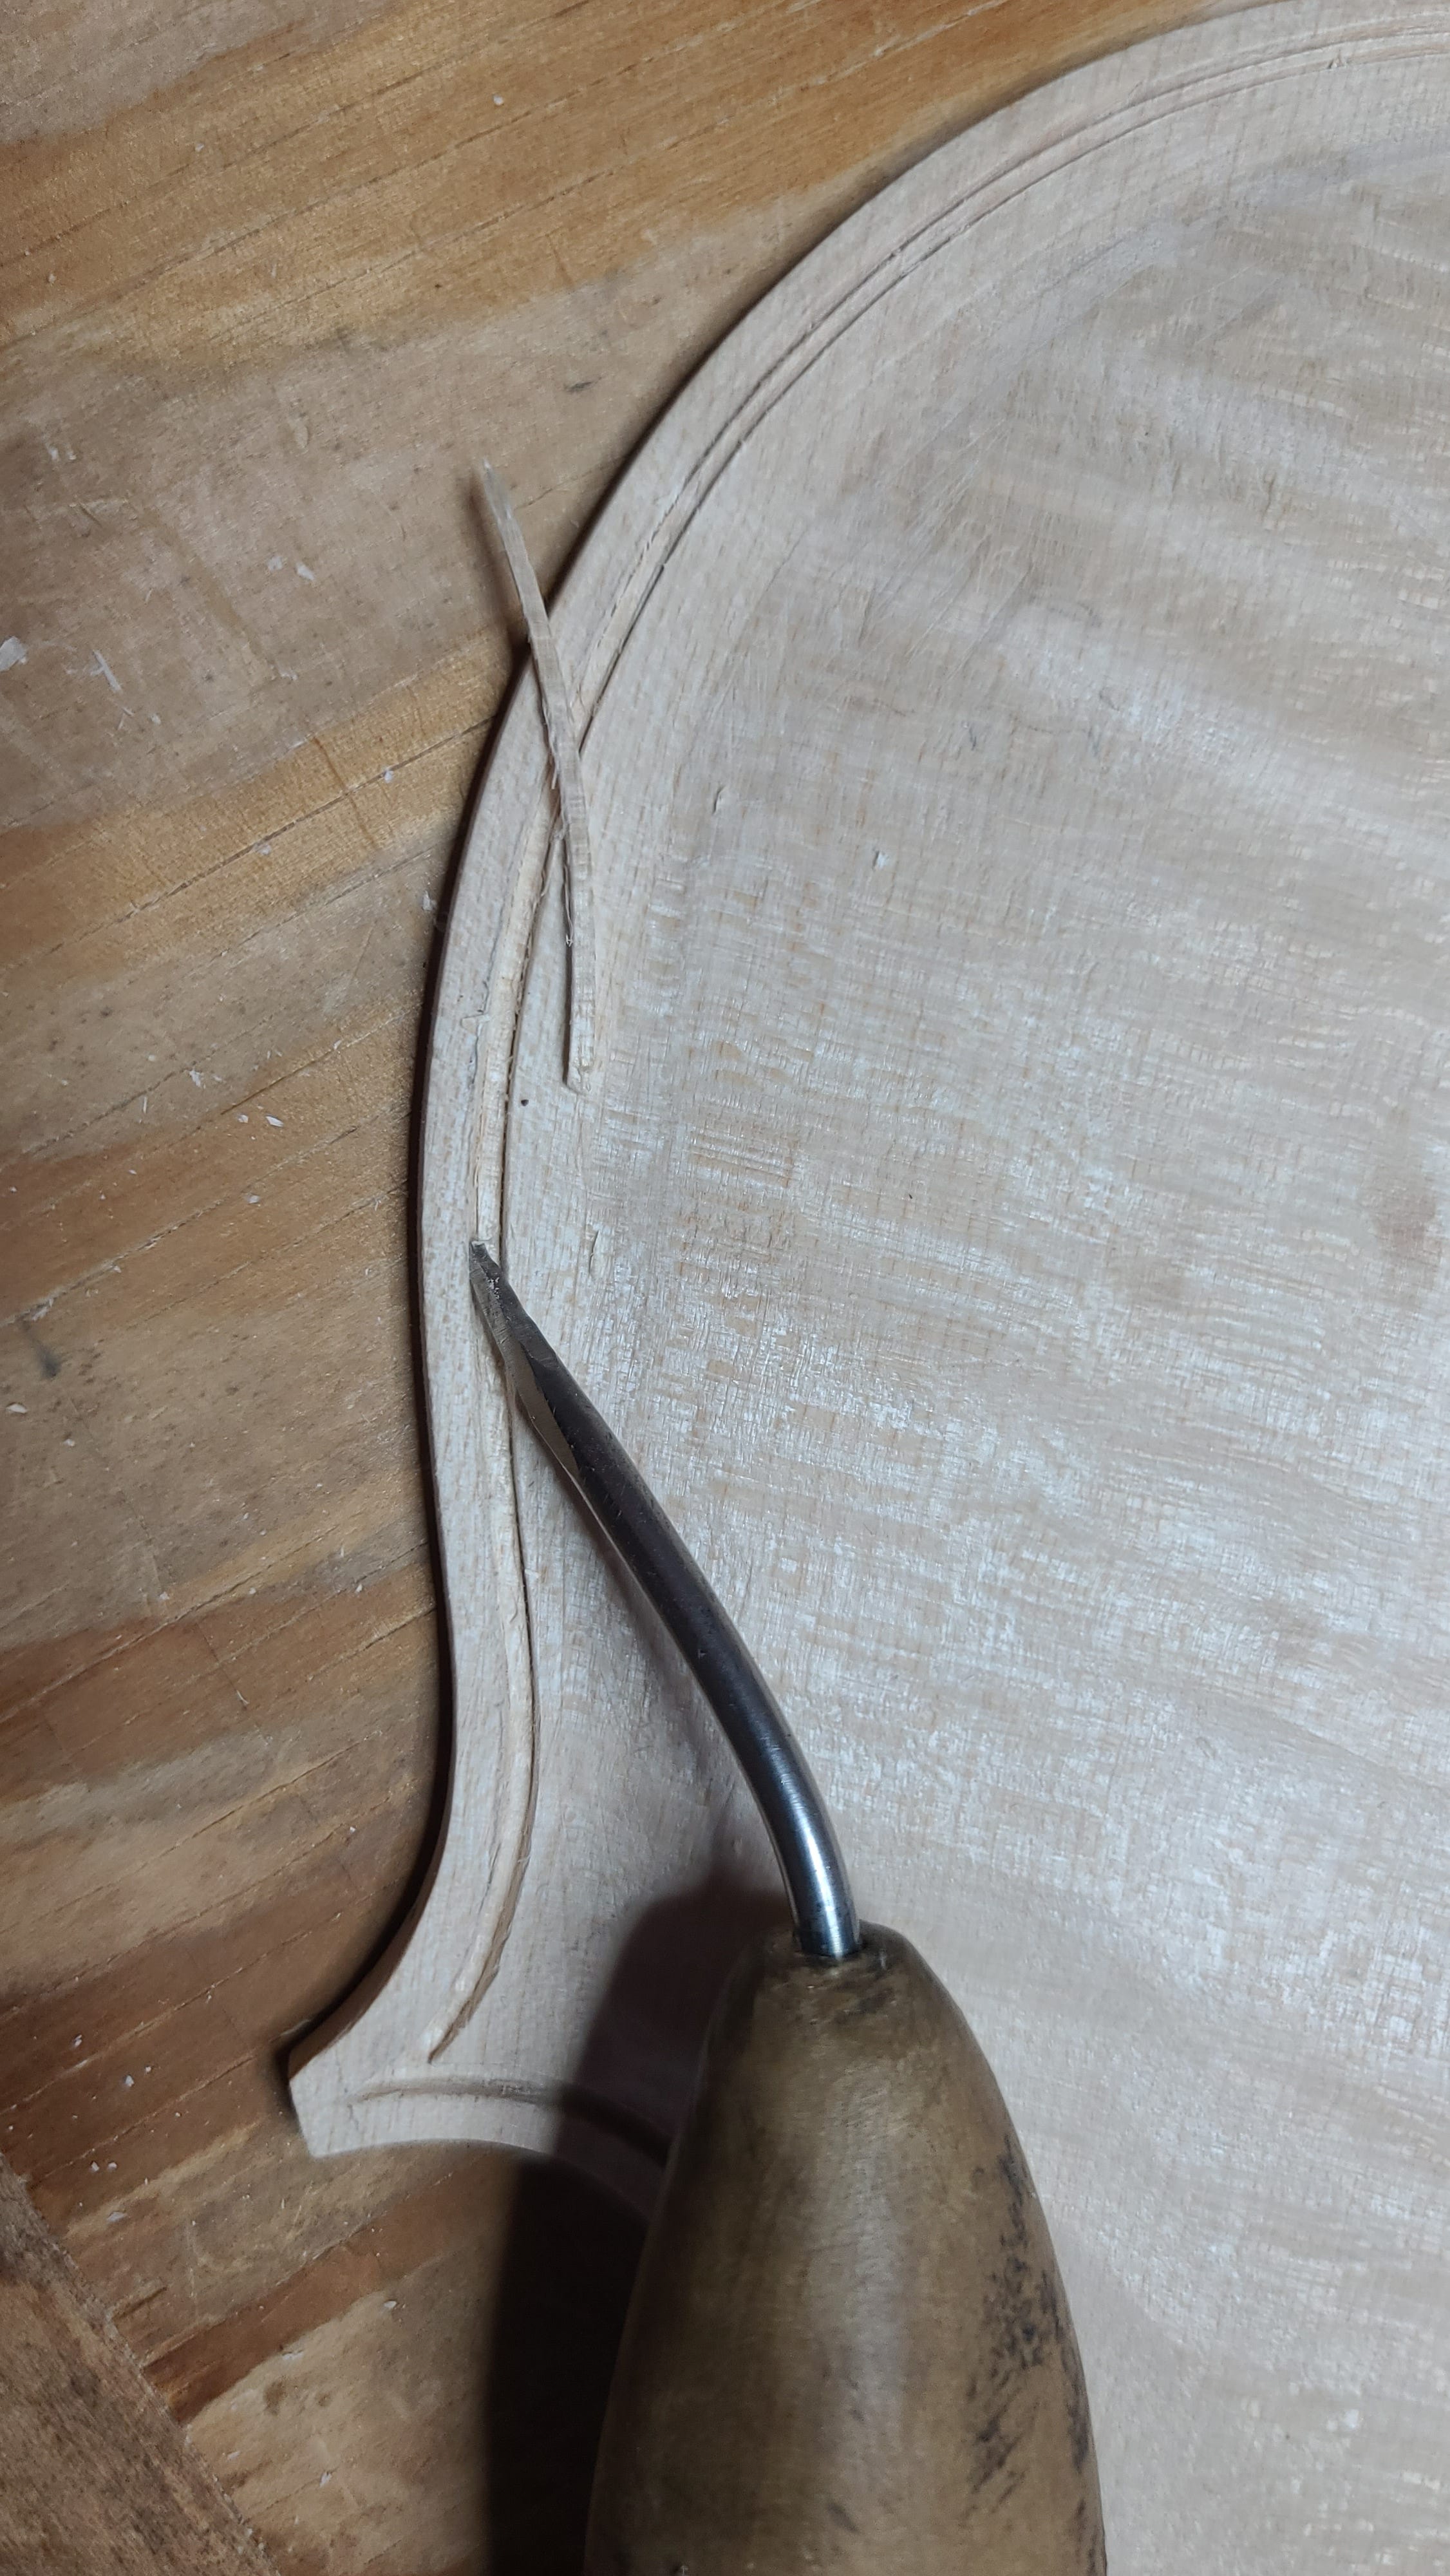
Above, I’m starting with a very light scribe with the cutter set at 3mm from the edge. I just got a new light with a magnifier that has been very useful for this job.
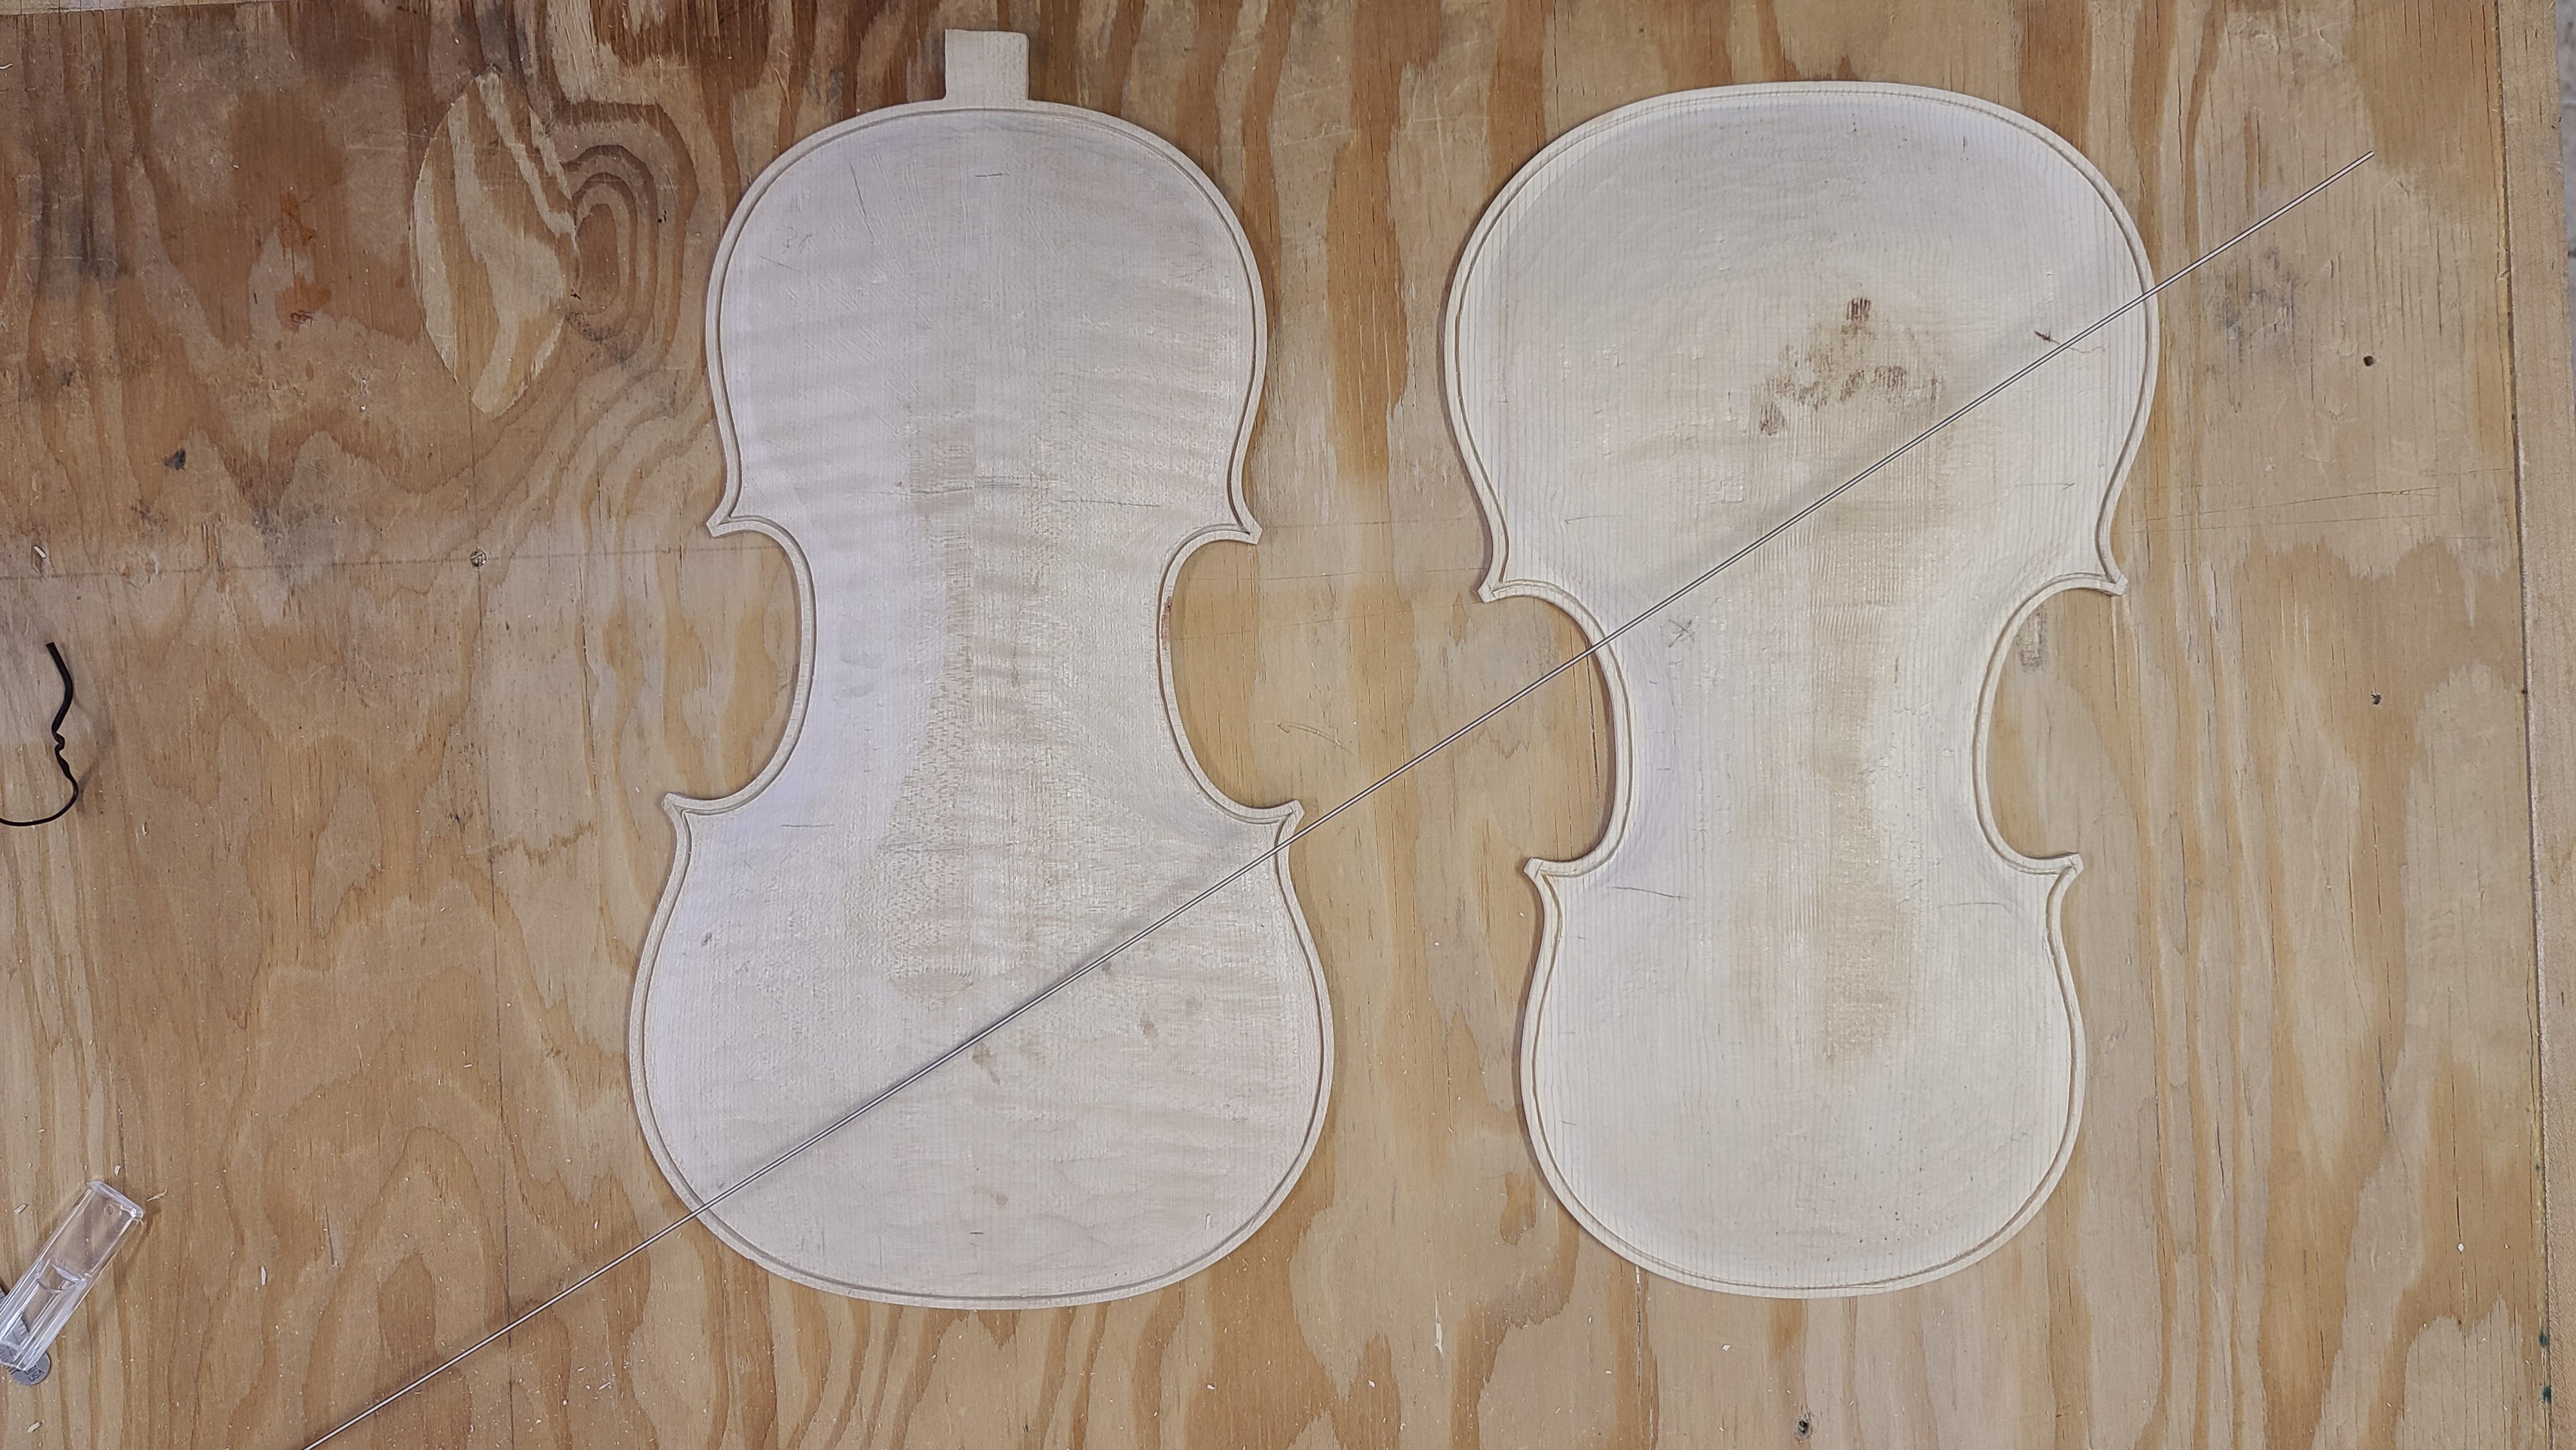
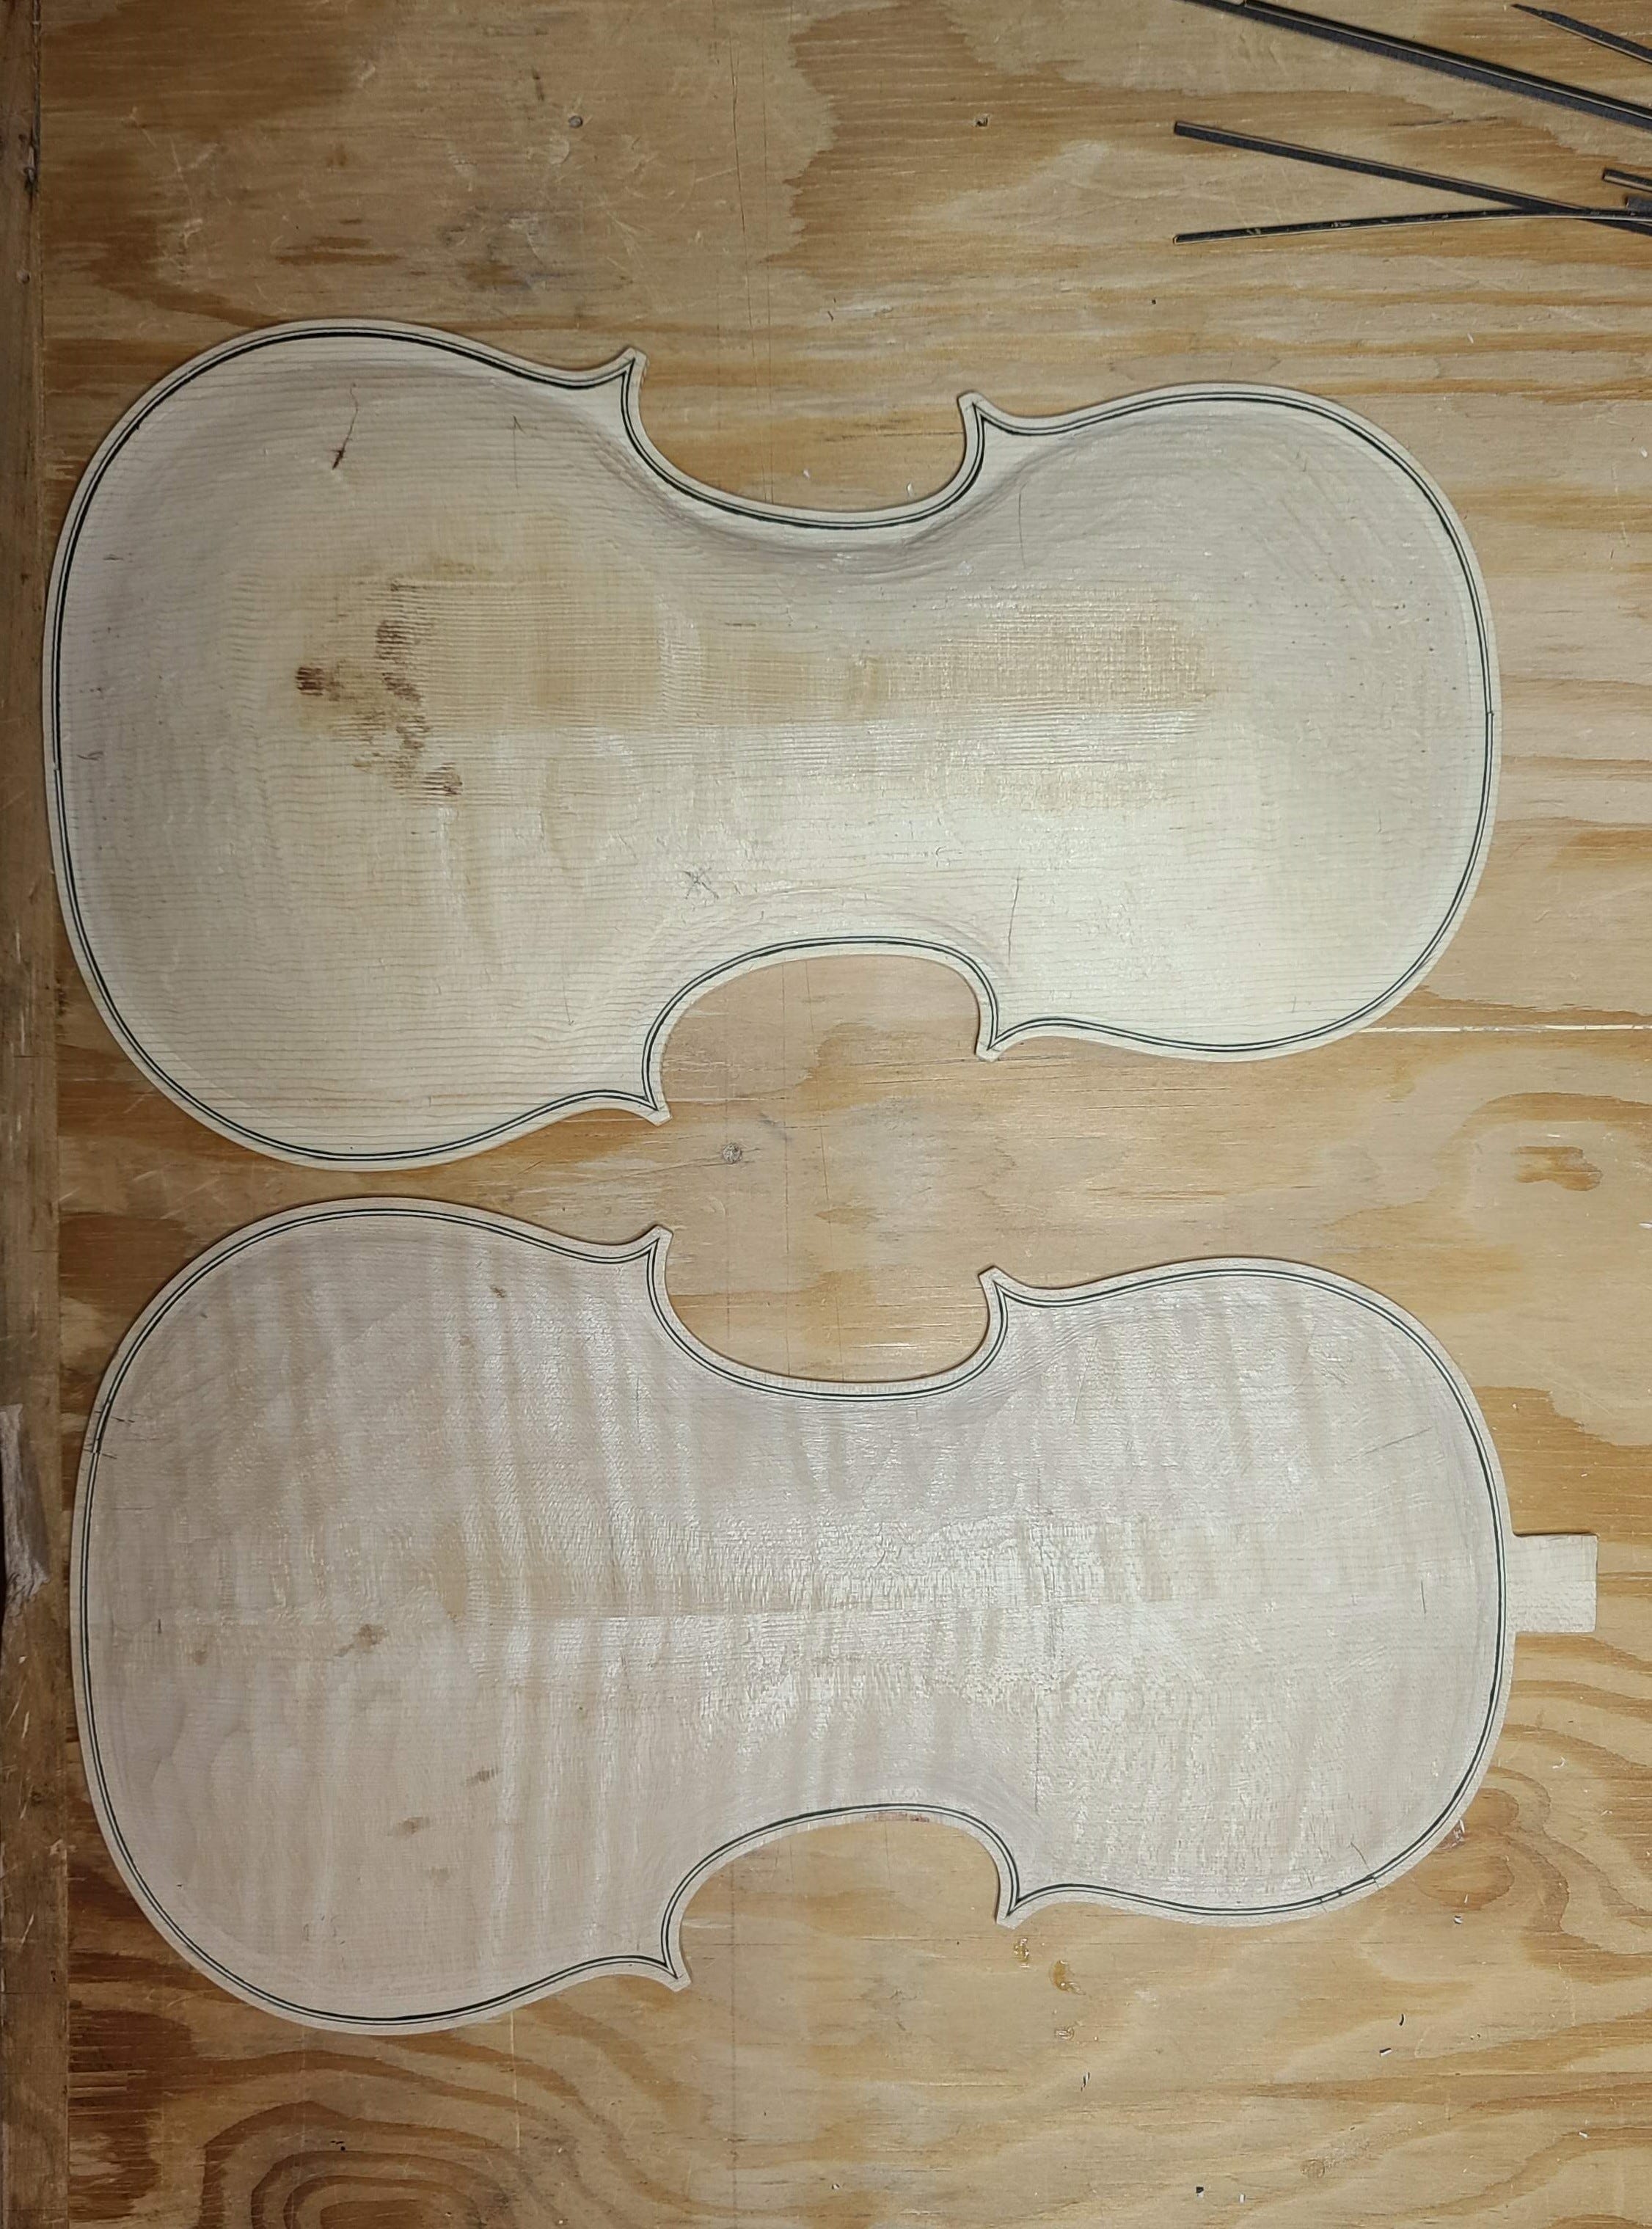
I started with the back where the hard maple carves more easily than the softer spruce of the front. It went pretty well.
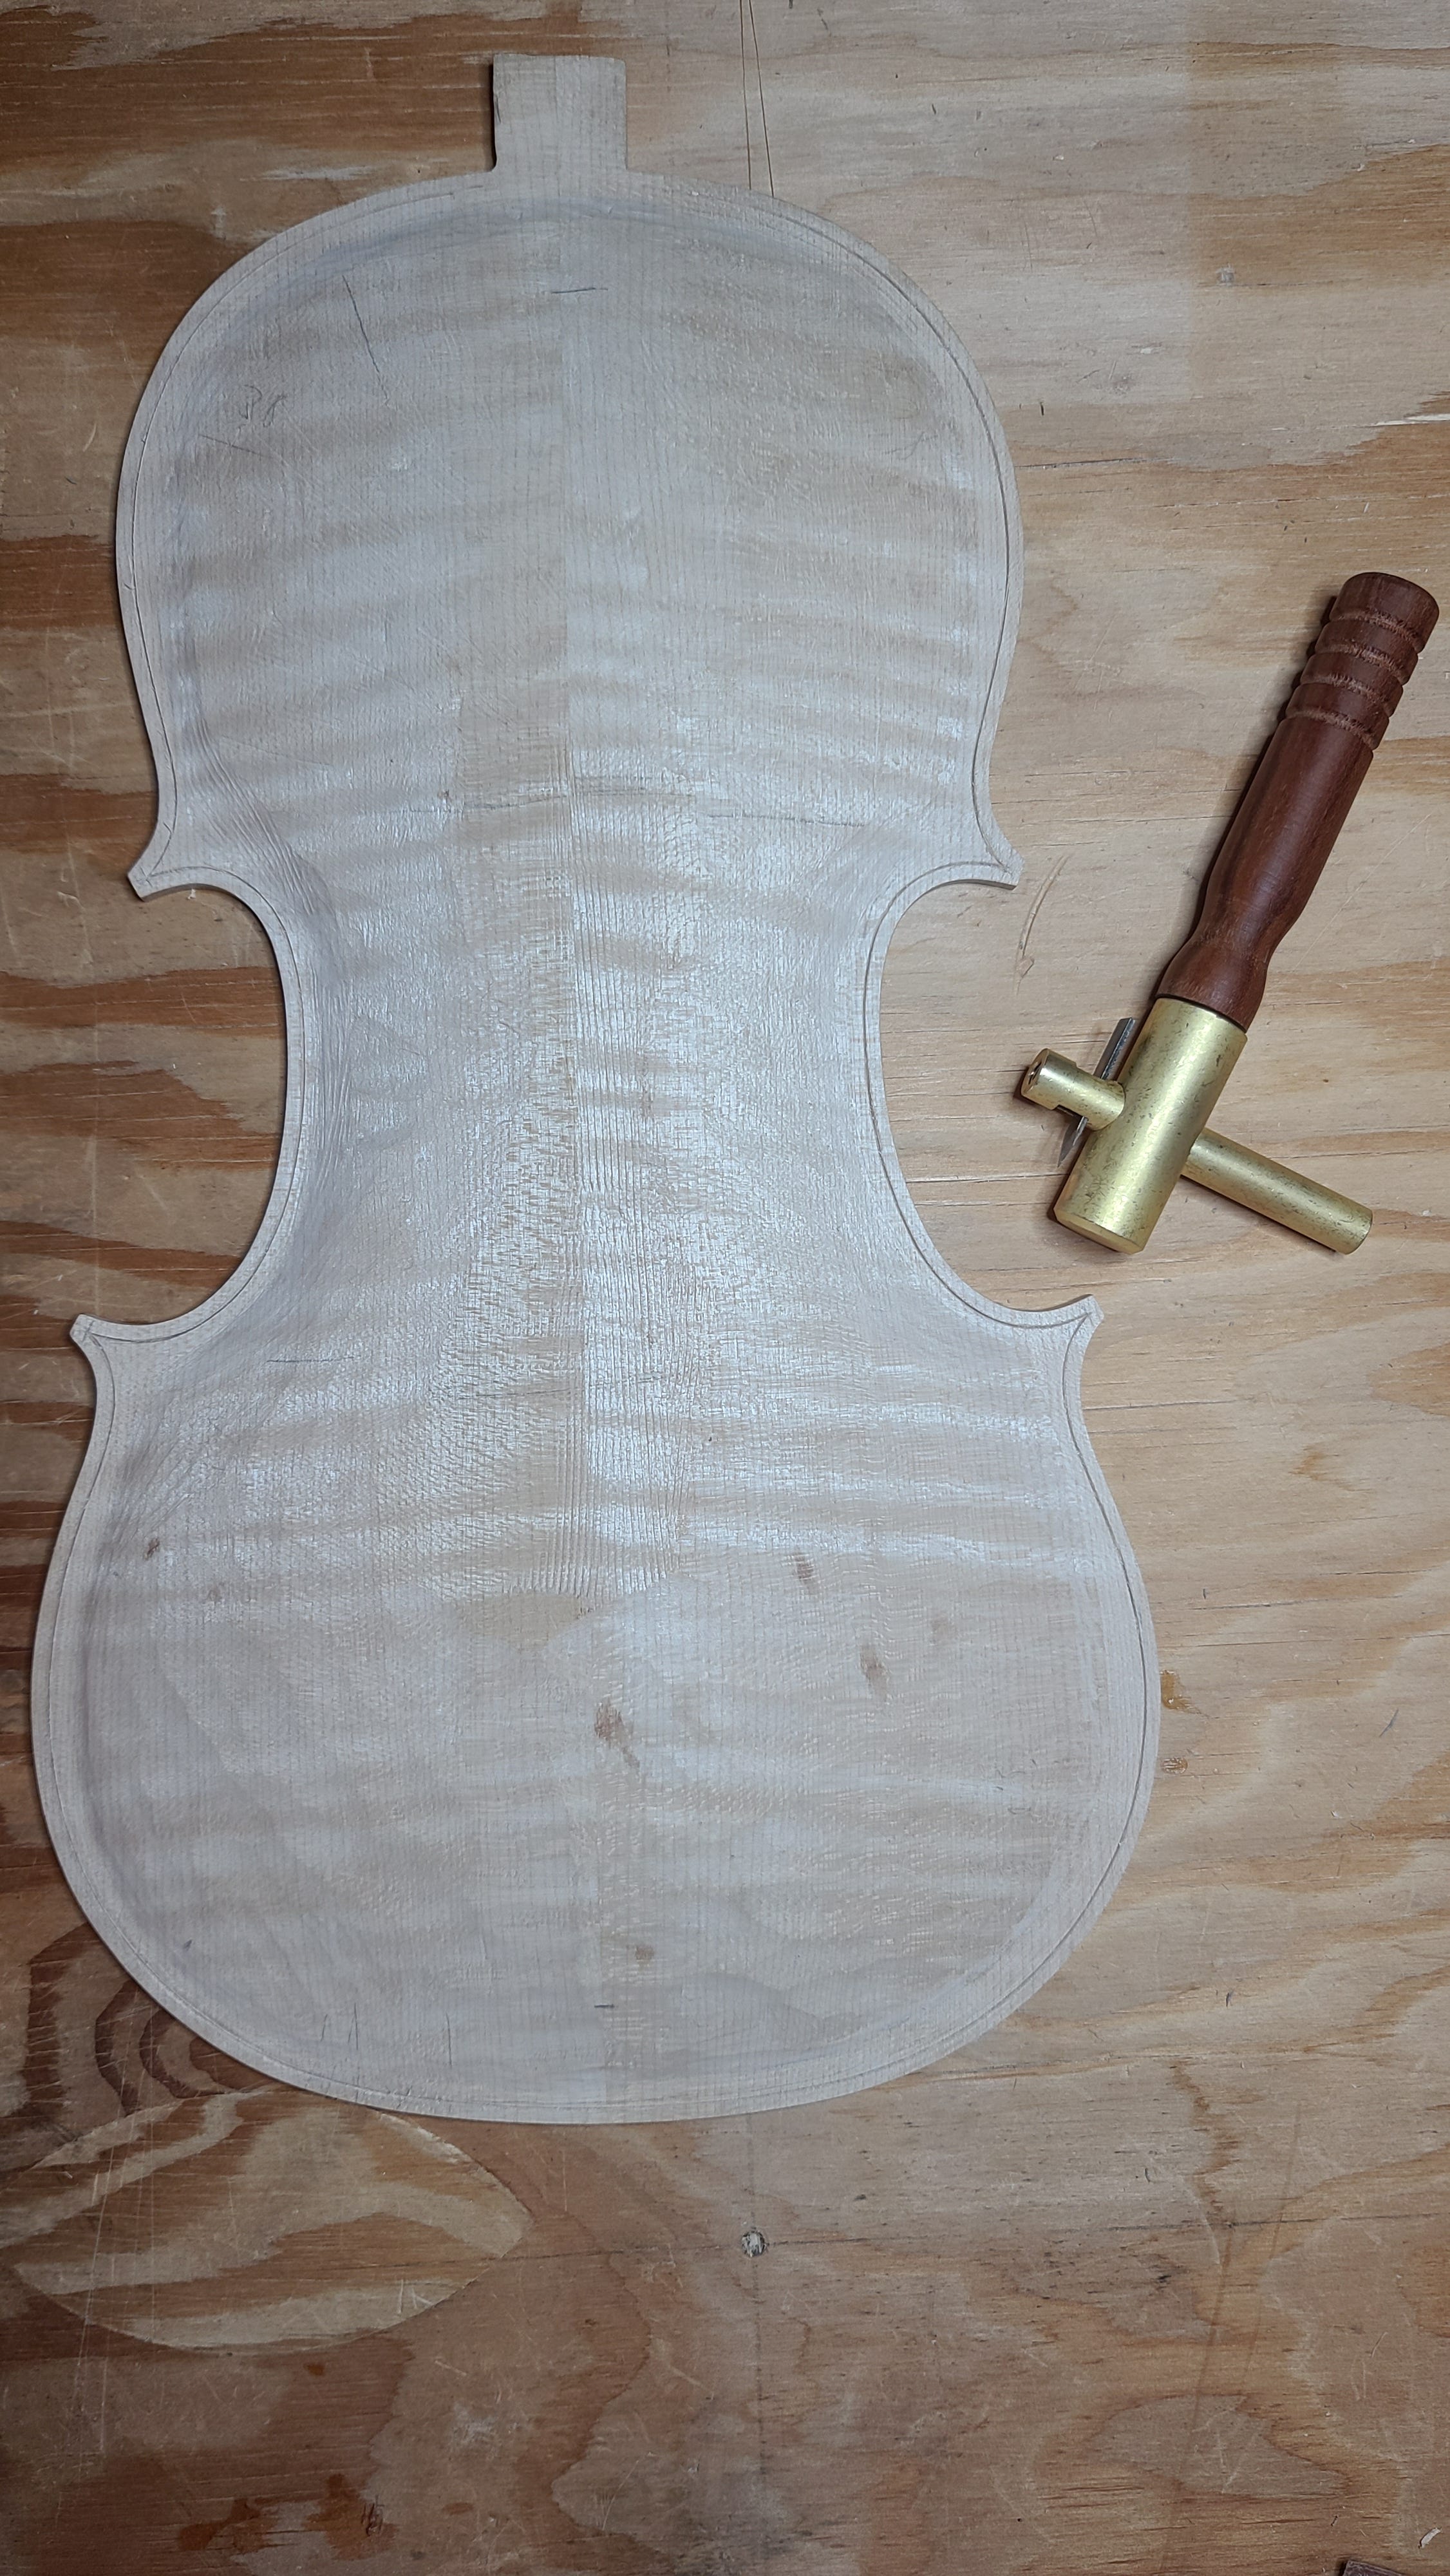
The second cut is then made 4.4 mm from the edge in order to produce a channel that will be 1.4mm wide.
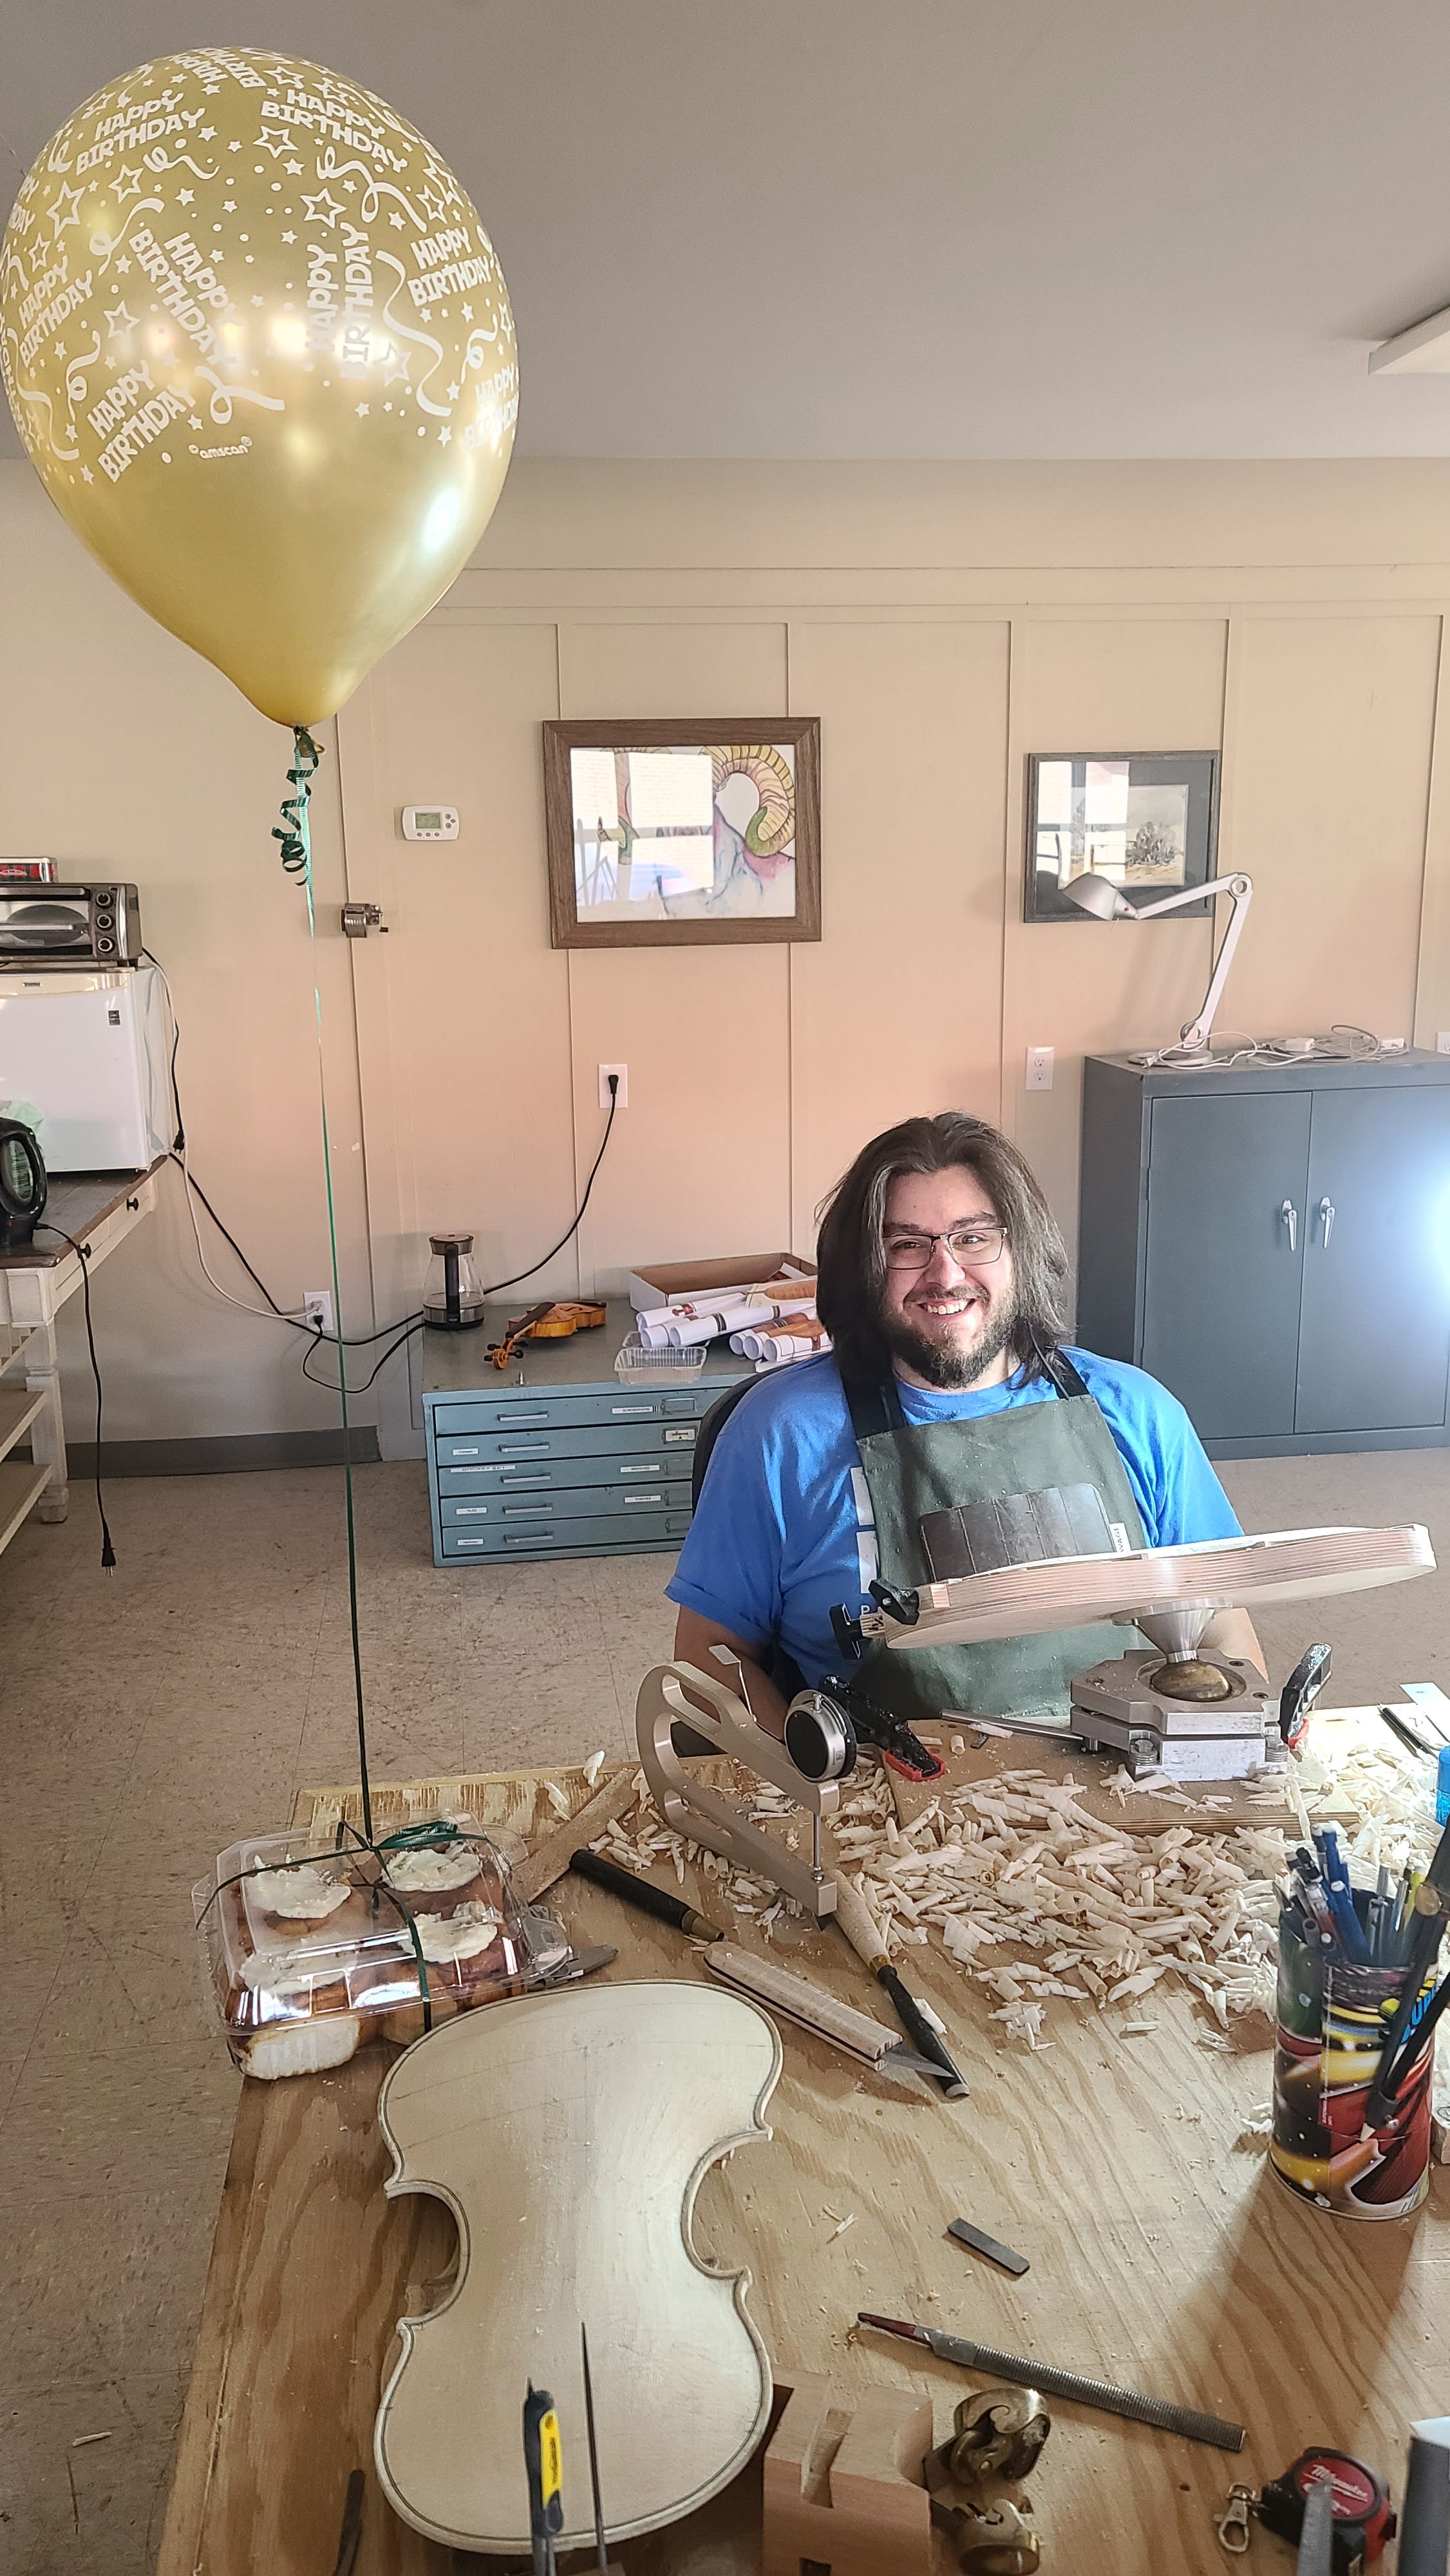
I’m sure I will get a lot faster, but this first time I was very slow. It’s hard to be confident. On the first pass, the surface is barely scratched. Then it’s gone over a bunch of times very lightly to make the cut a bit deeper. It requires intense concentration. I had to take lots of breaks. One of them was to celebrate Logan’s birthday. Attached to his balloon are cinnamon buns, of course.
After making a good double cut, I switched from the scribe to a knife in order to deepen the cuts. There are areas where the cut goes across the hard grain of the wood and the knife is very helpful to get to the desired depth of around 2 mm.
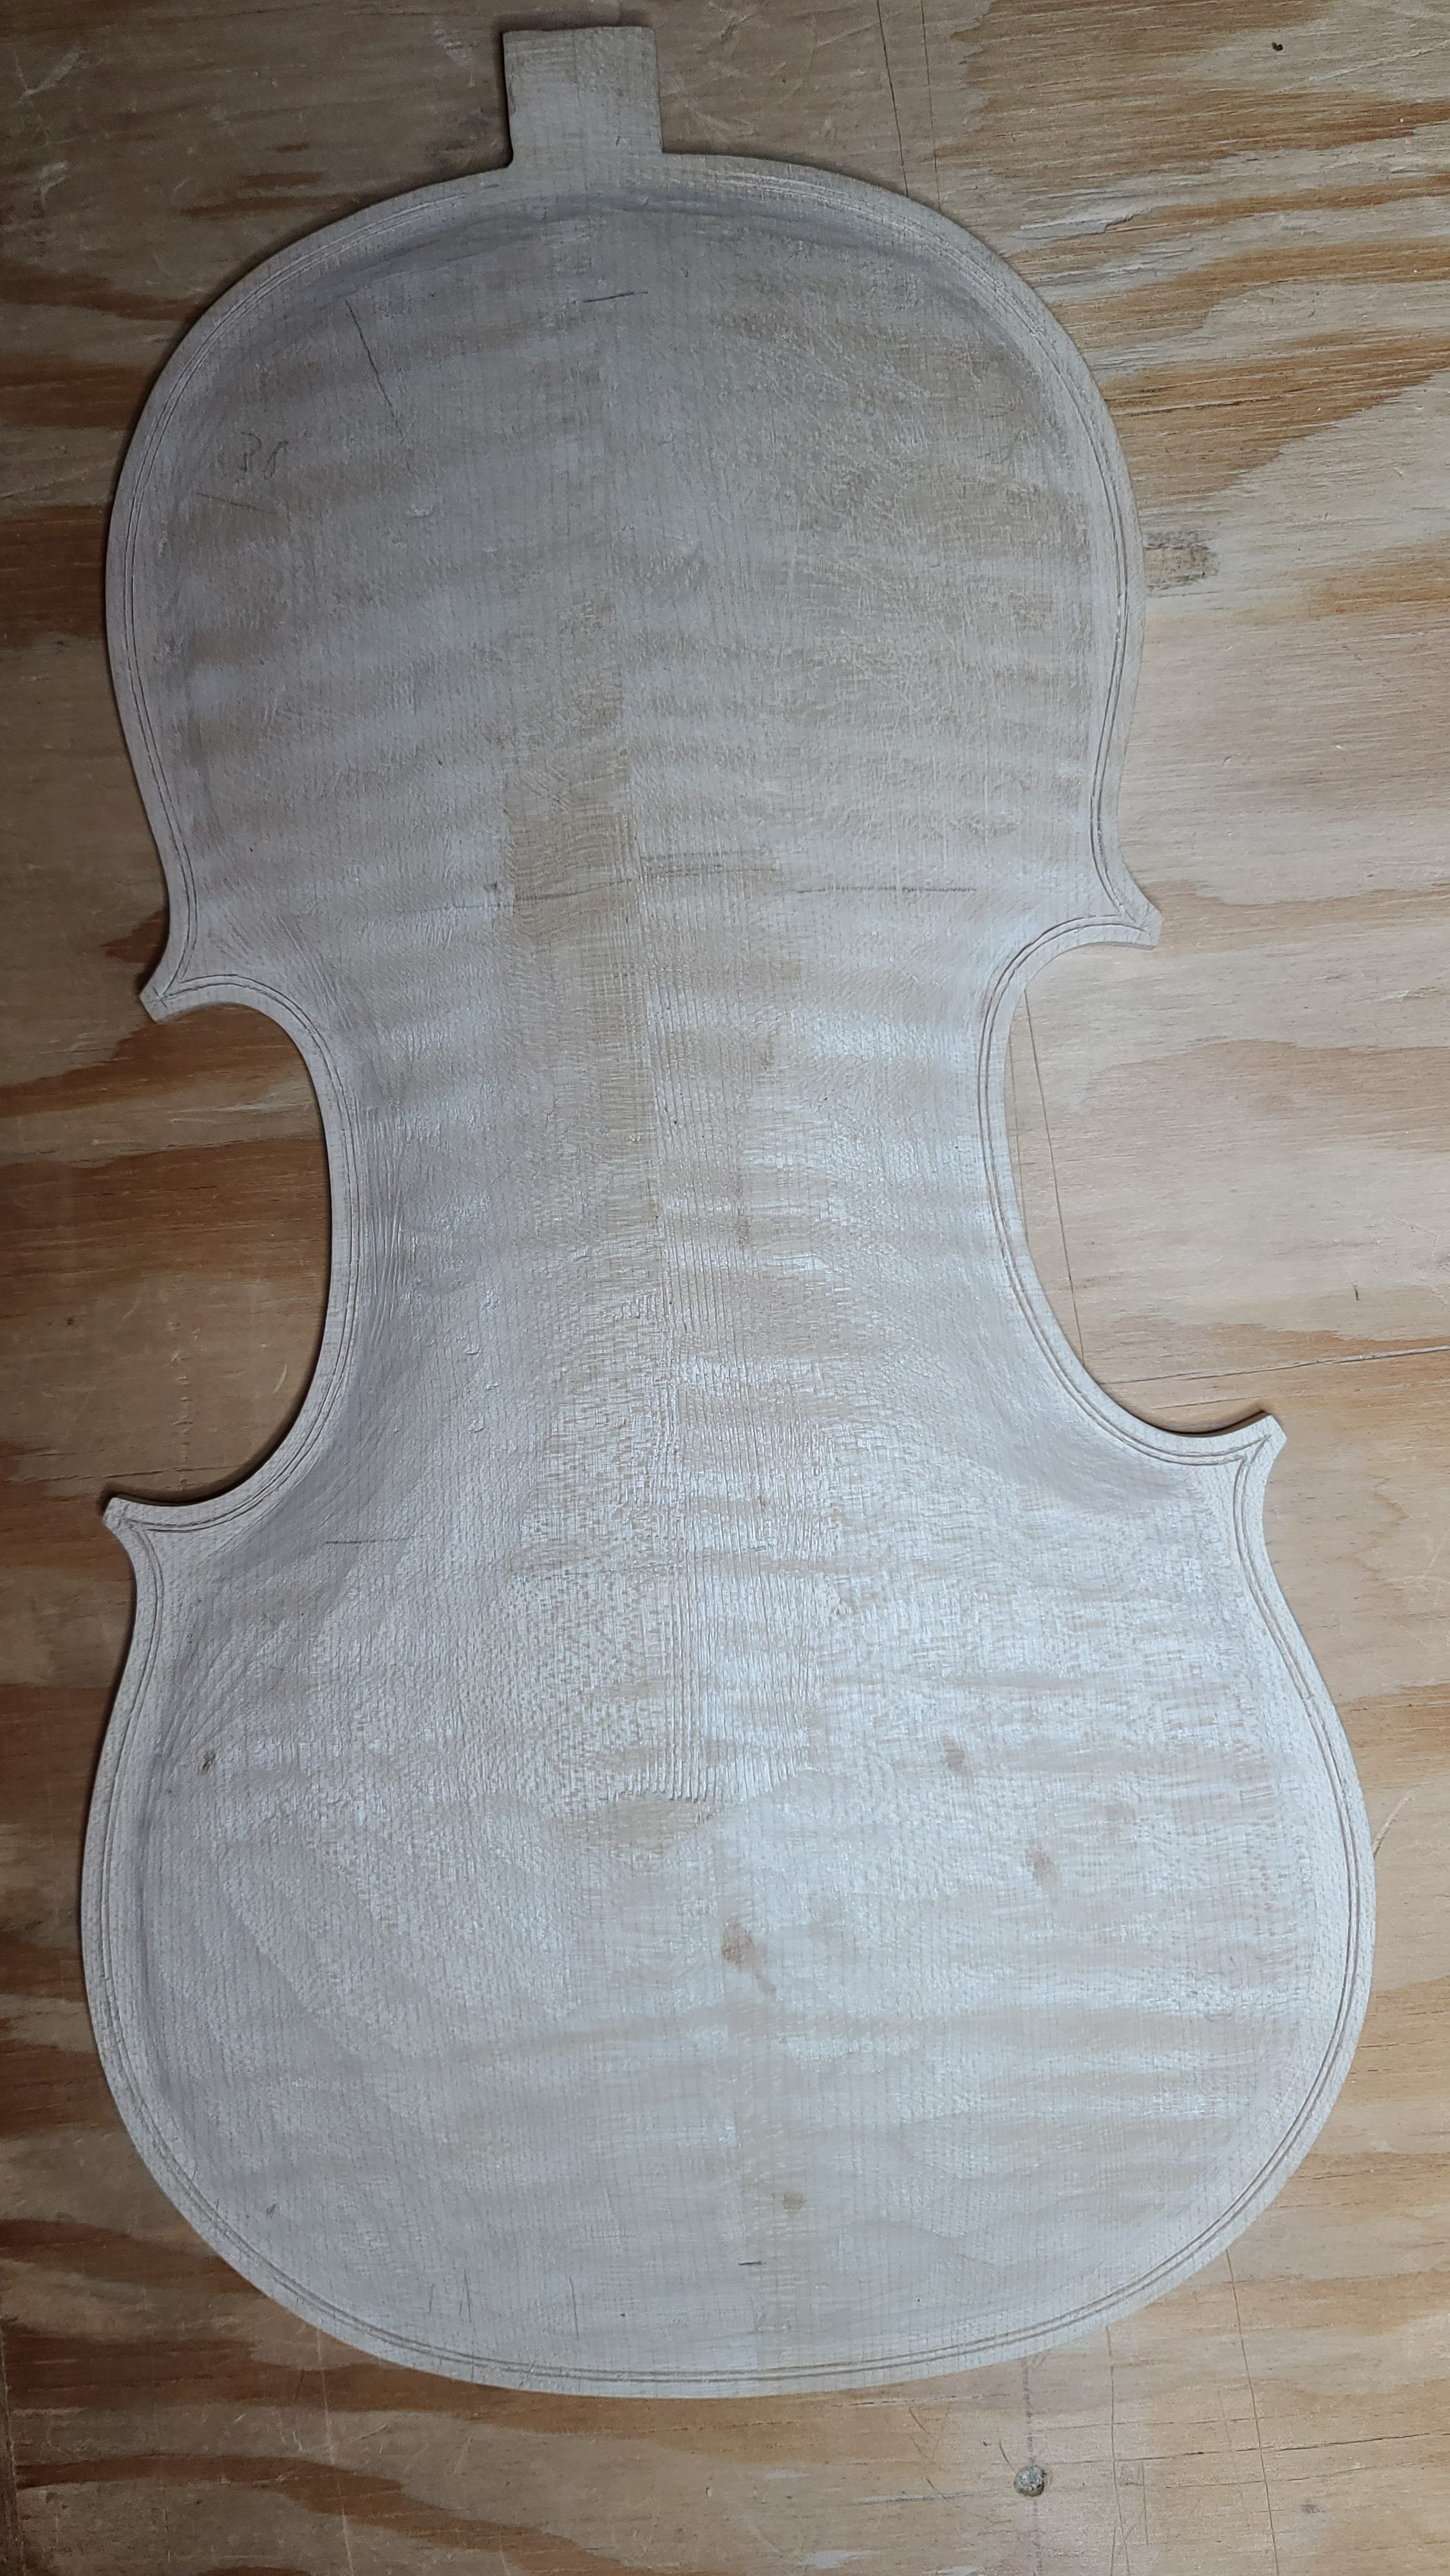
Once the right depth is achieved, a purfling gouge is used to remove the wood from the channel.
Then, a very small file can be used to help smooth everything out.
The whole process is repeated on the top. As I mentioned, the spruce of the top is much softer and therefore much harder to do accurately. The wood has a tendency to tear more, run in the wrong direction and requires a lot more care to keep the channel from getting too wide. Eventually, I had both of them done. The back turned out better than the top.
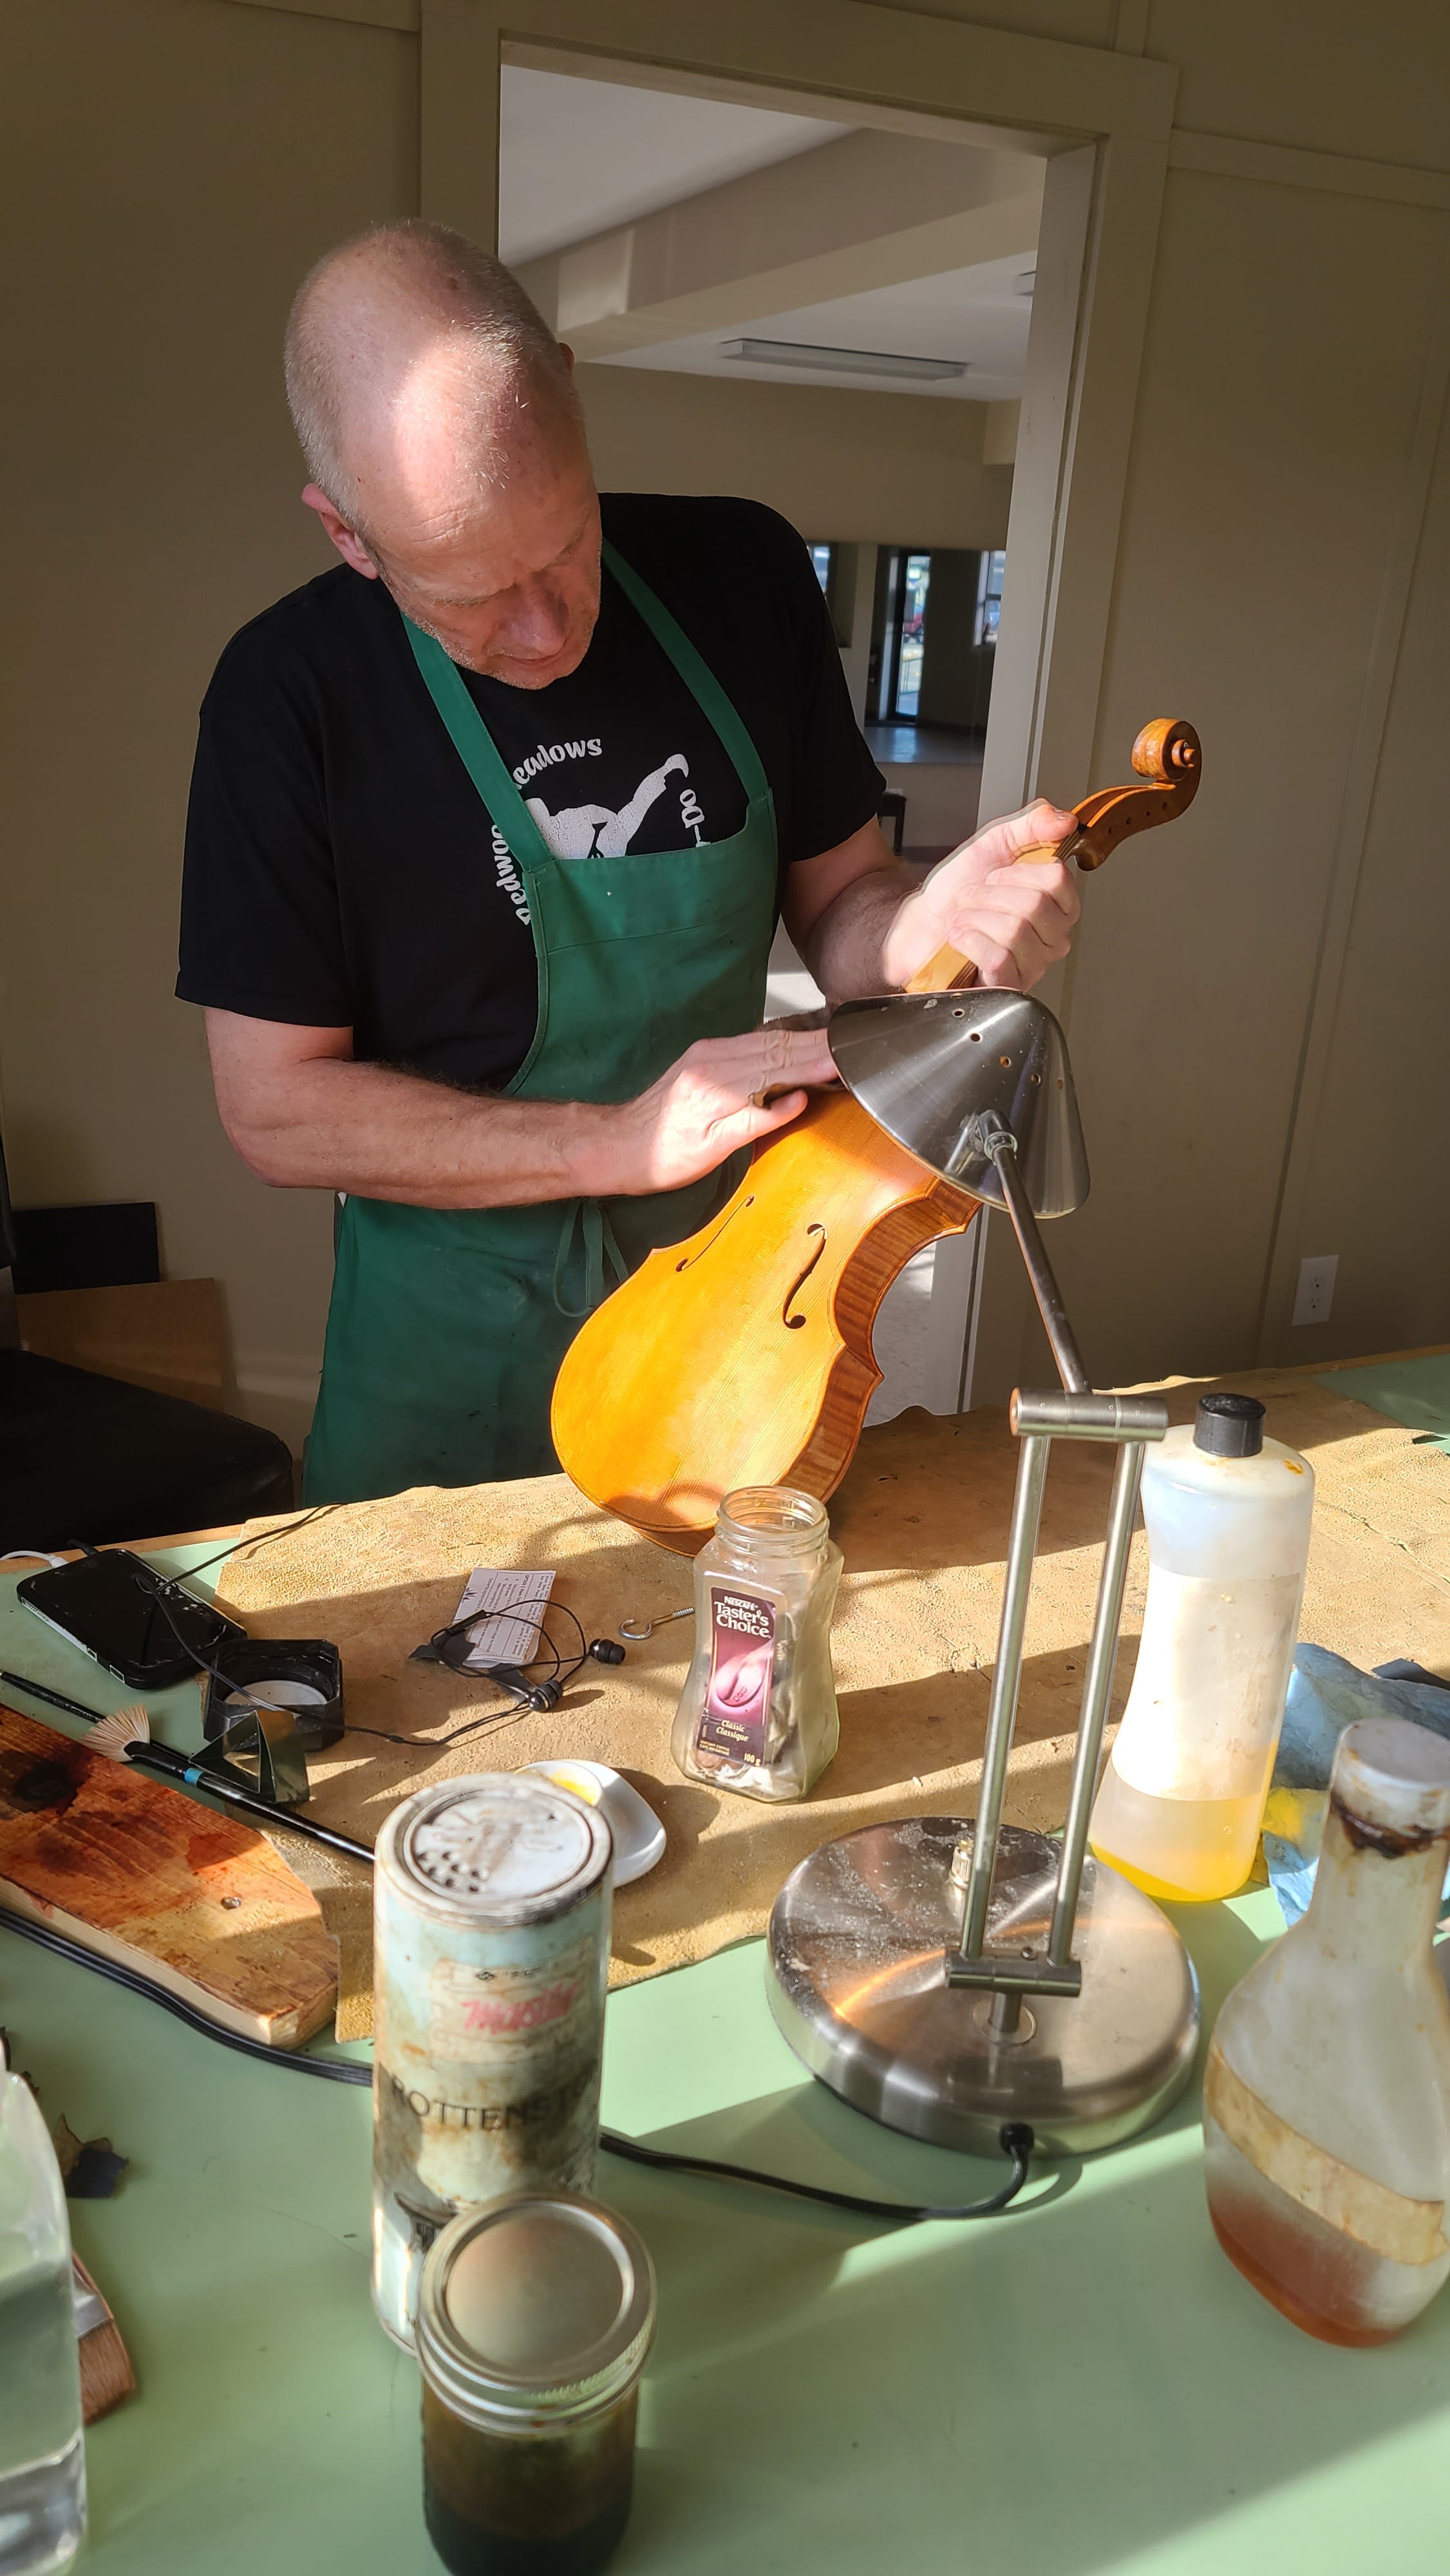
There was a lot of discussion and demonstration of varnishing this week which provided a nice break from purfling. Chris continues to work on his viola which is looking spectacular. Each maker has their own varnishing technique and ingredients; I’ll do more on that topic when I get to that stage.
Back to purfling. It can either be made or bought, 2 strips of black on the outsides and an inner white strip, all glued together. It can be made out of dyed strips of compressed wood fibre or actual strips of wood, often pearwood dyed black and poplar or willow as the white strip. The three tone strips are are 1.2 to 1.4 mm wide. I am using 1.4 mm fibre purfling.

The purfling is bent to shape on the bending iron, cut to length, inserted in the channel and eventually glued.
The corners are especially tricky to fit and line up nicely.
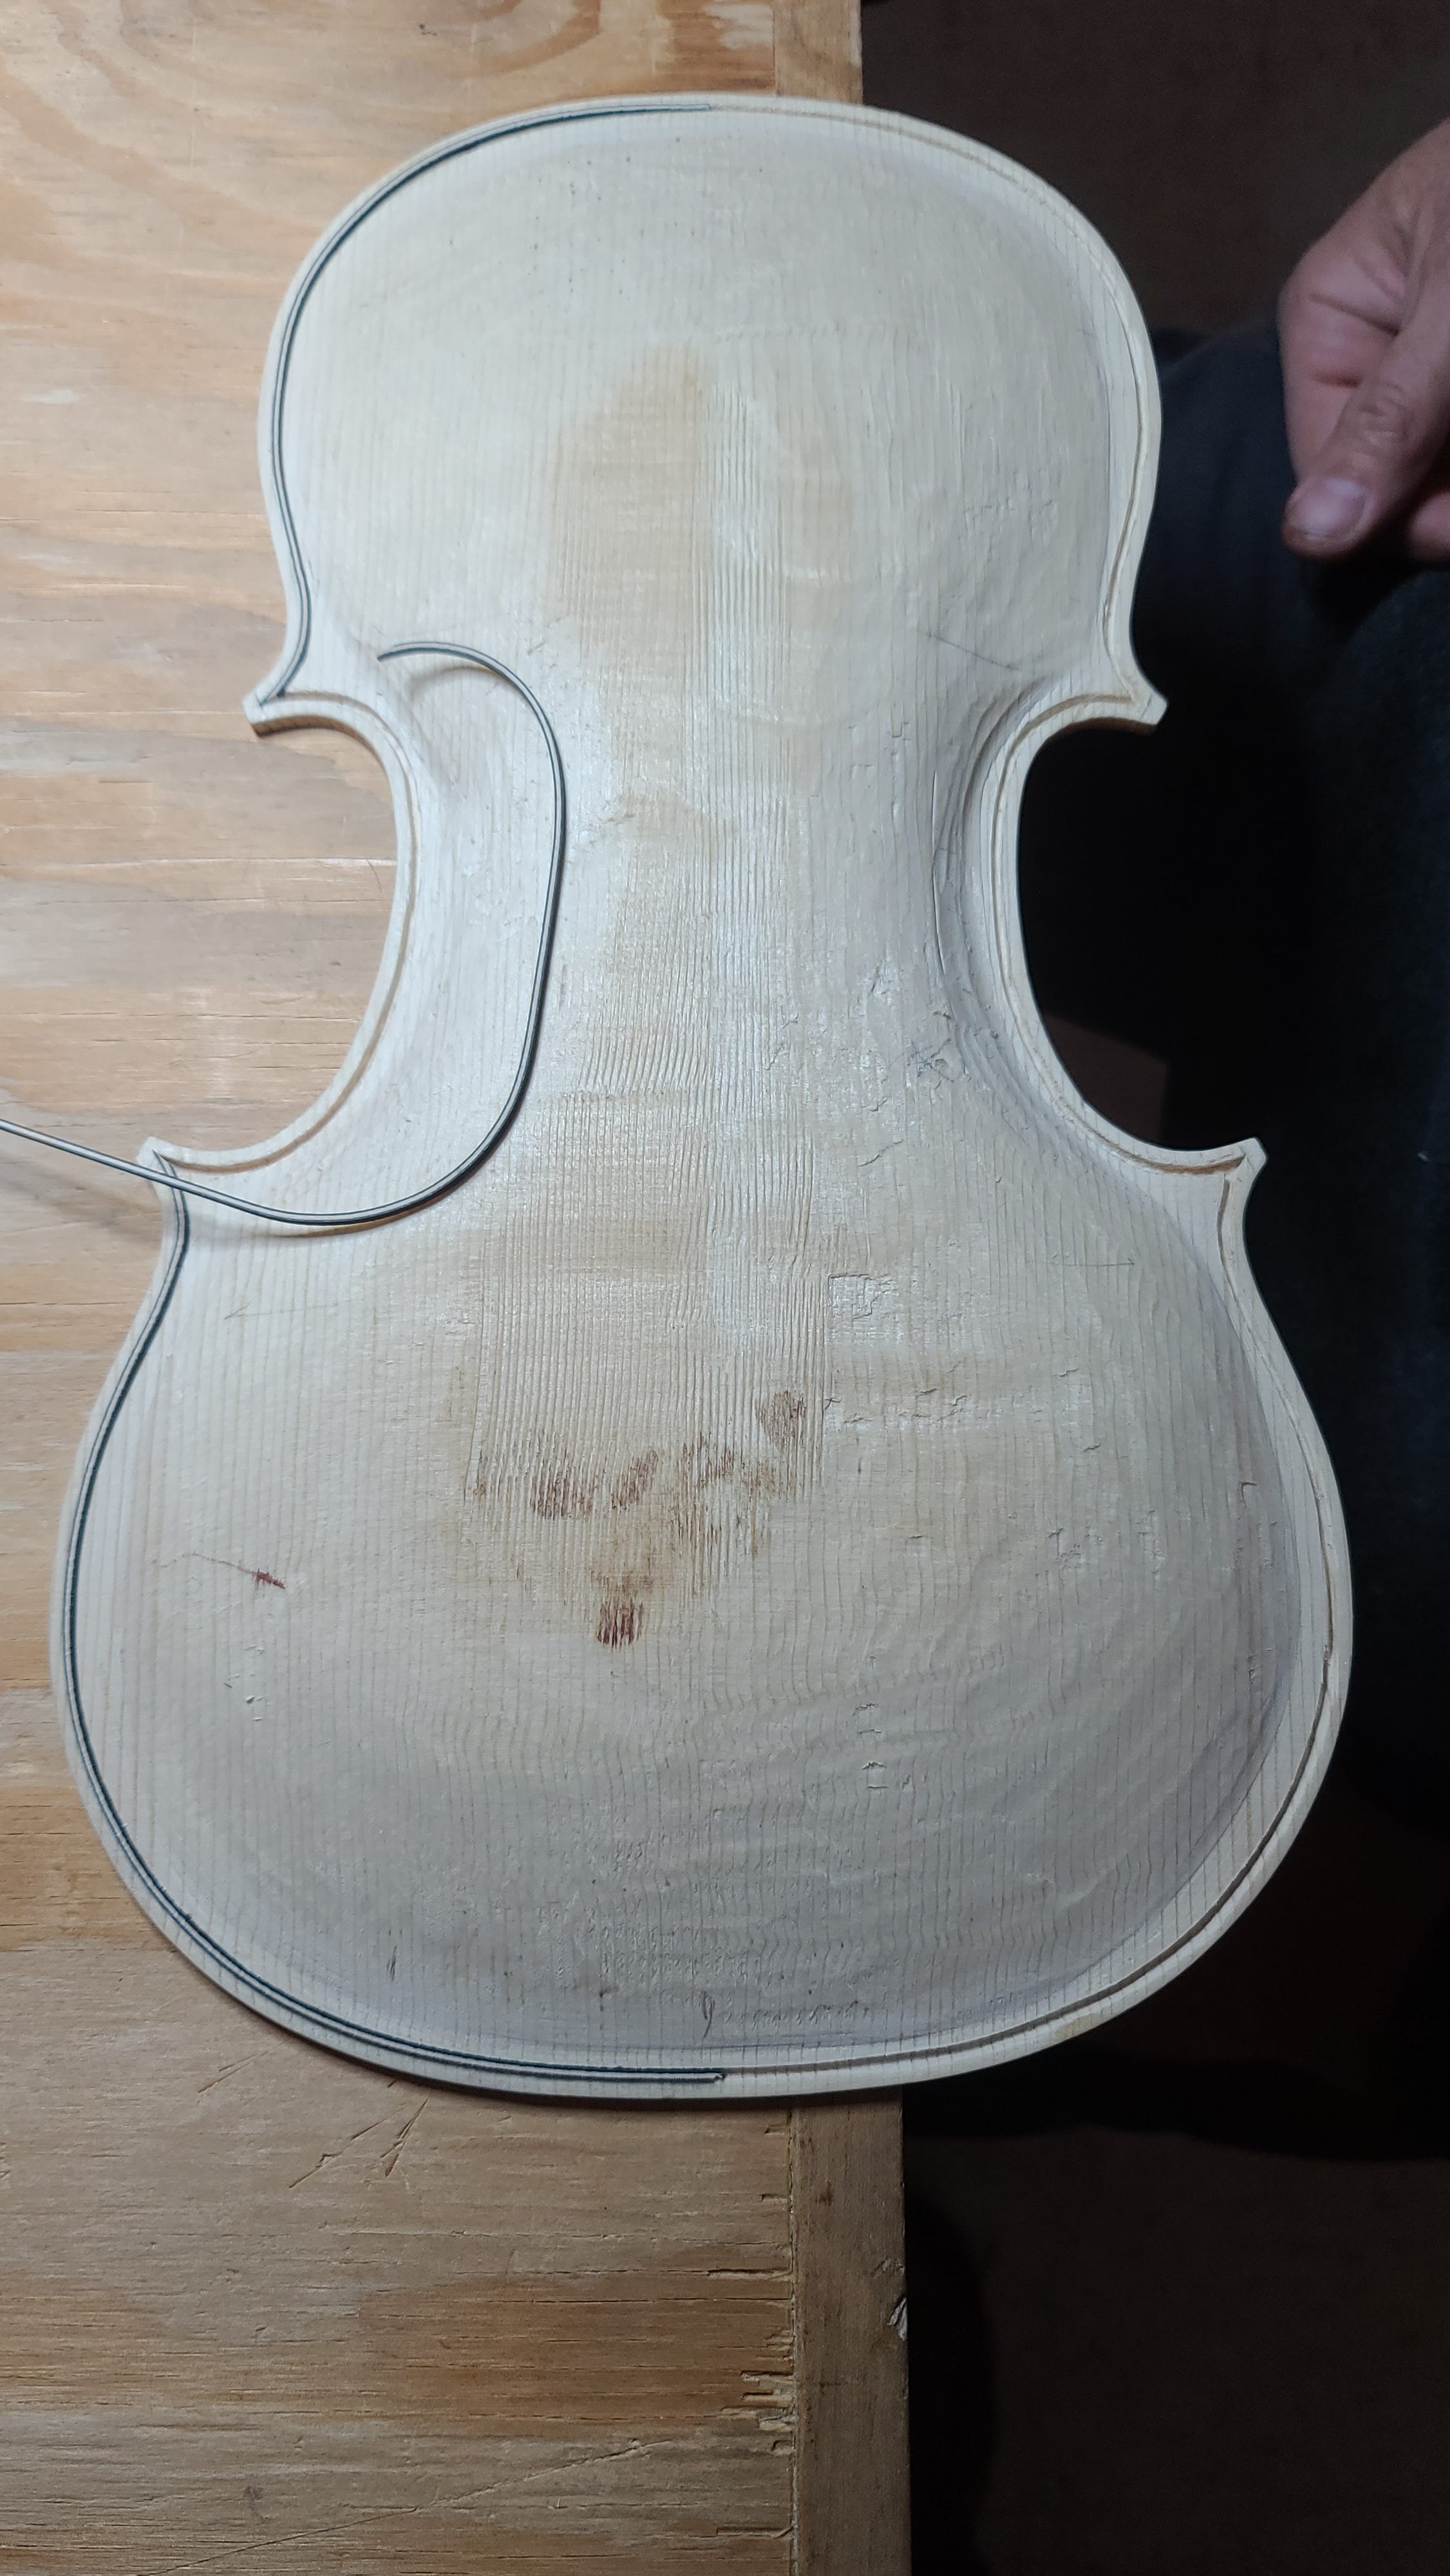
This is what it looked like after all the purfling is cut and fit on both the top and back, but not yet glued in.
It is far from flawless but I was relatively happy with my first attempt. I’m already looking forward to getting another crack at it on my next instrument, it’s clearly something you need to do many times to master.
Next, the purfling will be glued in and then carved as part of the final arching of the top and back.
Michael Duschenes is a student at the Canadian Violin Making Institute
I'm so impressed!
There’s nothing I do that requires 1 or 2 mm tolerance! I admire your perseverance and skill.