

Week 26 - Set-up in the White, Test and Begin Varnishing
March 21 - 25

March 14 - 18 was a week off.
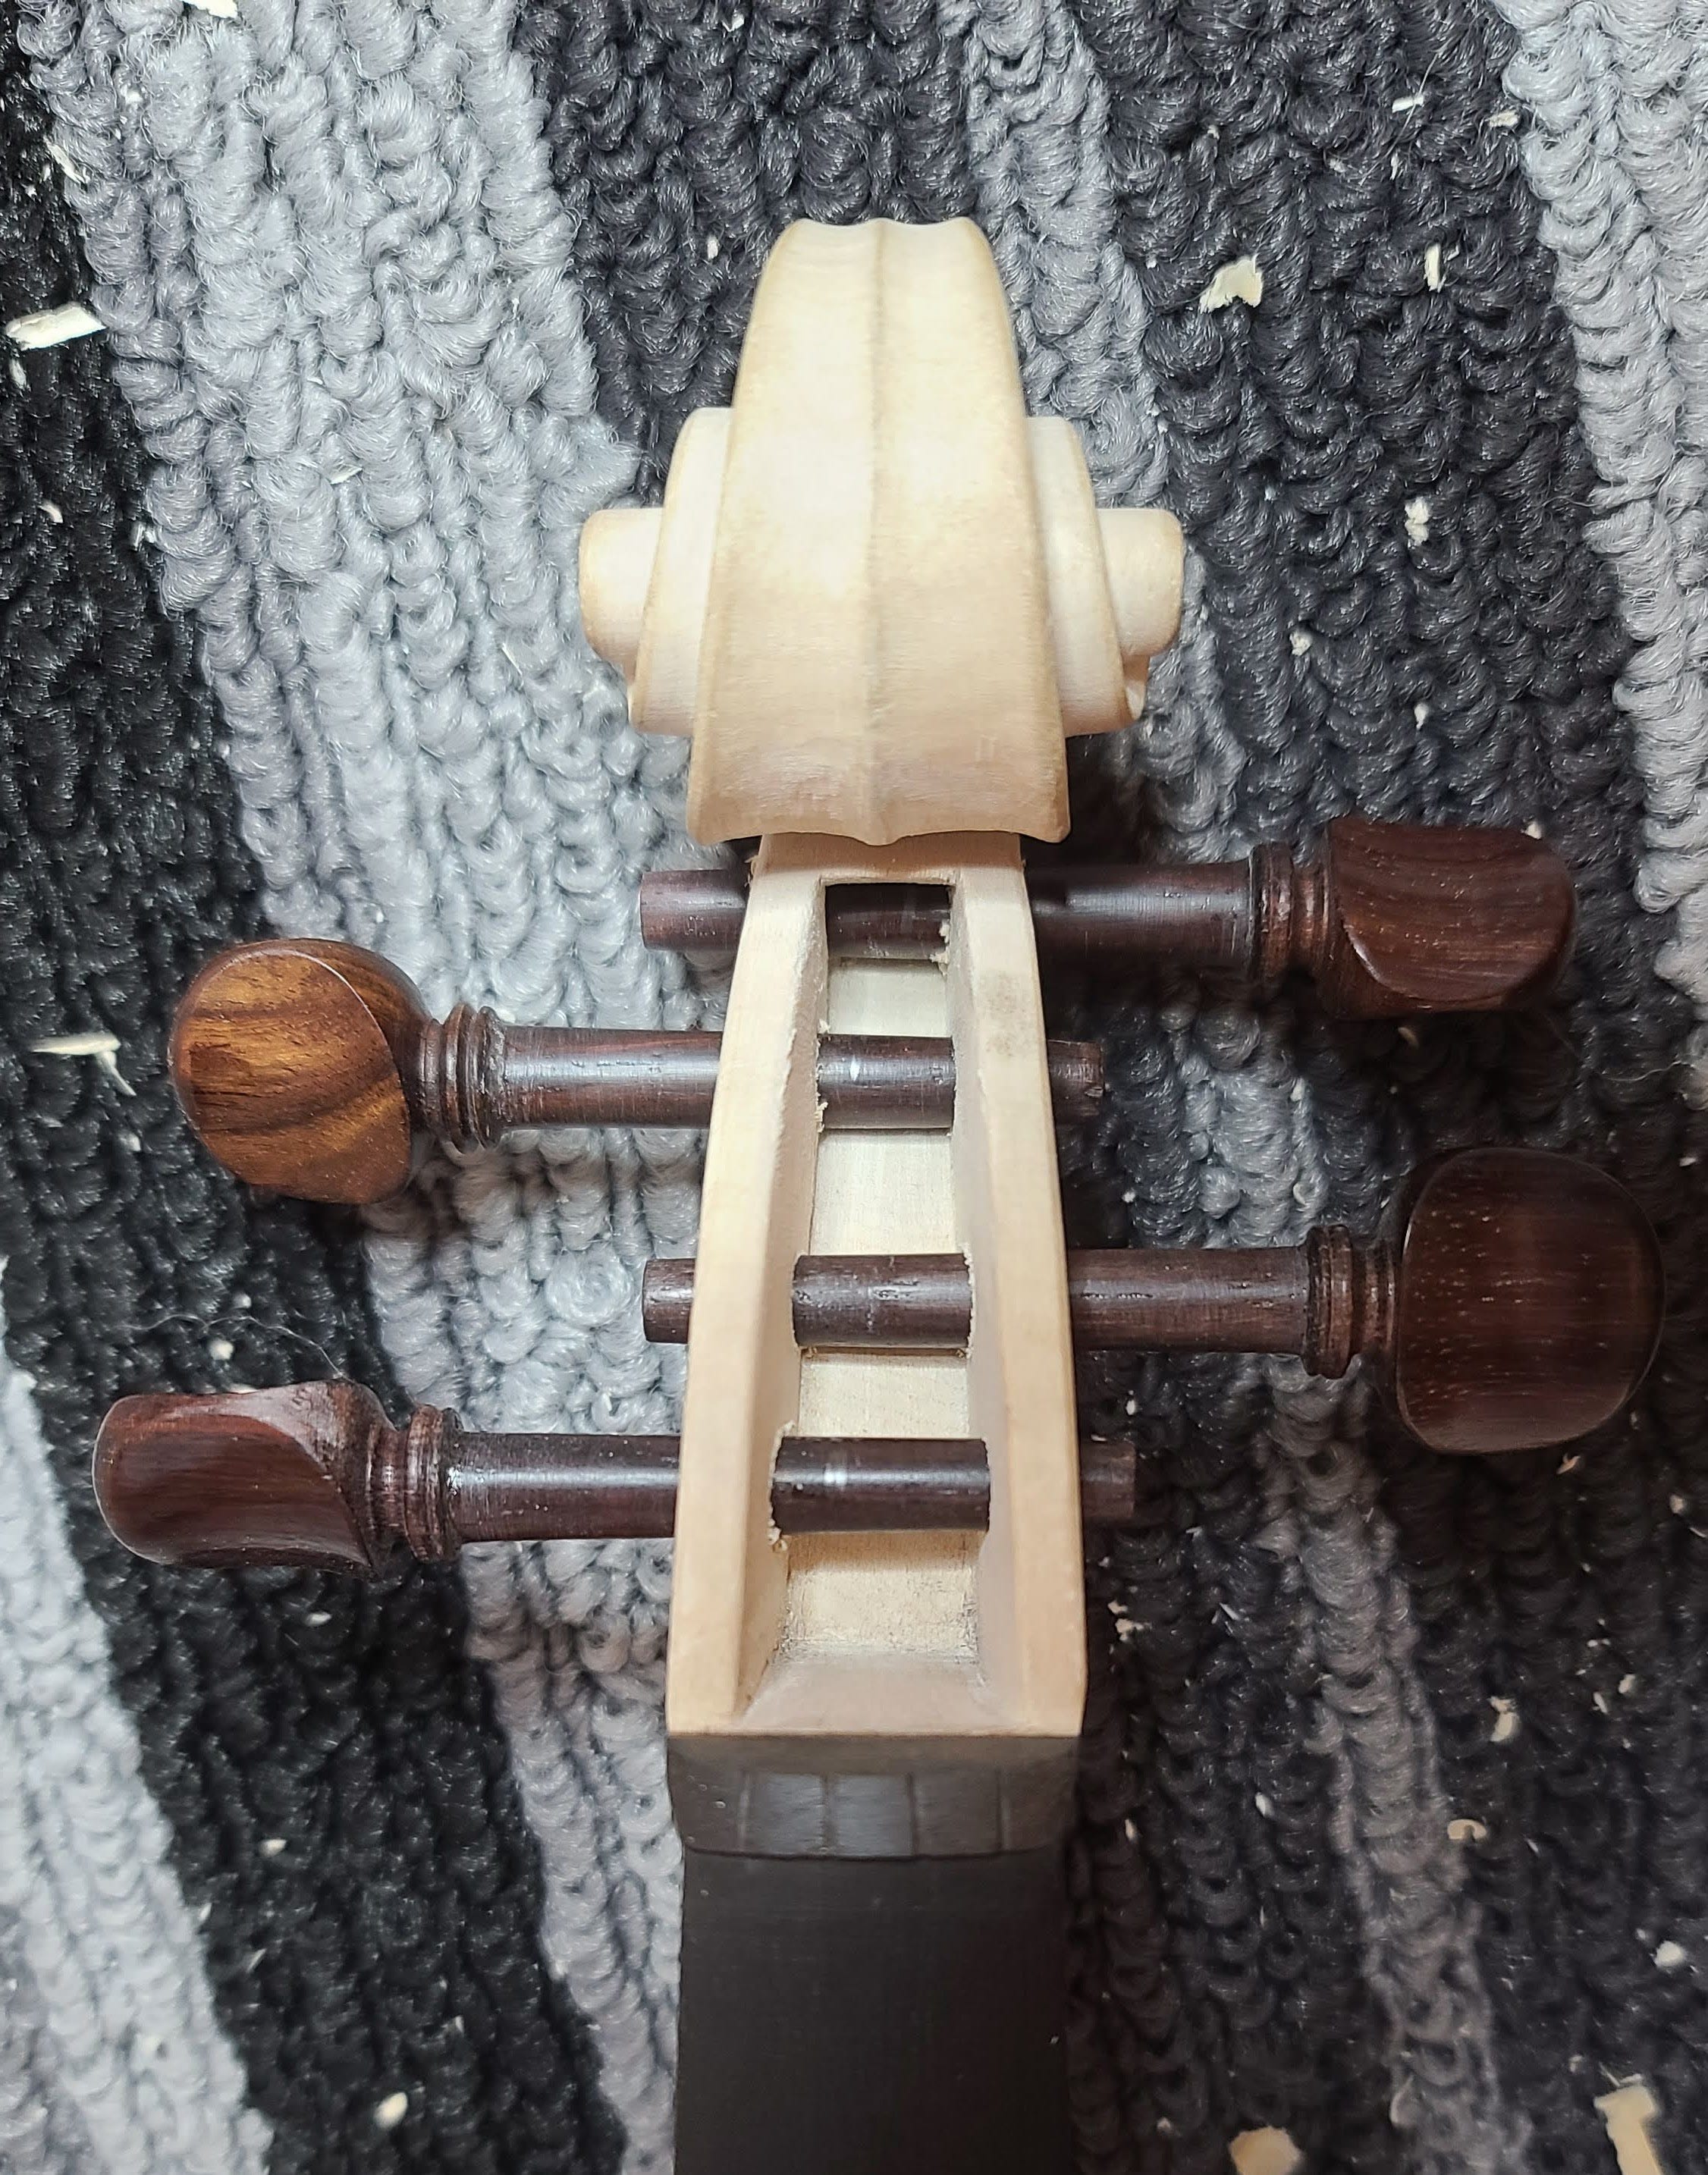
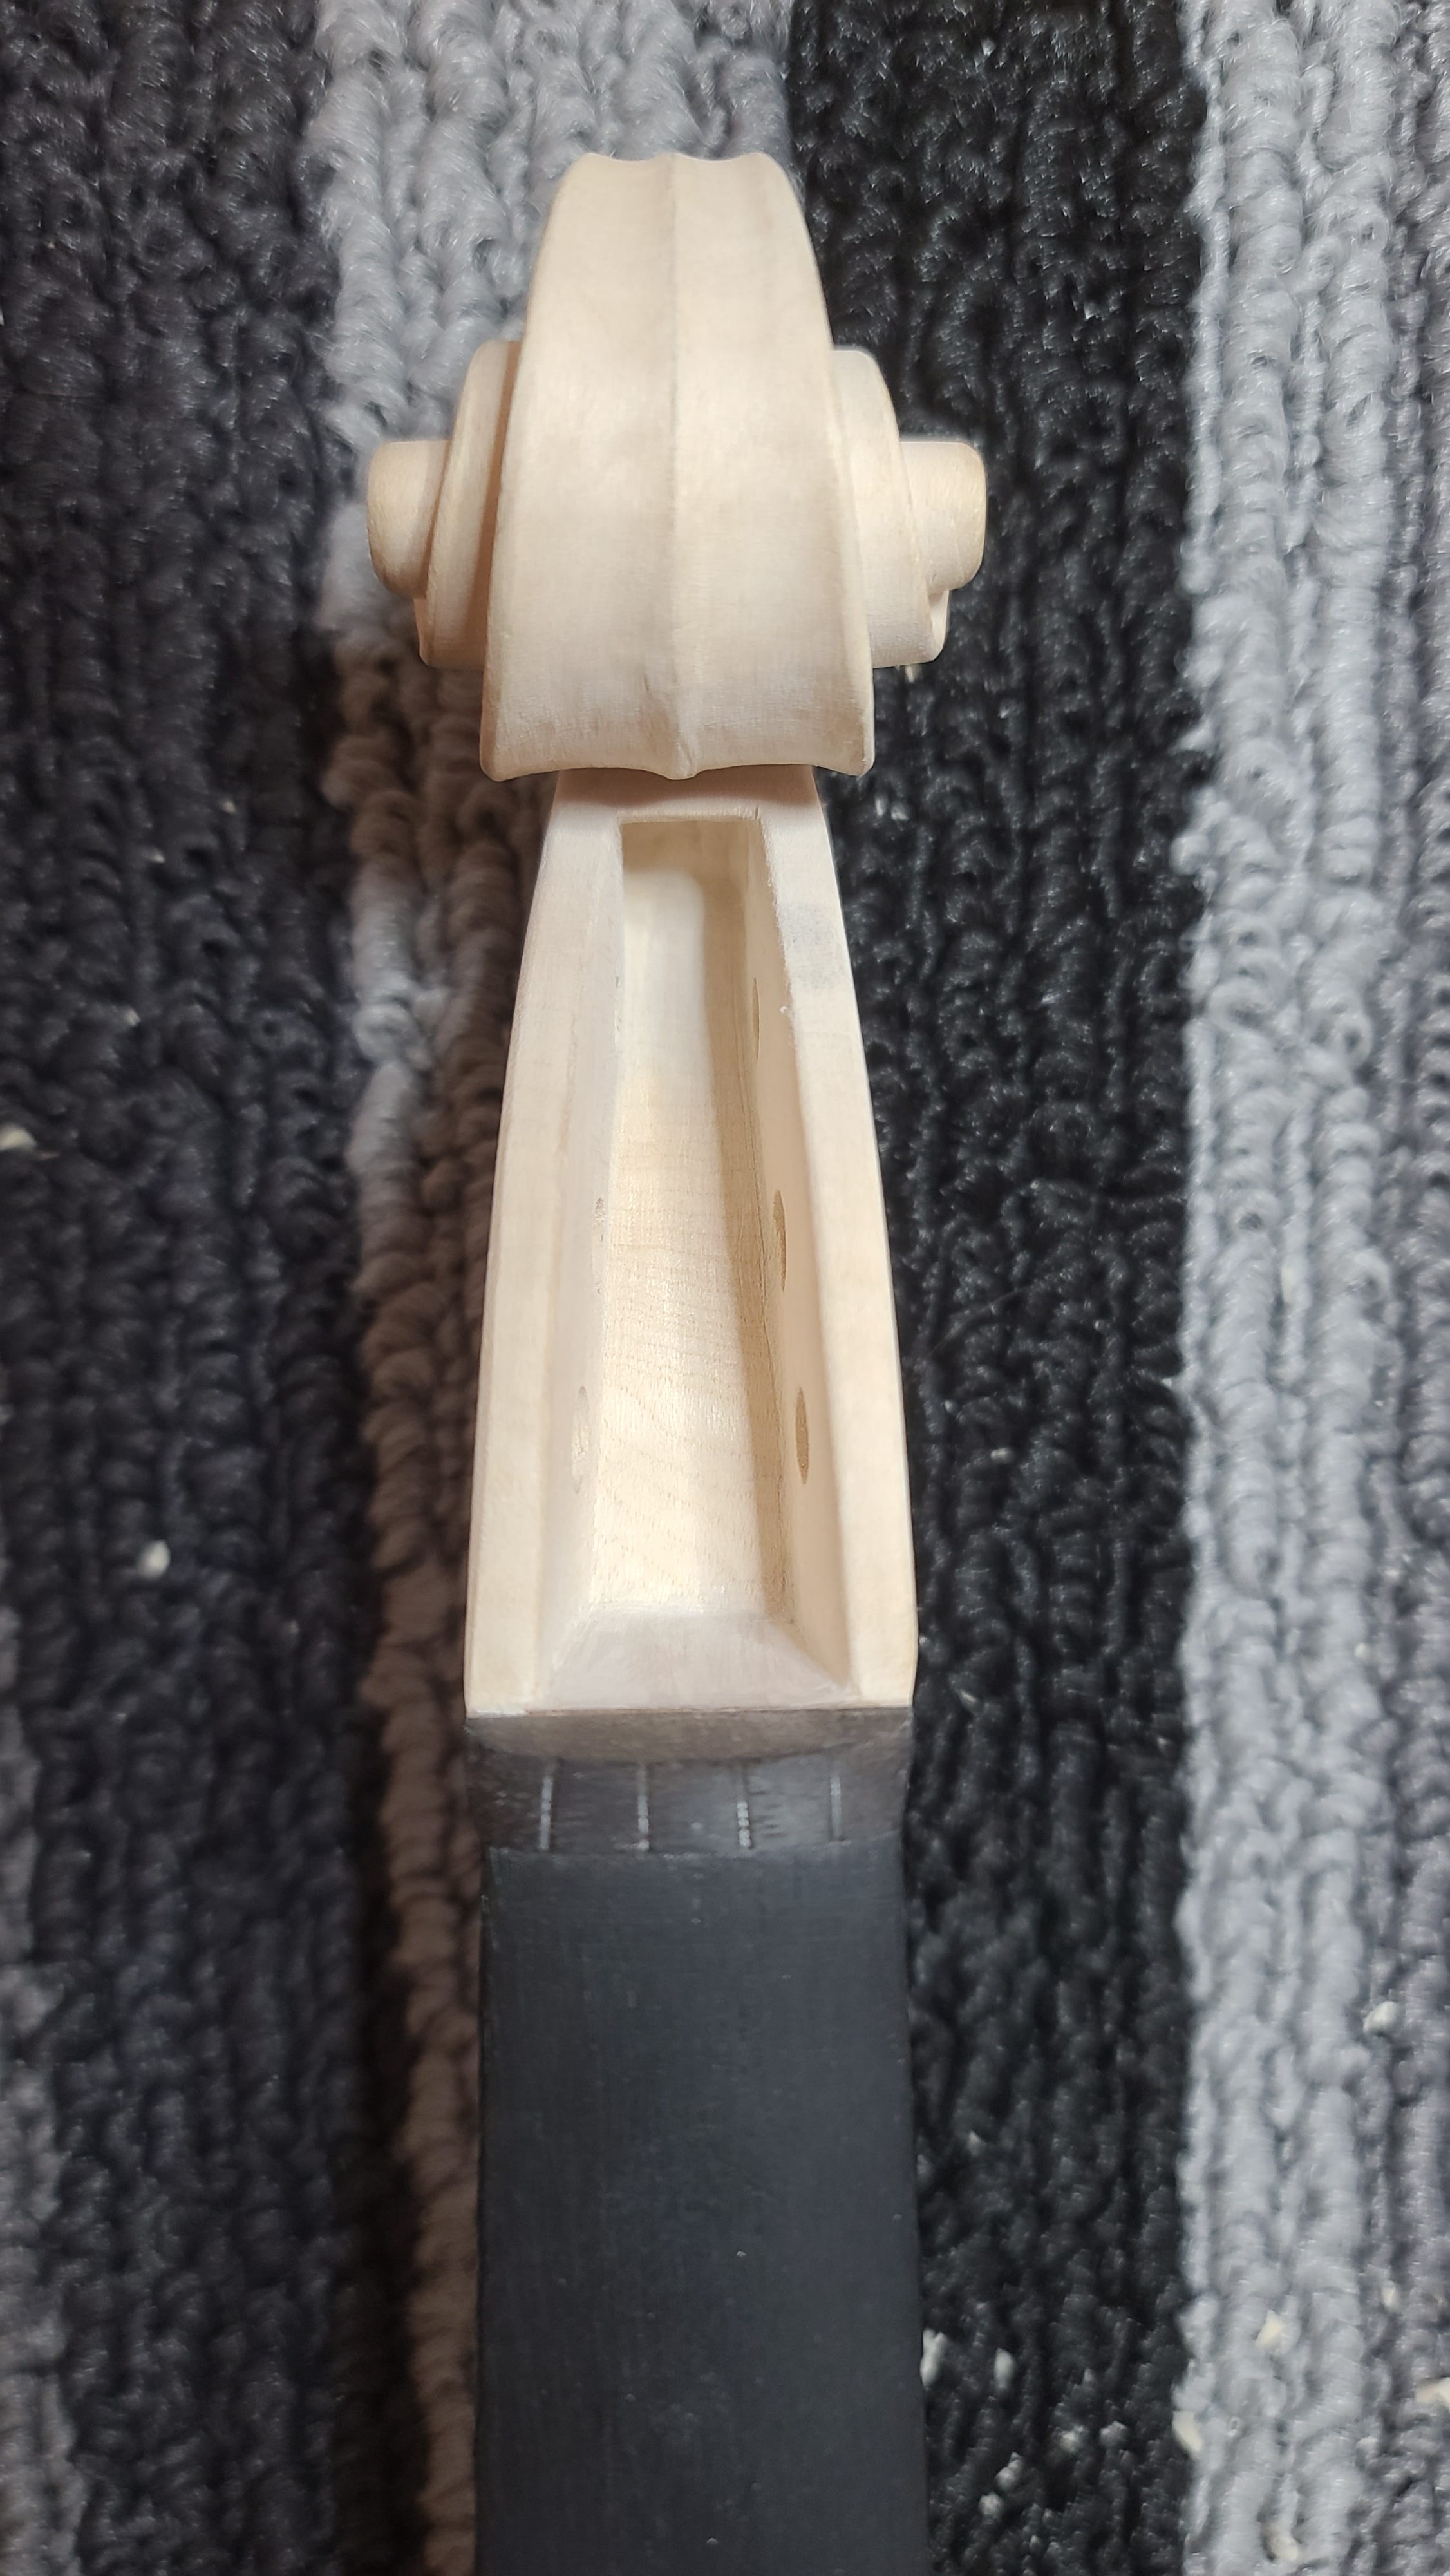
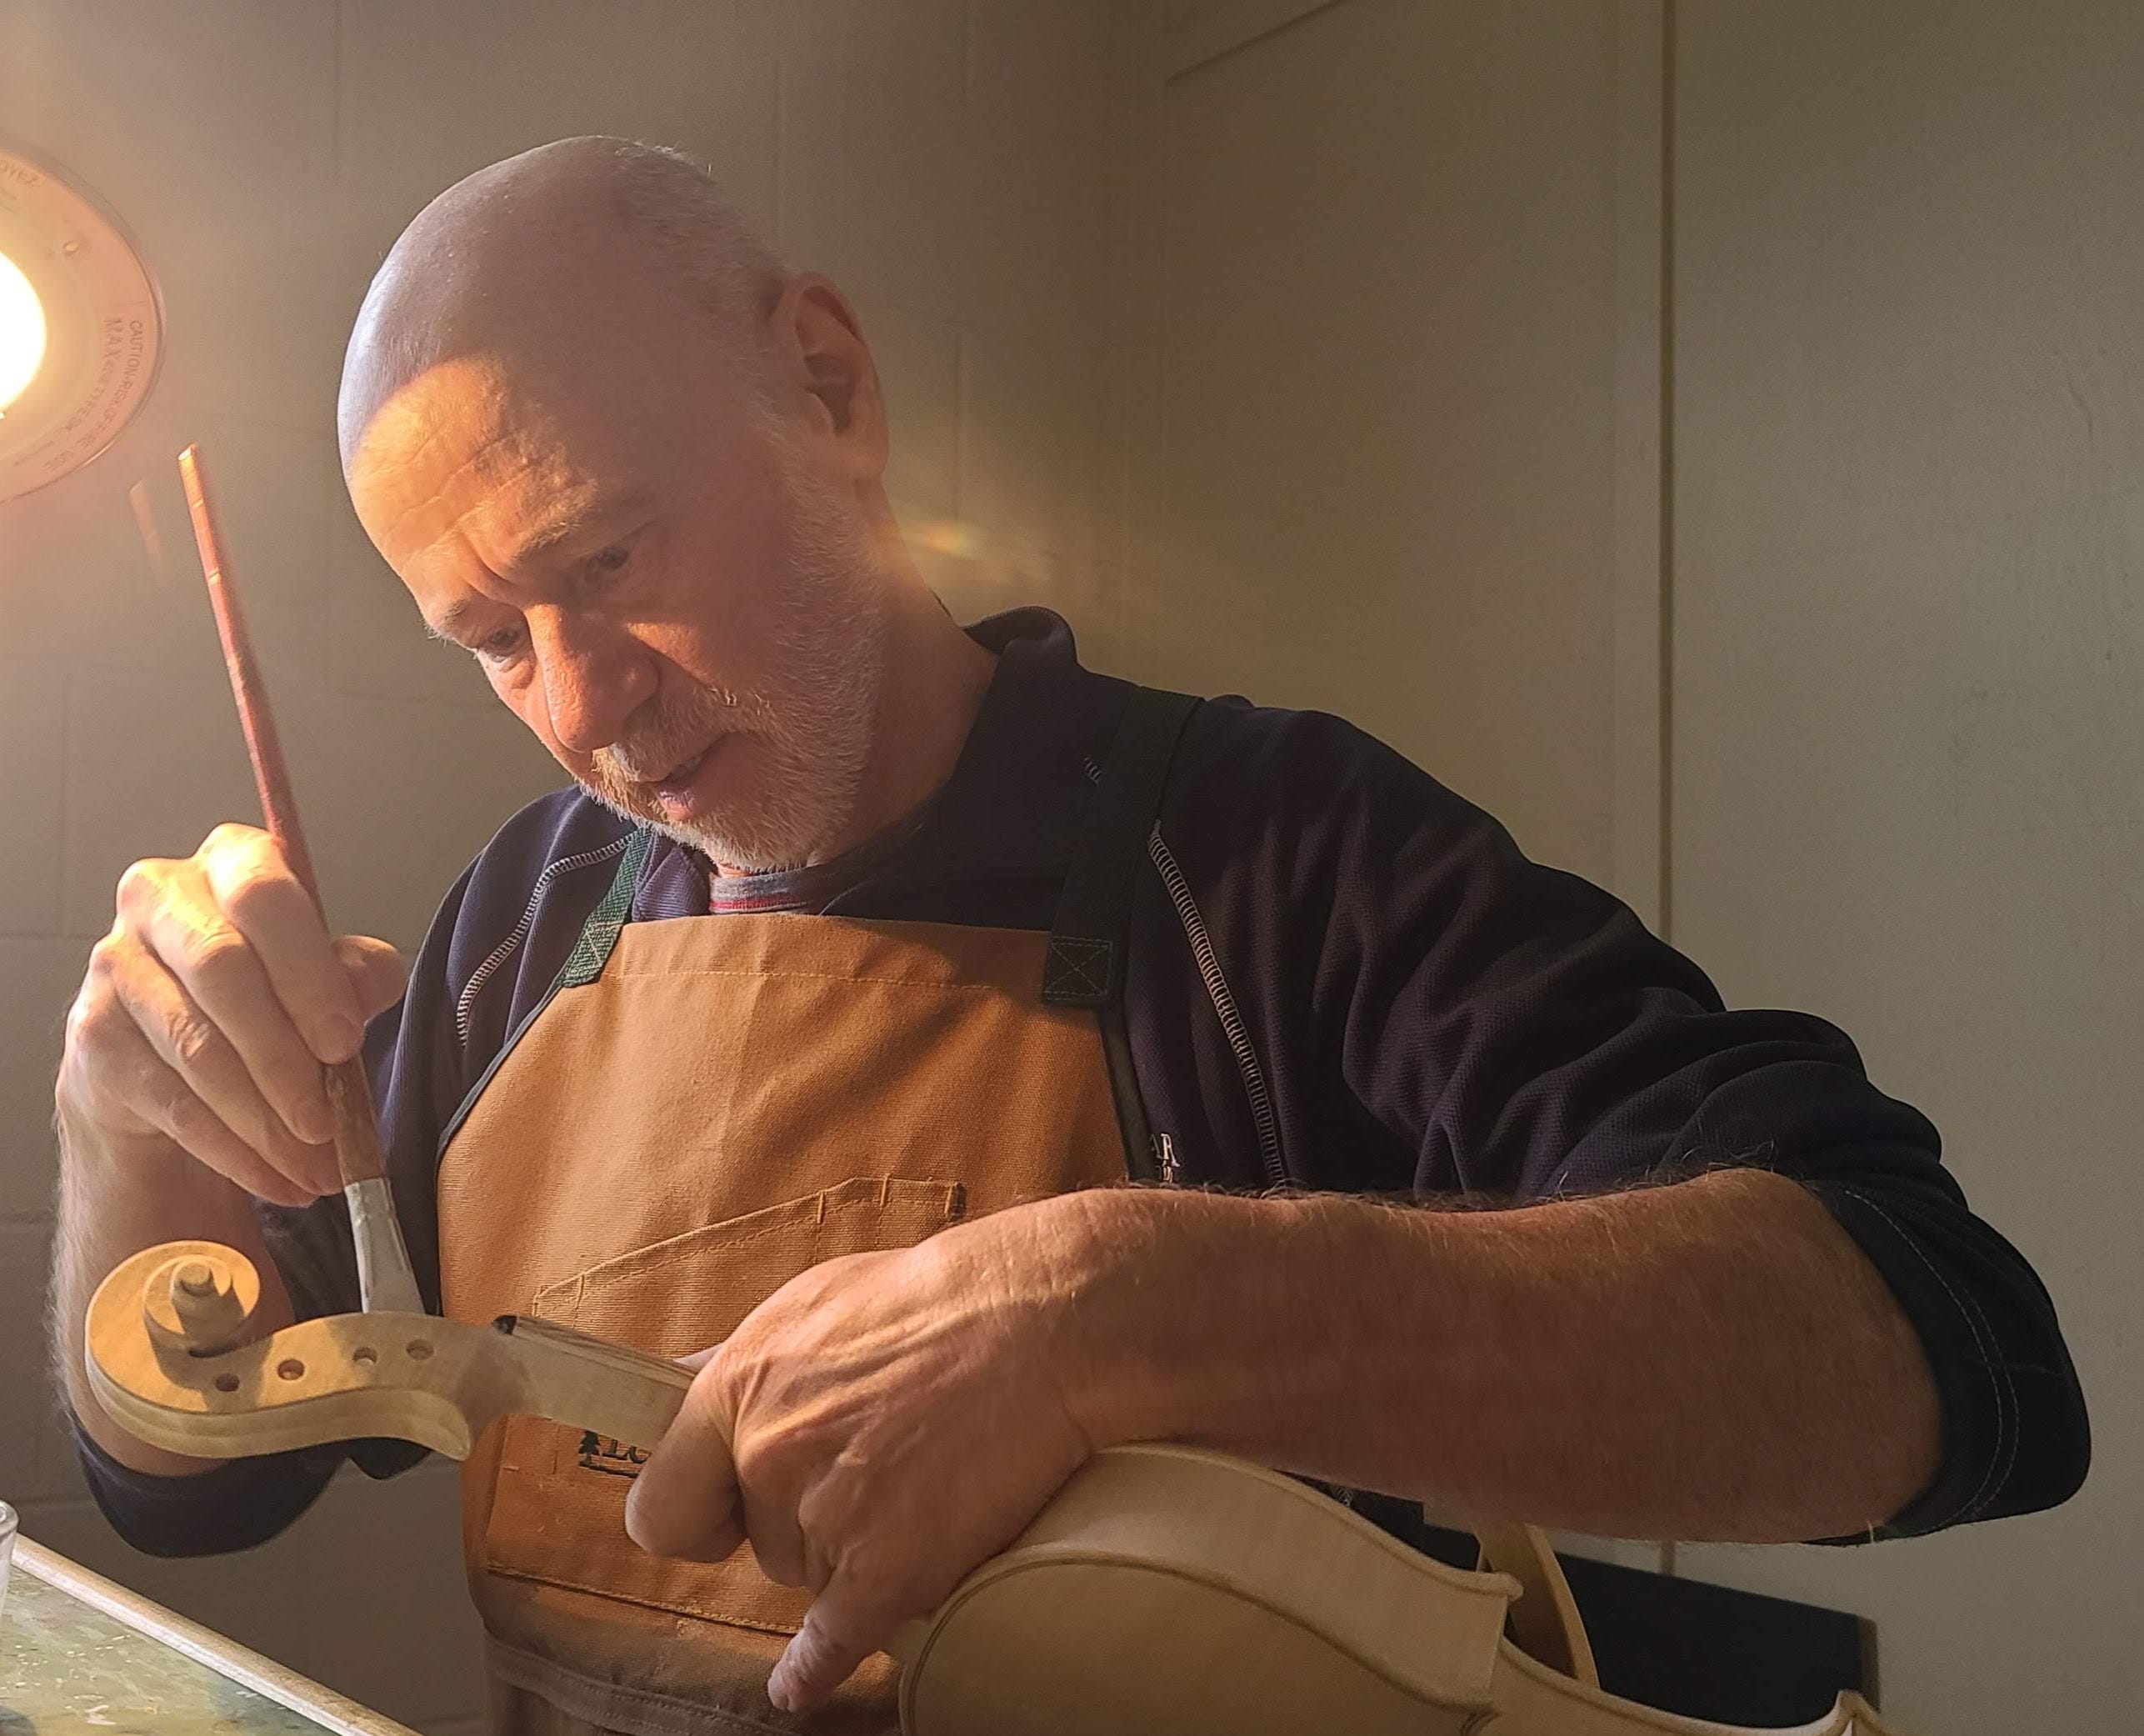
I began week 26 by finishing the peg holes. This is done using reamers that taper the holes to fit the pegs.
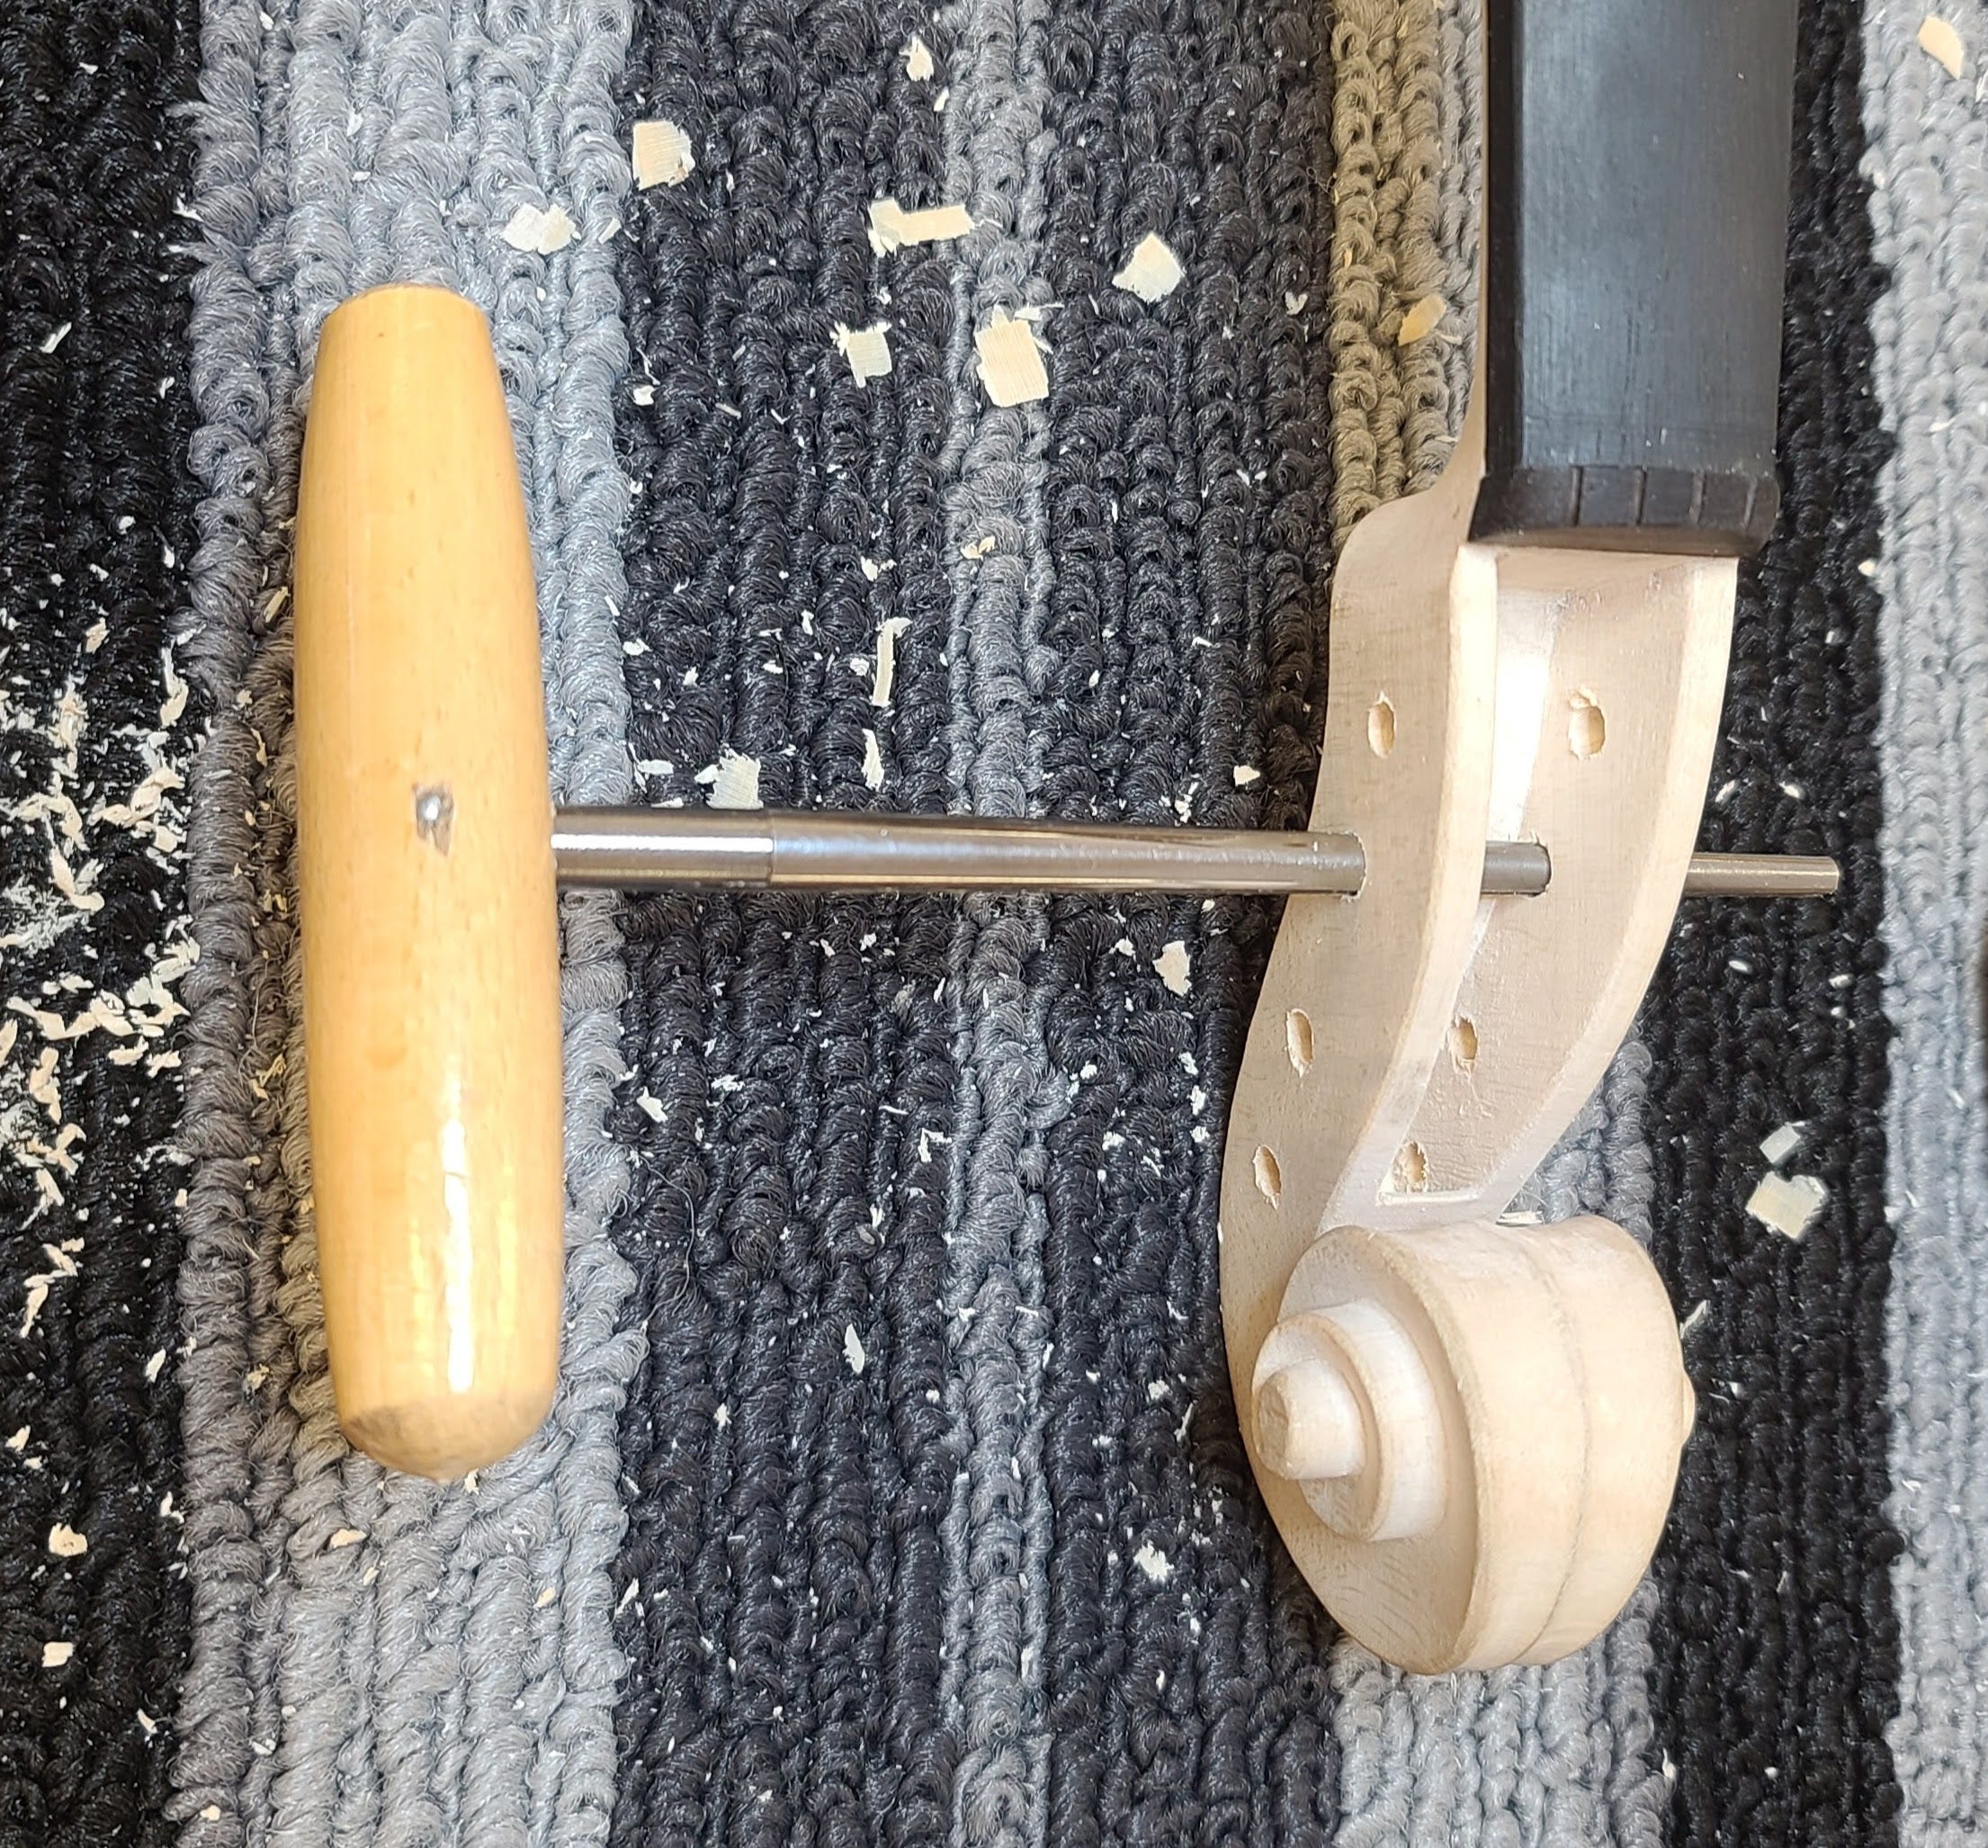
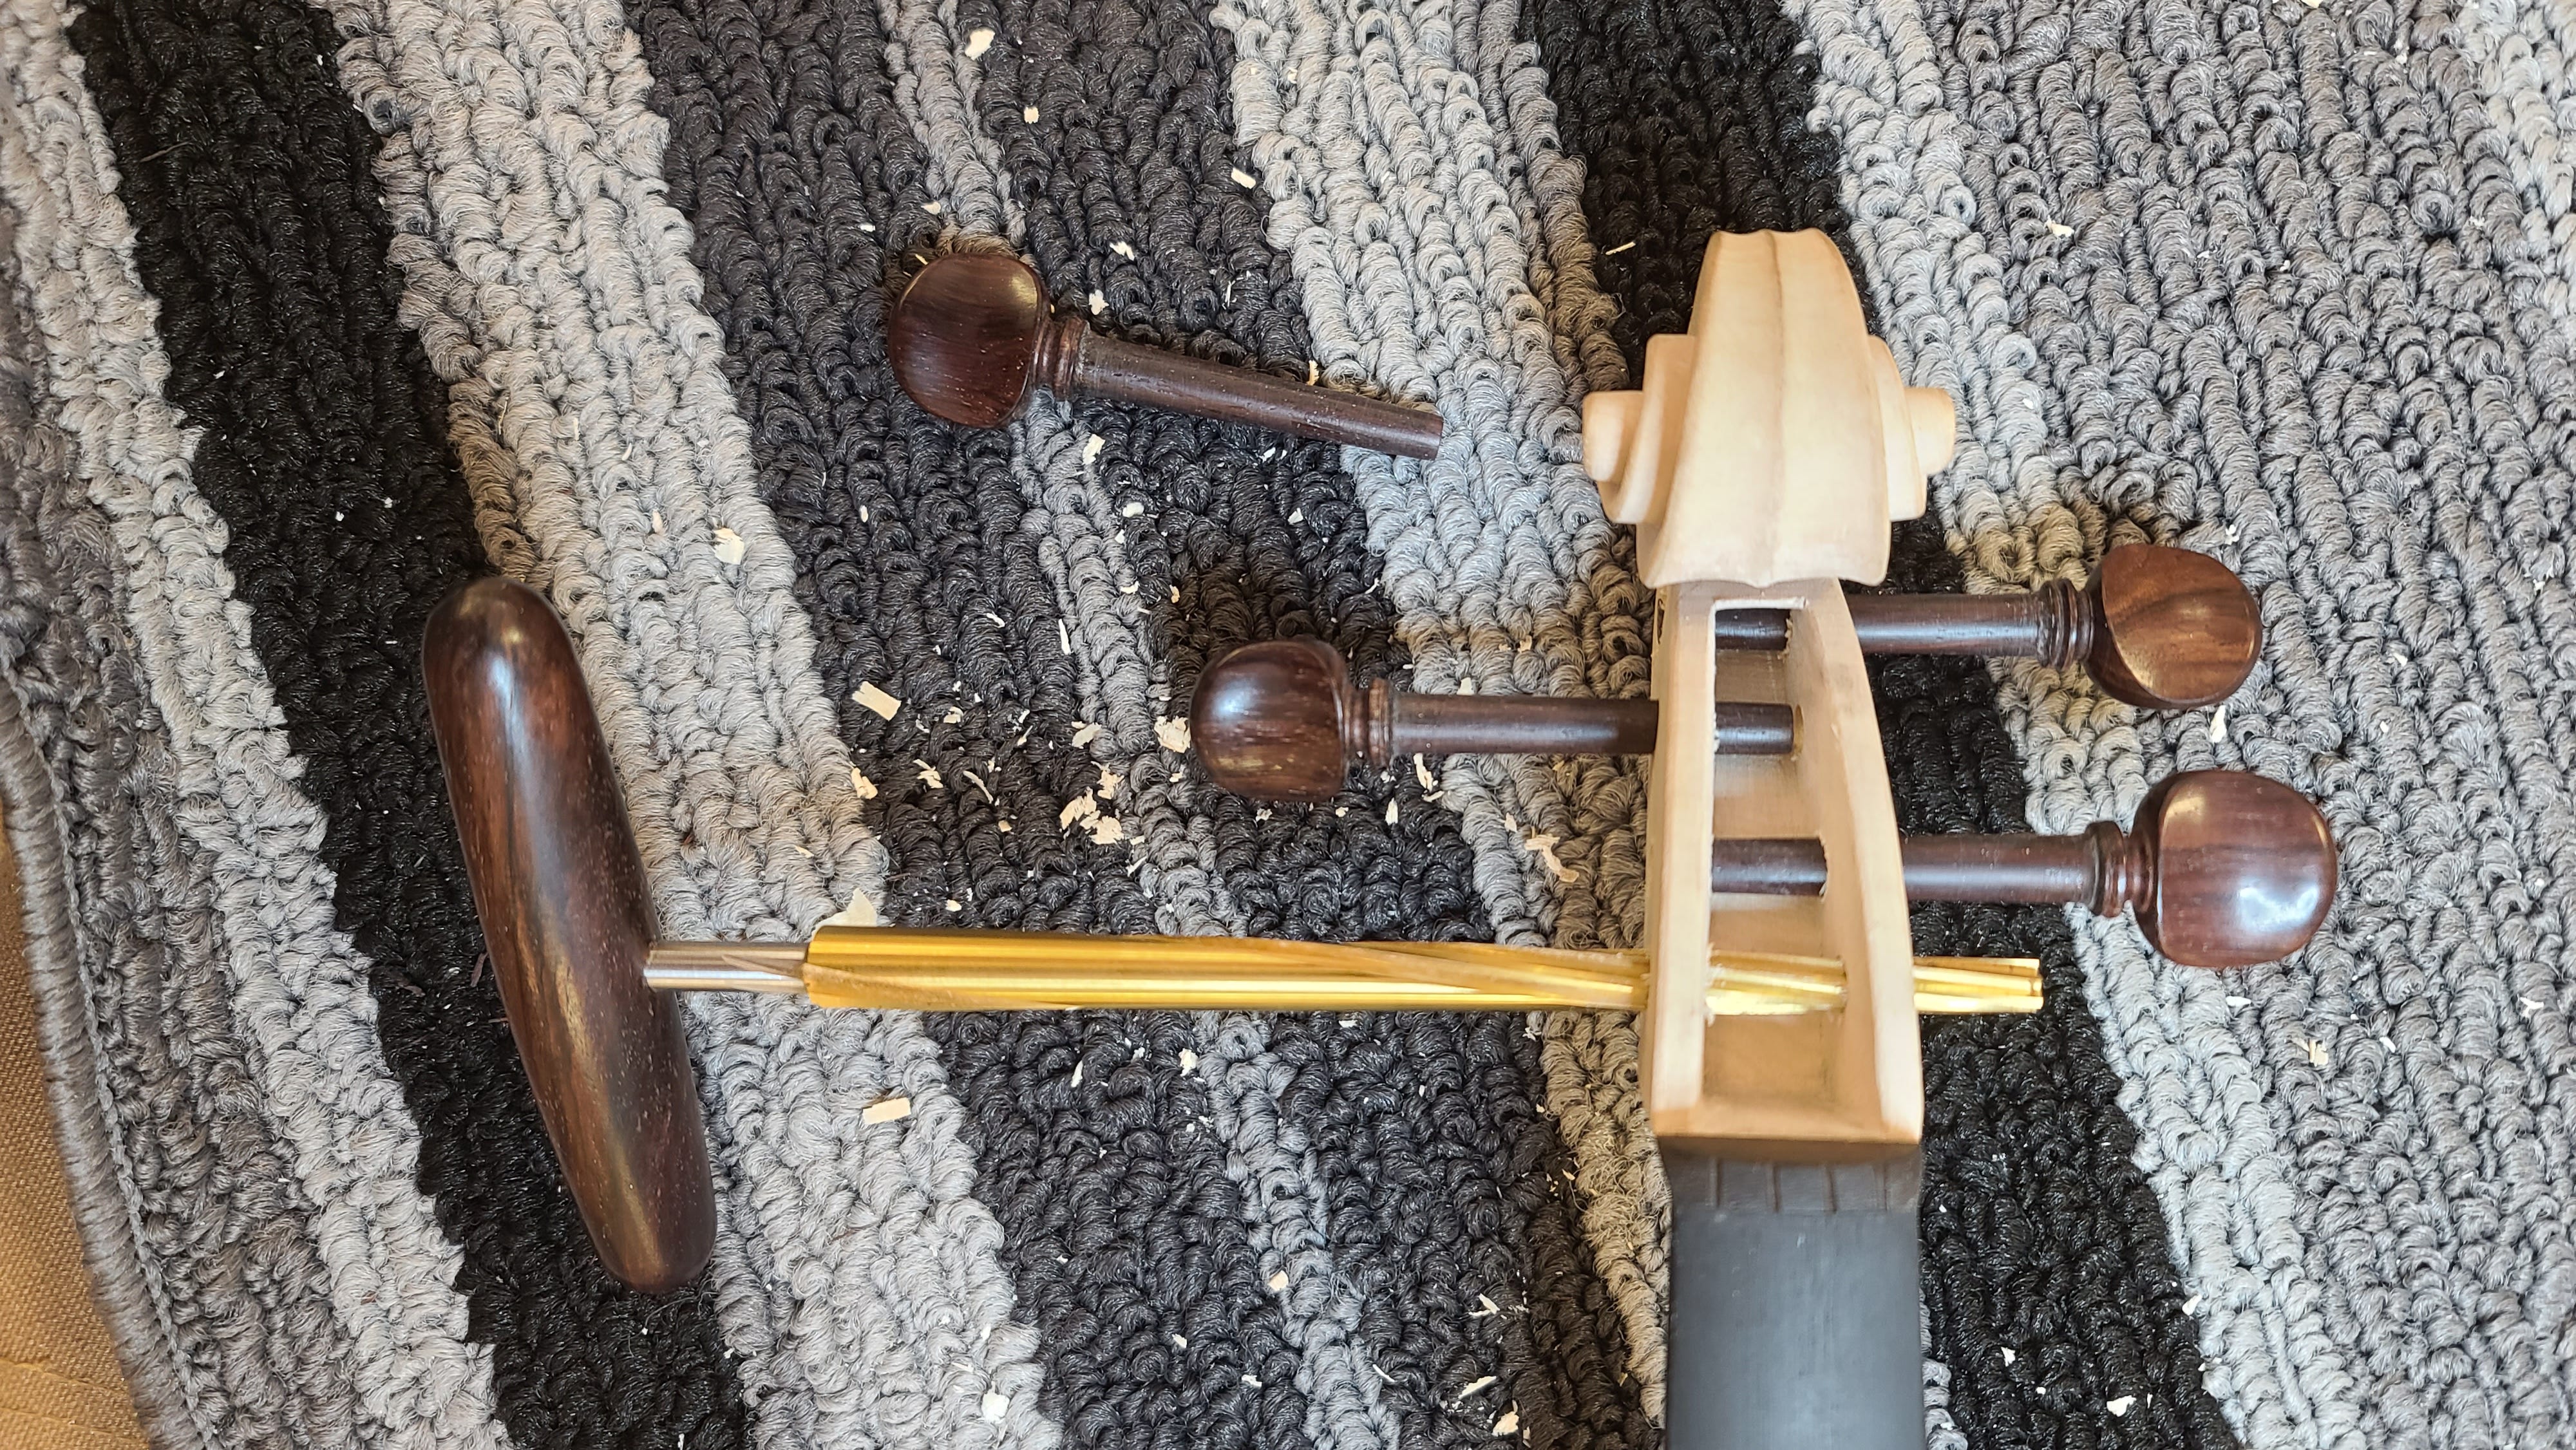
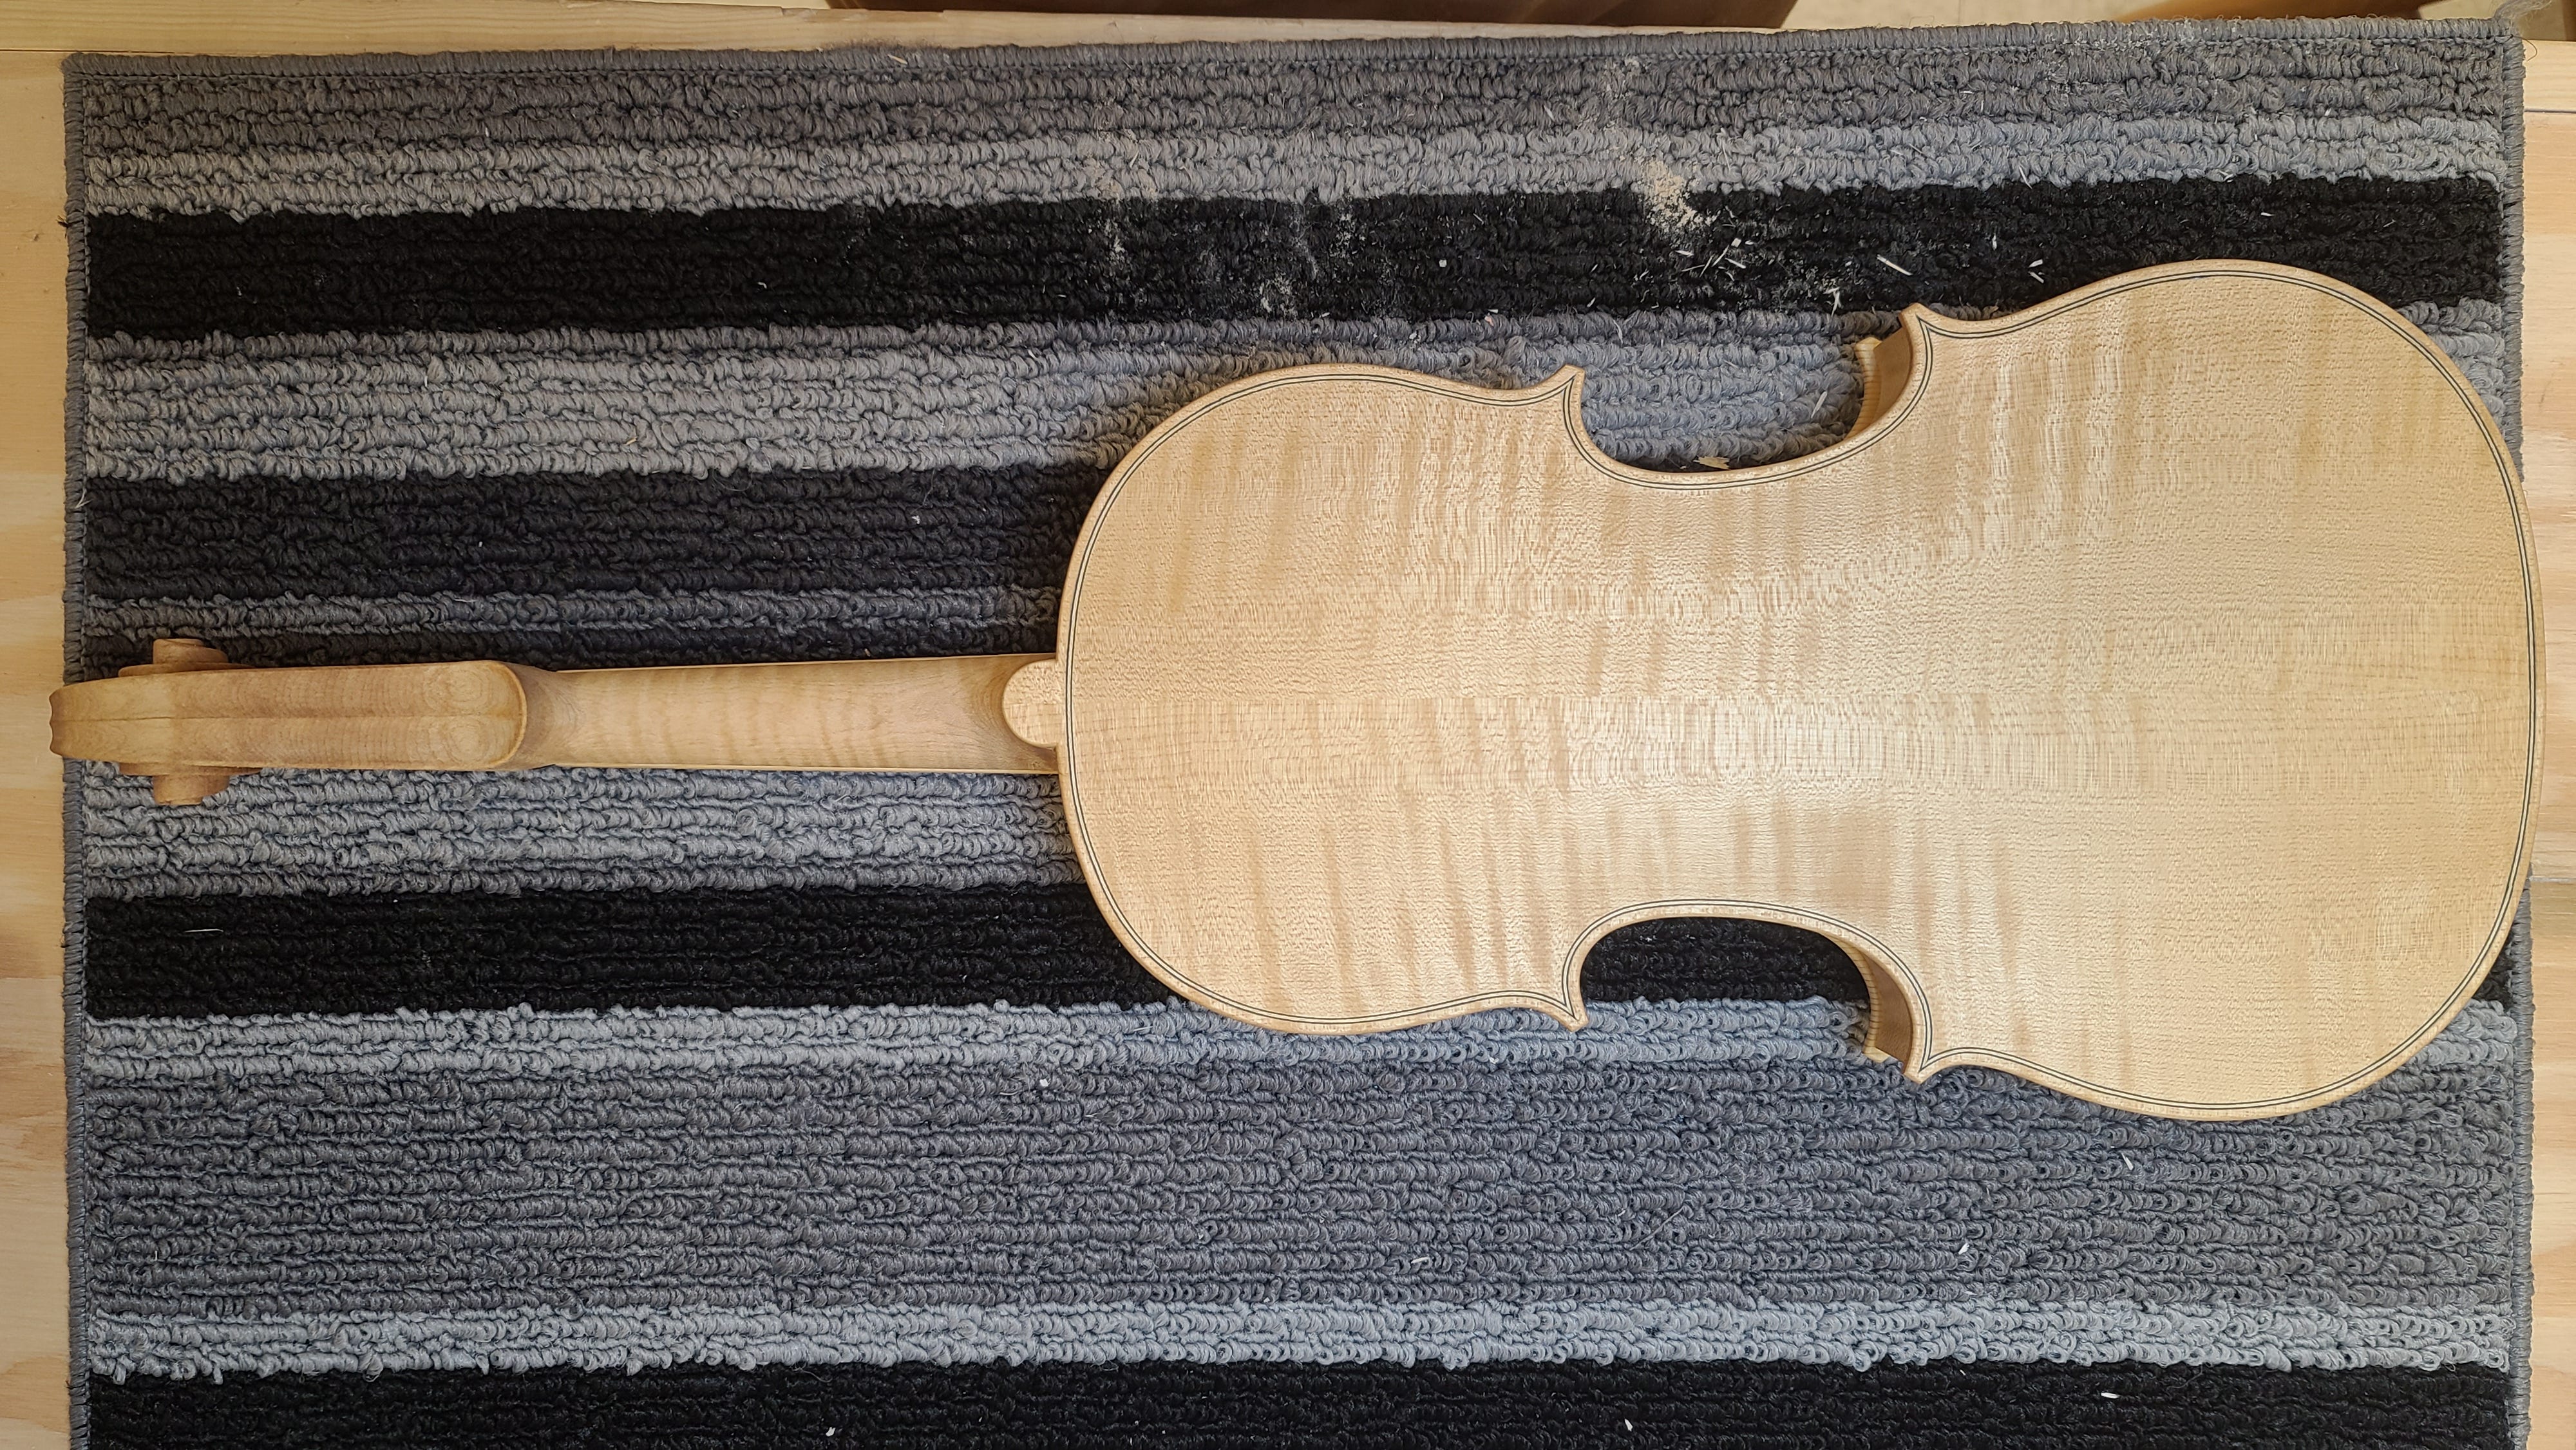
You can see above that there is still some finishing work to be done in the peg box but at this point, I was ready to string up the violin to try it “in the white”, pre-varnished.
It was great to see it for the first time looking like a playable violin!
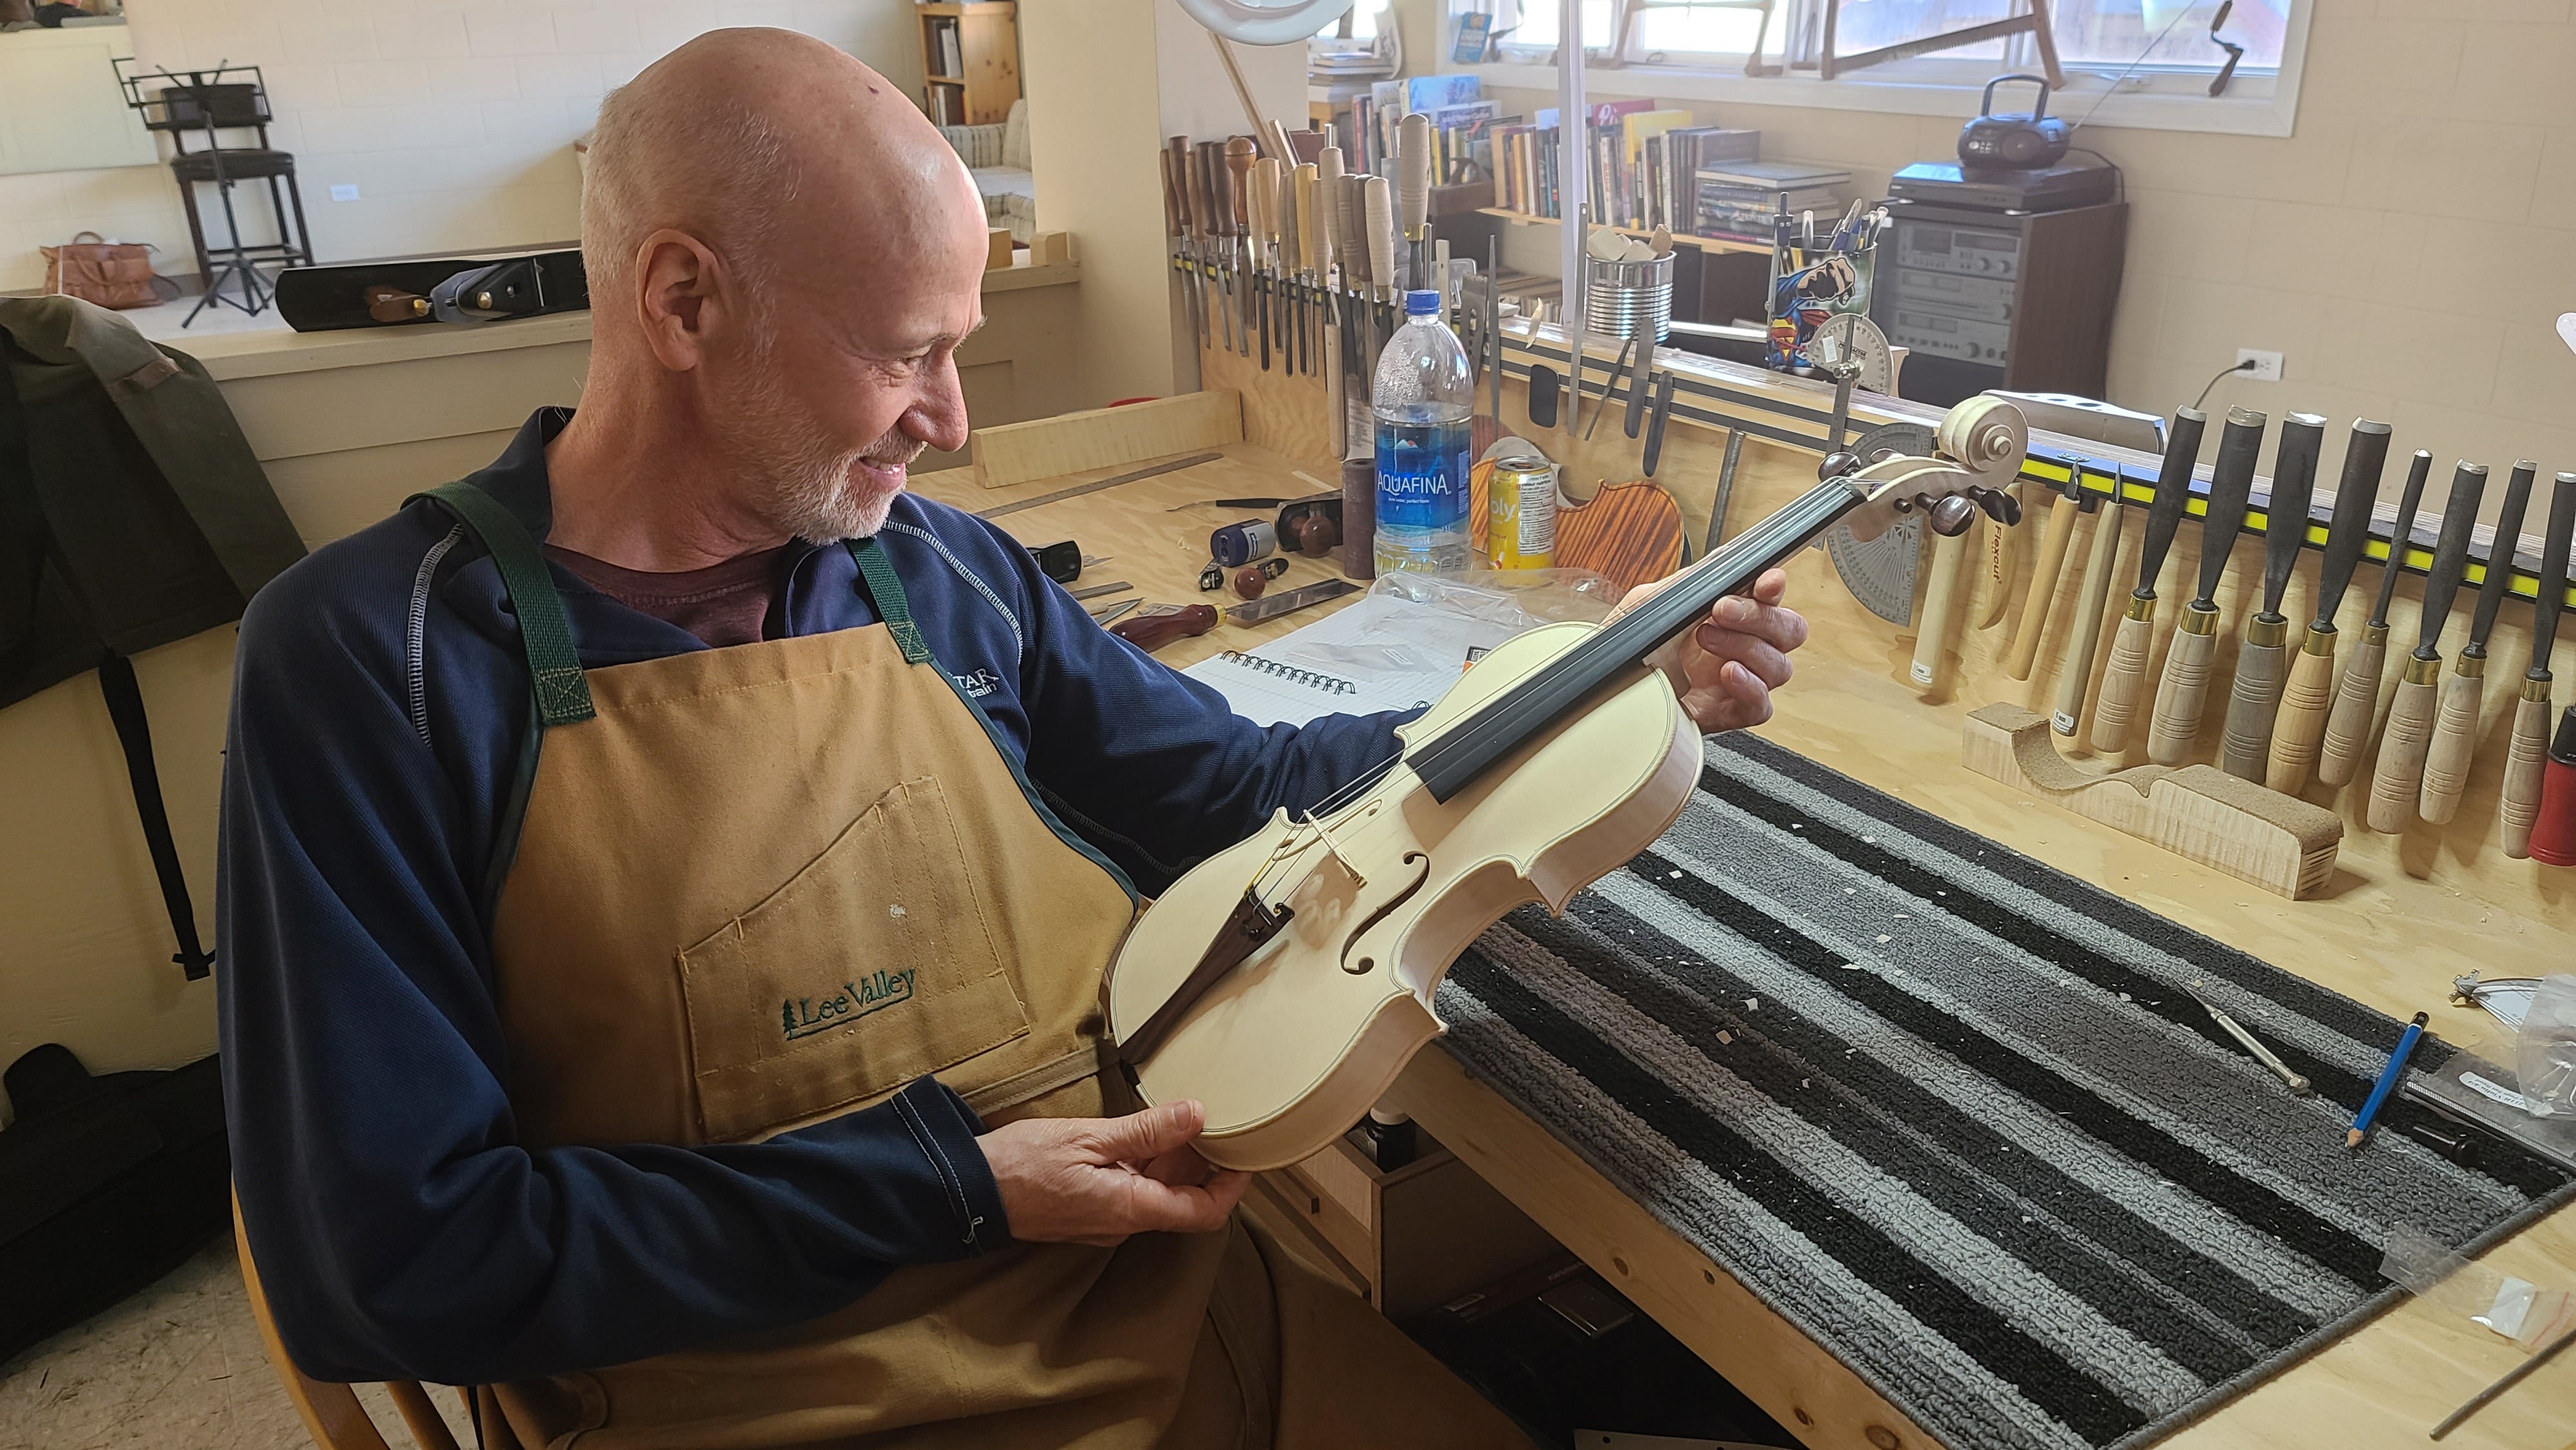
But the real test came when Chris tried it.
I did have a moment of regret. Too bad I’m a cellist and couldn’t be the first one to play it! But I was more than happy to let Chris have a go.
It was exciting to say the least! I was happy with how it sounded. A big and an even sound across the four strings, which are nice qualities to observe at this stage. The violin will of course still change after it is varnished, after the final final set up (bridge refined, sound post perhaps adjusted a bit), and most of all, as it matures and gets “broken in” through playing.
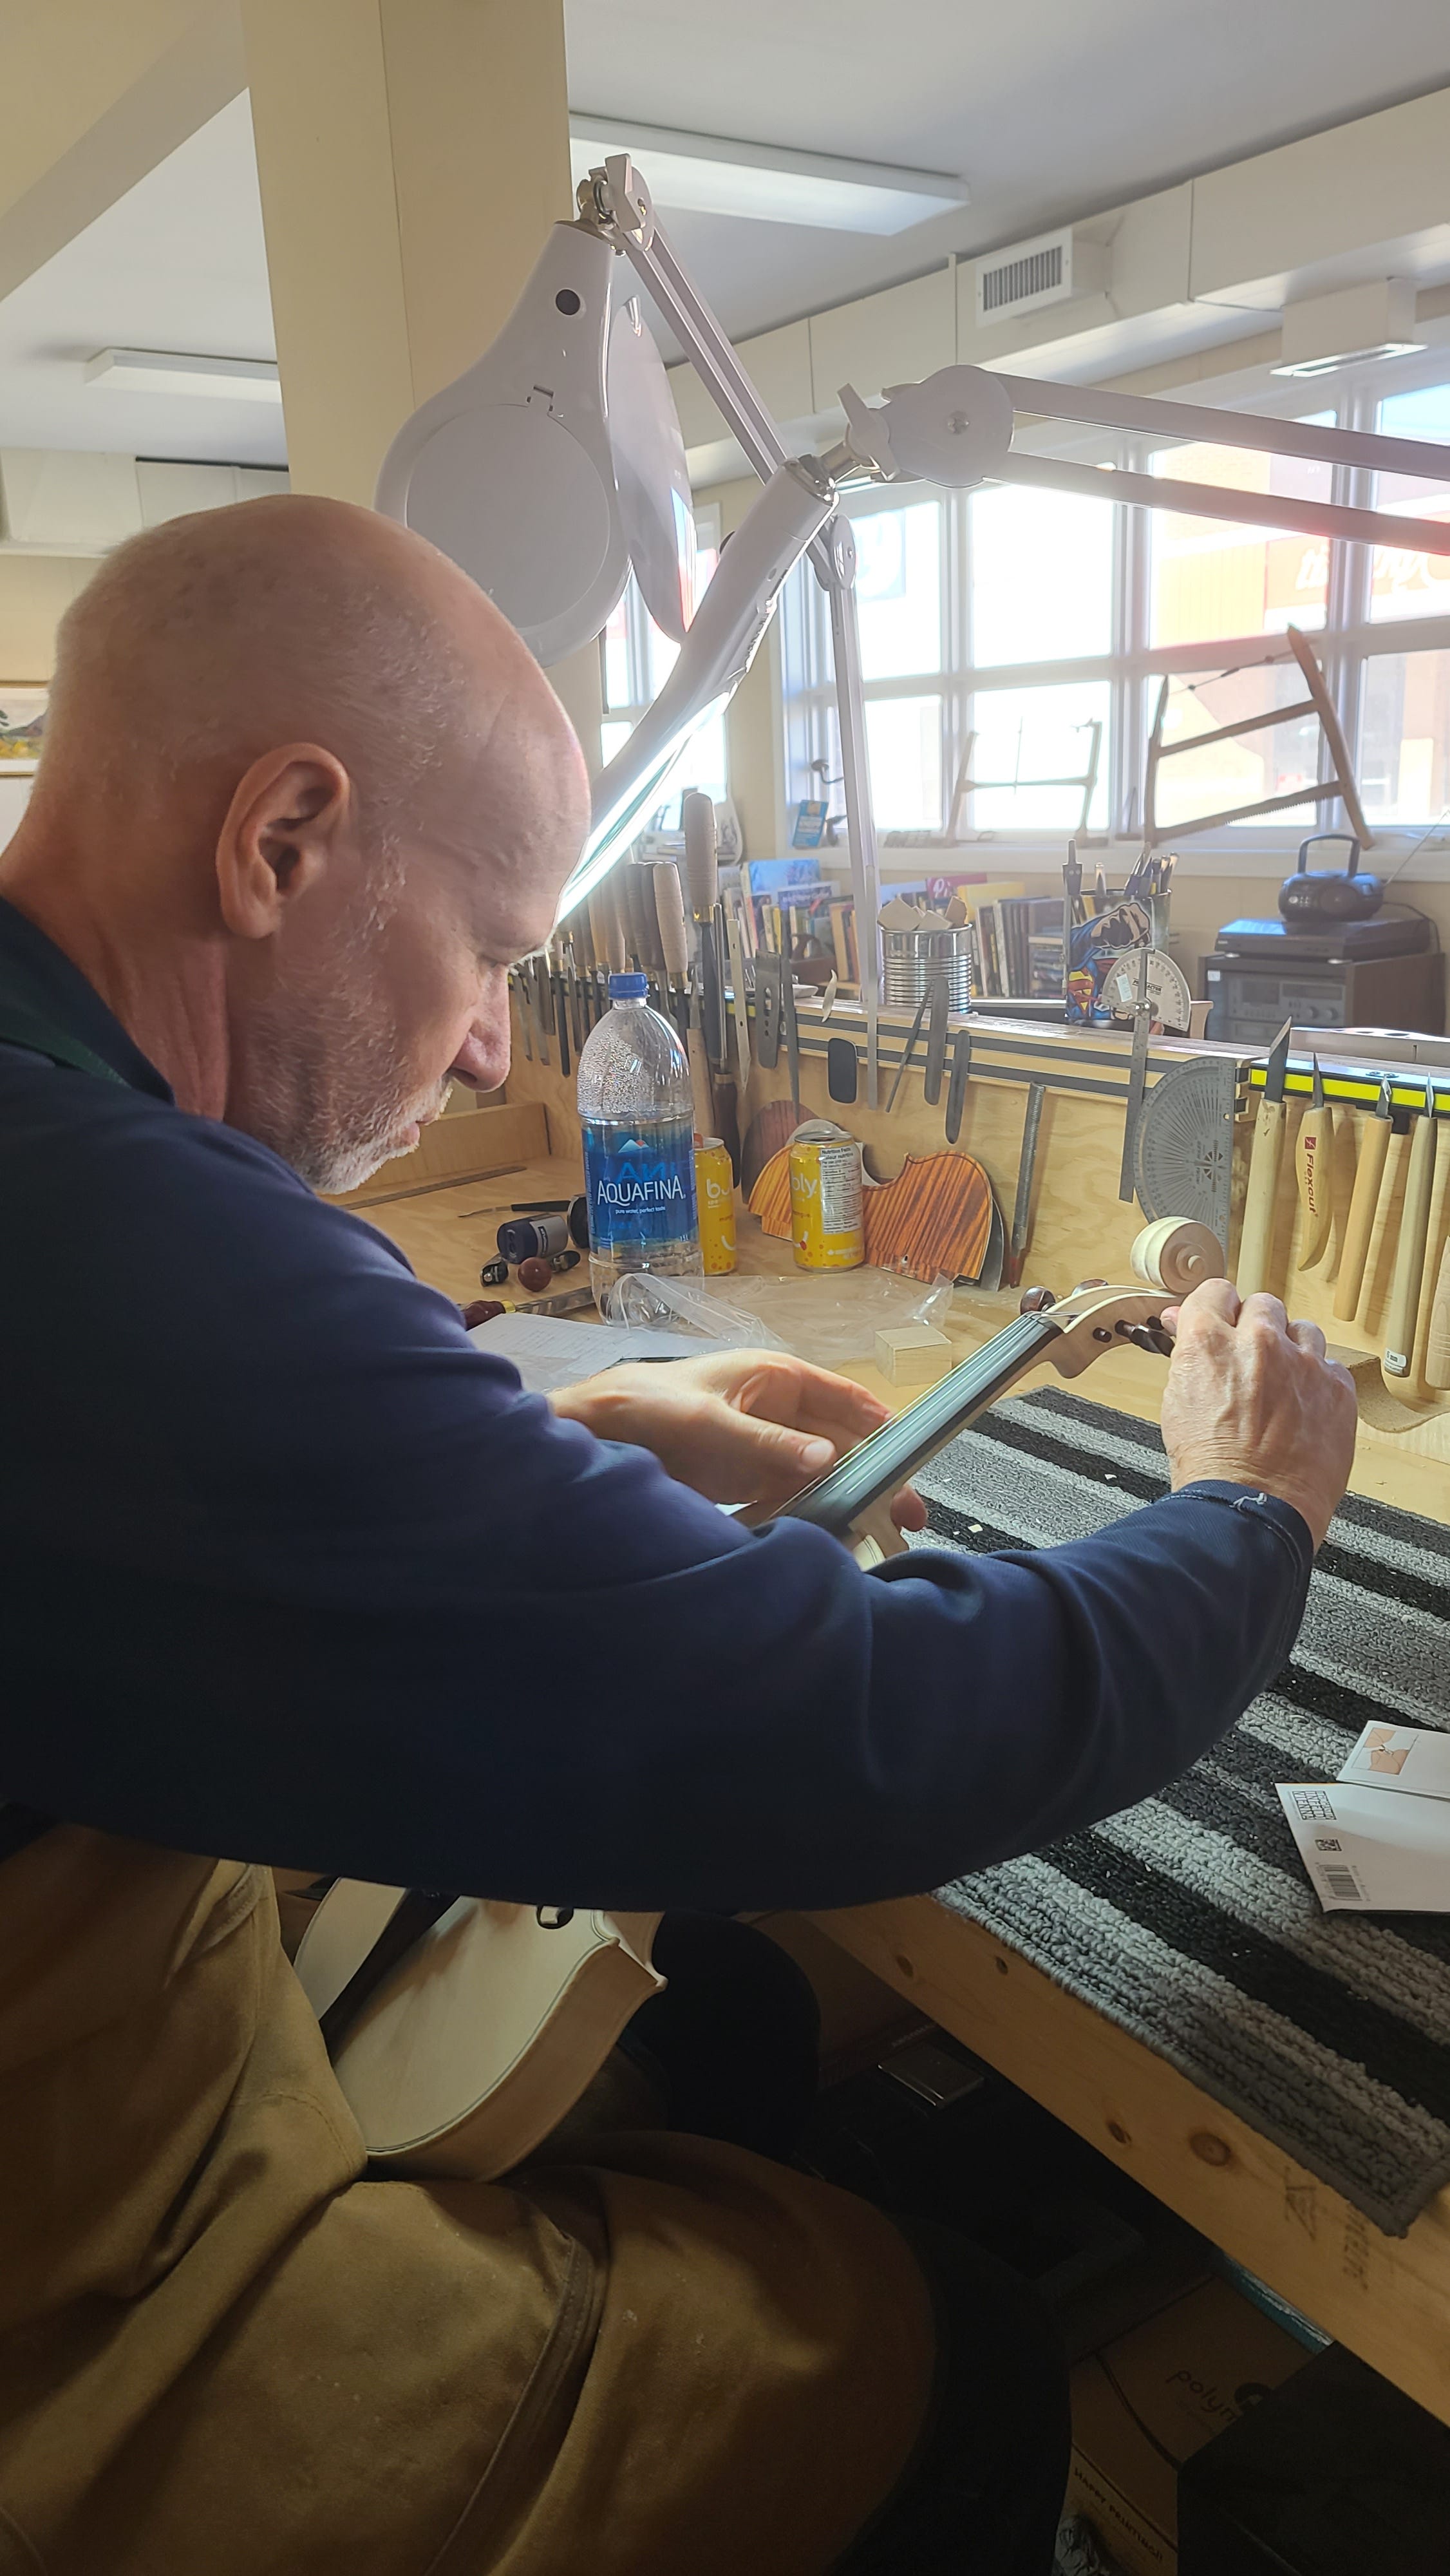
For now though, time to unstring it and do some final work before varnishing.
The peg box was a little tight at the bottom. I deepened it a bit and cleaned it up.
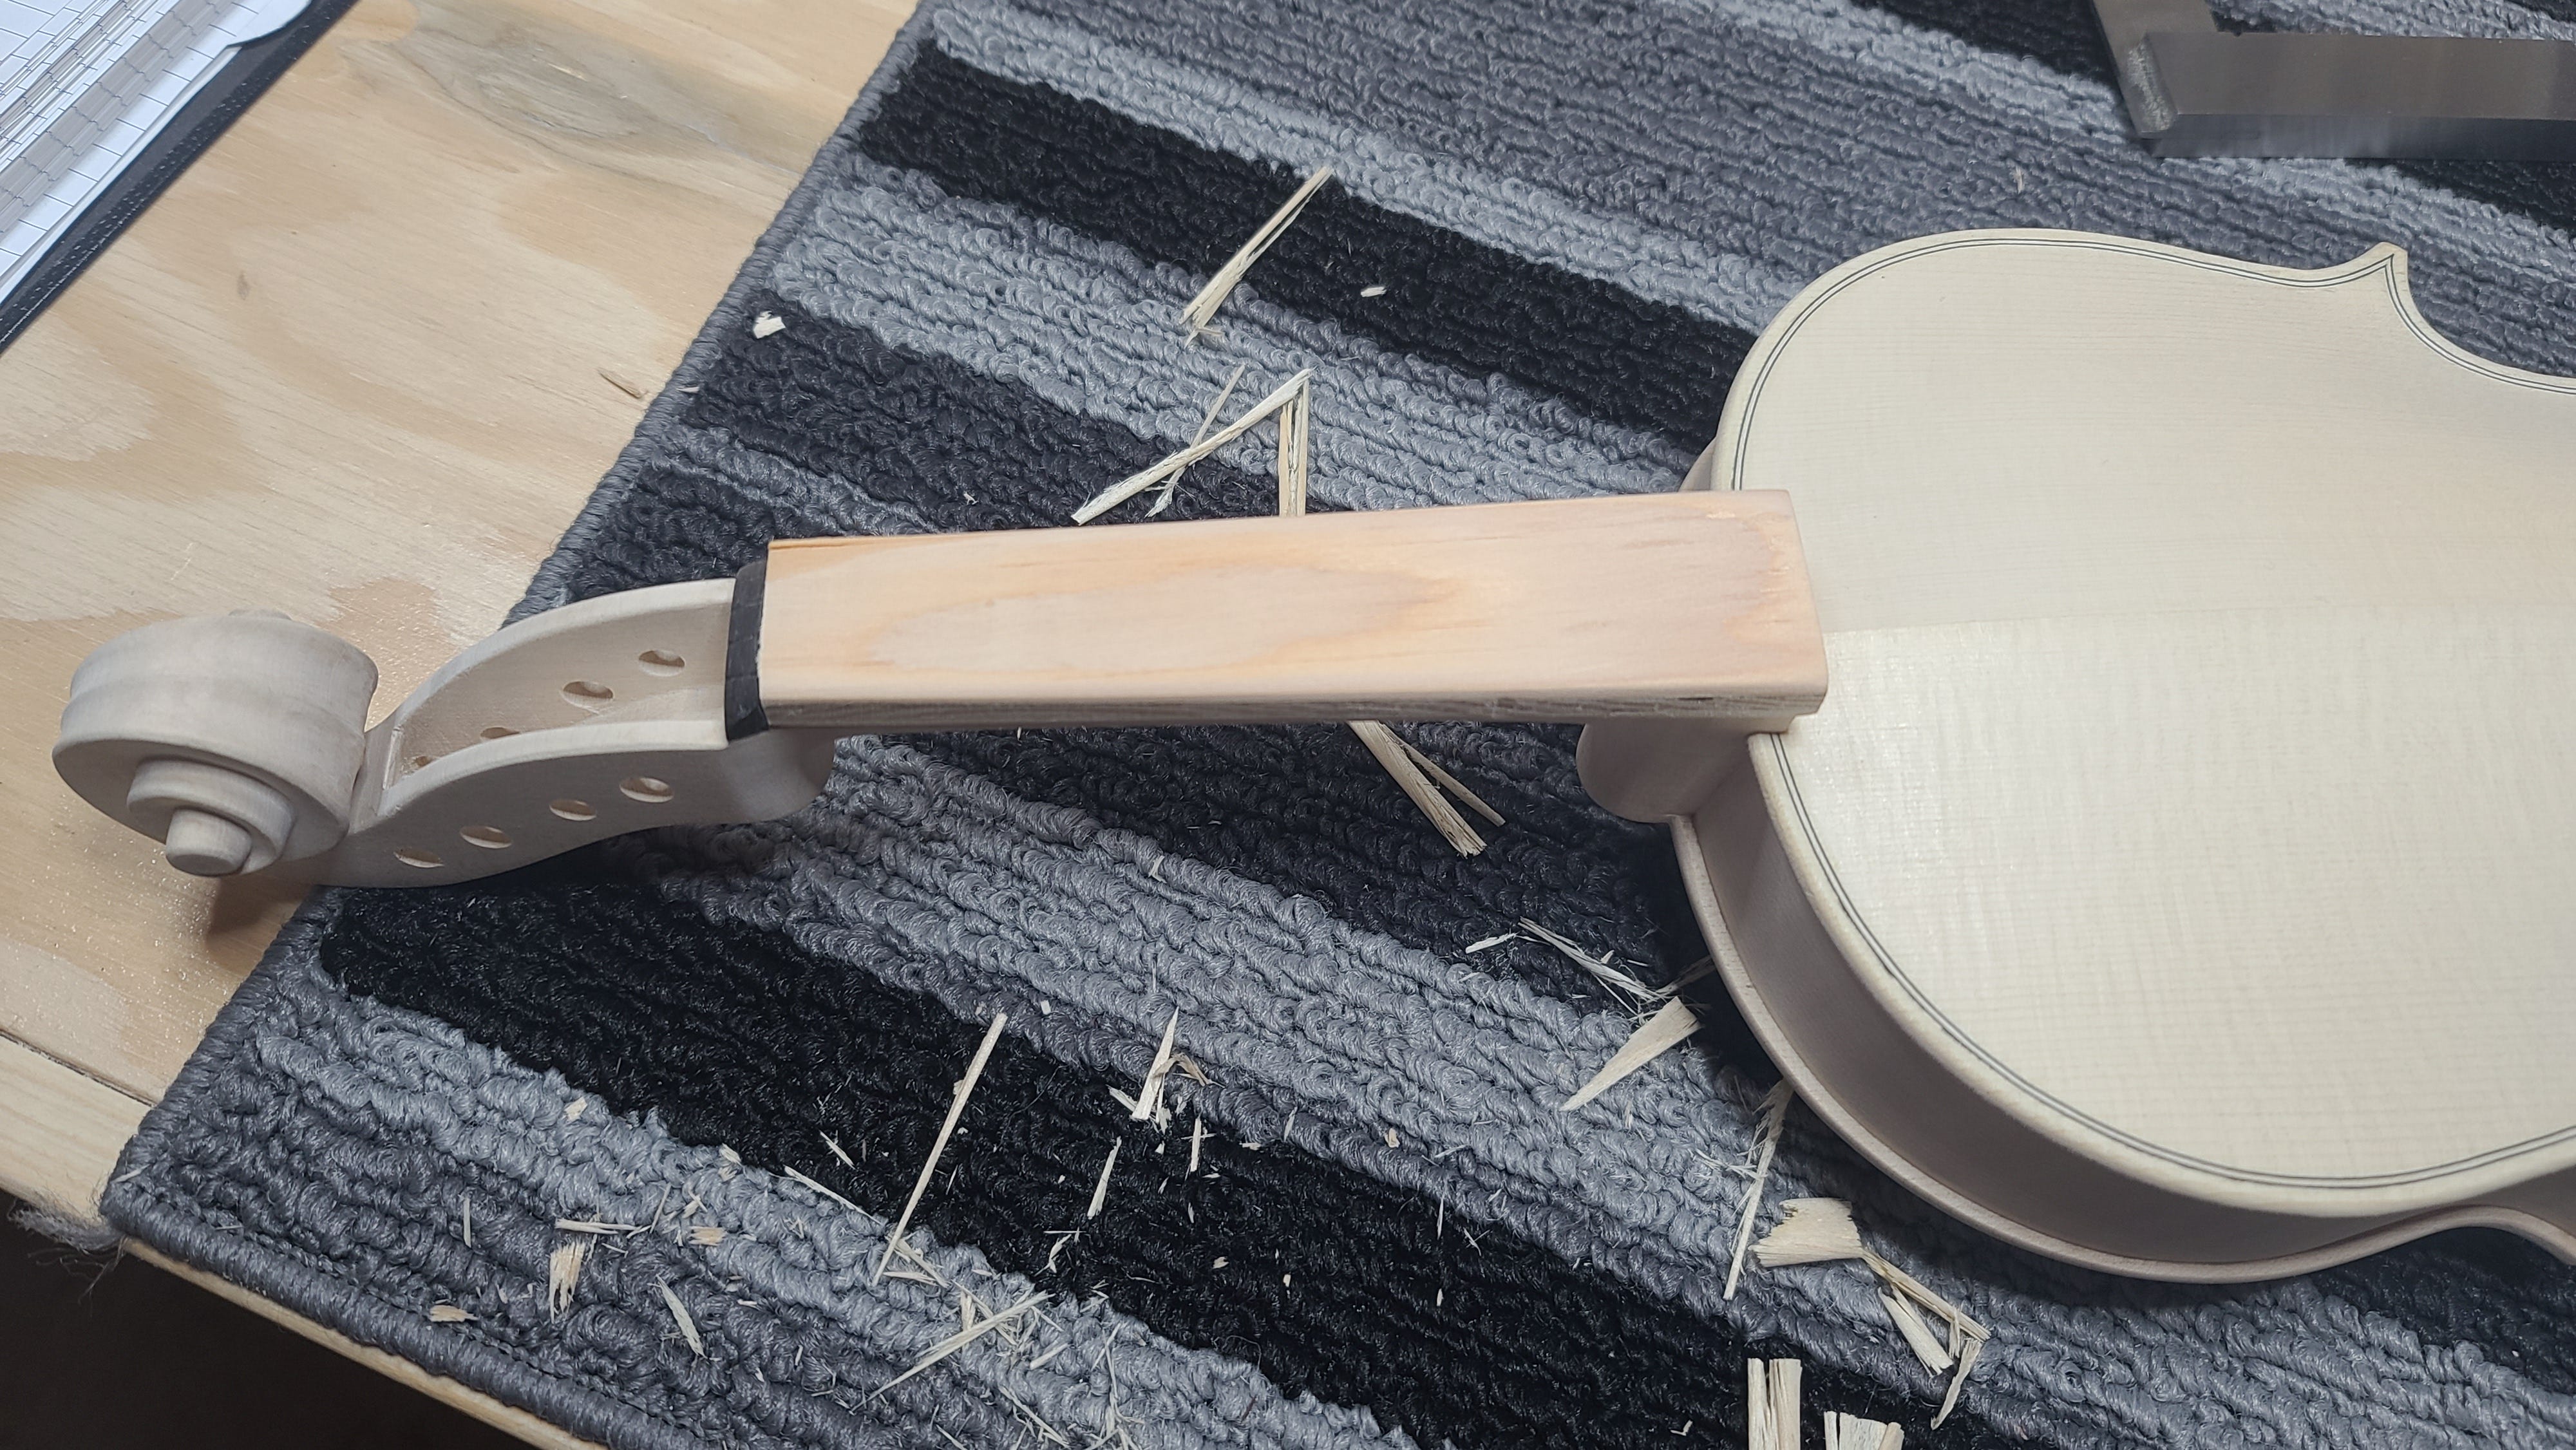
Then the fingerboard was taken off. It had only been tacked on temporarily.
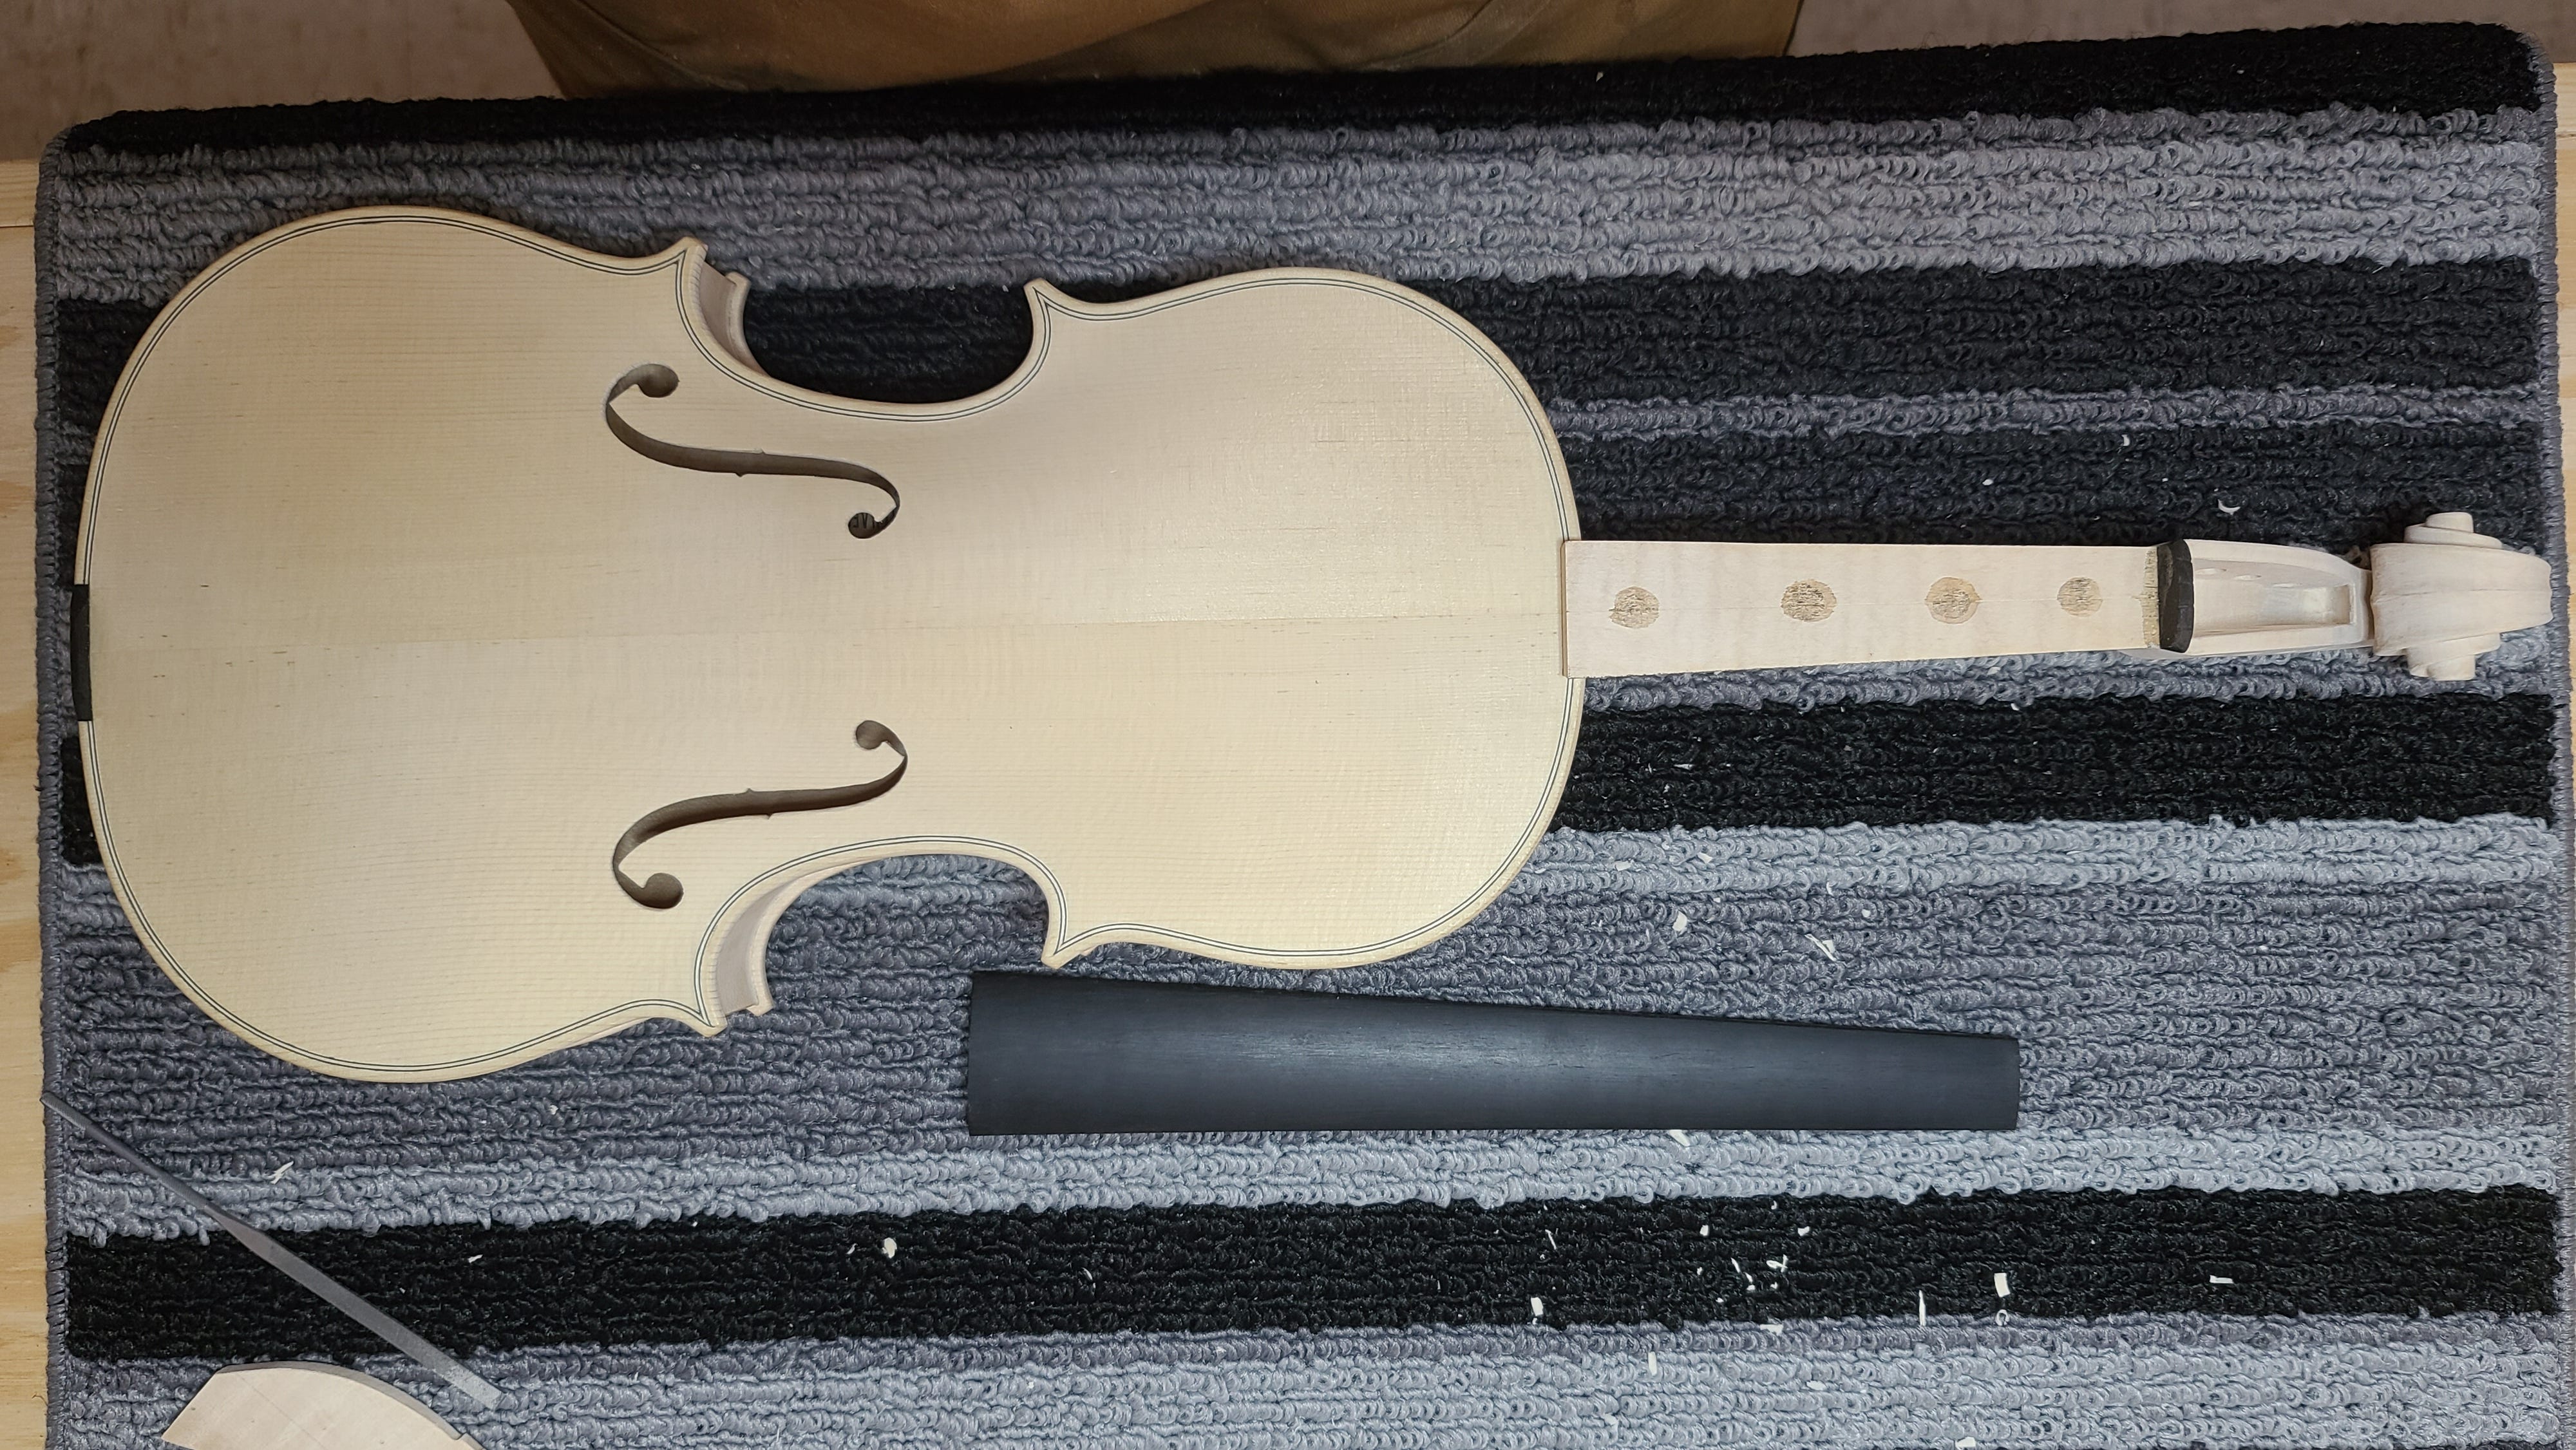
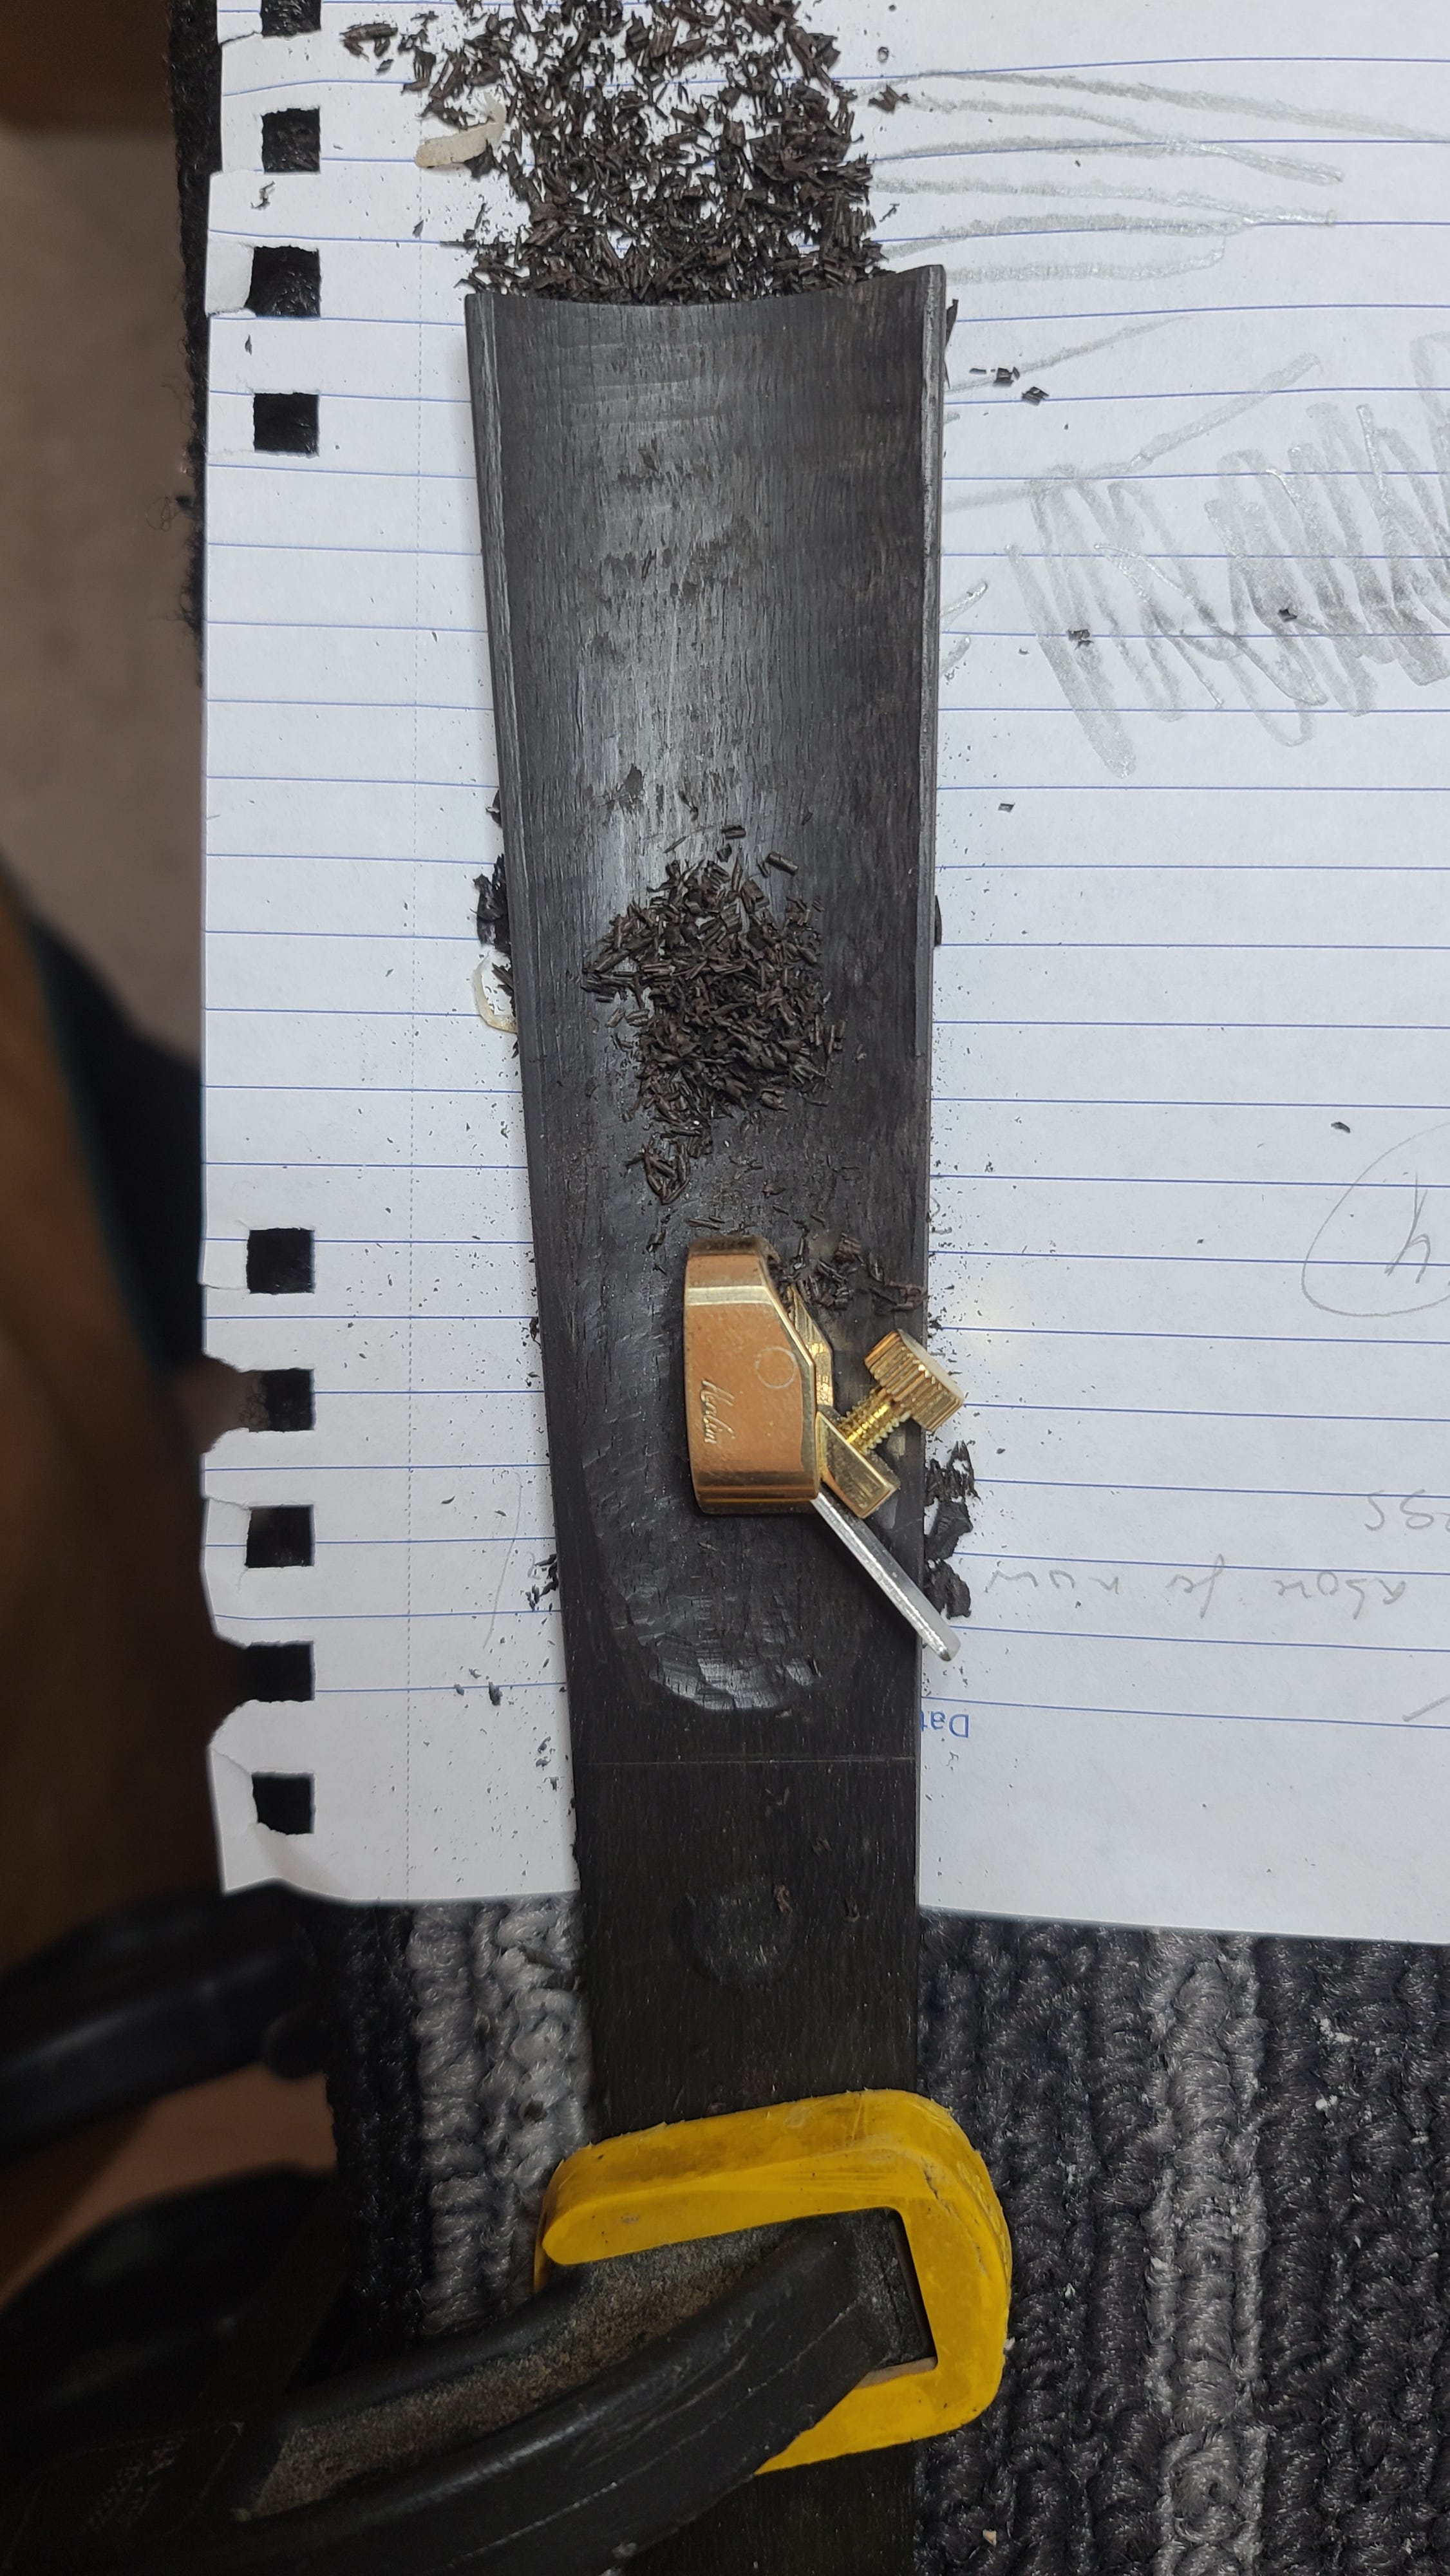
I still needed to take some excess material off the underside, which I did with a finger plane and scraper.
The fingerboard doesn’t get varnished so it stays off during the varnishing process. It is replaced with a temporary piece of wood to protect the neck. I made it out of a scrap and tacked it on with some glue.
I was then ready to start varnishing. You can read countless articles on the art and science of varnishing. There are many theories on the best way to go about it and the best varnishes or other liquids and materials to use. Every maker has their method and their secrets. I started with a base coat to seal the instrument.
Between each coat, the instrument gets some time in an ultra violet light box to accelerate the drying process and replicate, as best as possible, an instrument drying for considerable time in the sun.
So far, my violin is mostly clear.
As you move through the varnishing process, you start making colouring choices, deciding how you want the instrument to look when it is finished. I will be making more decisions on tinting of my oil varnish as the process moves along next week. It will get darker and more amber in colour.
Michael Duschenes is a student at the Canadian Violin Making Institute.
Michael congratulations it sounds so rich; beefy! Wow it kind of a miracle. Bravo.
Yup. It works now.