

Week 25 - Sound Post, Bridge and Pegs
March 7-11

Setting the sound post is another of many tasks in violin making that takes a lot of practice before you get the hang of it.
The sound post needs to be the right length to sit snugly inside the violin, between the top and the back, to offer strong support under one foot of the bridge. But it shouldn’t be so tight that it can’t be removed or moved around. The position is very important both for support and for sound.
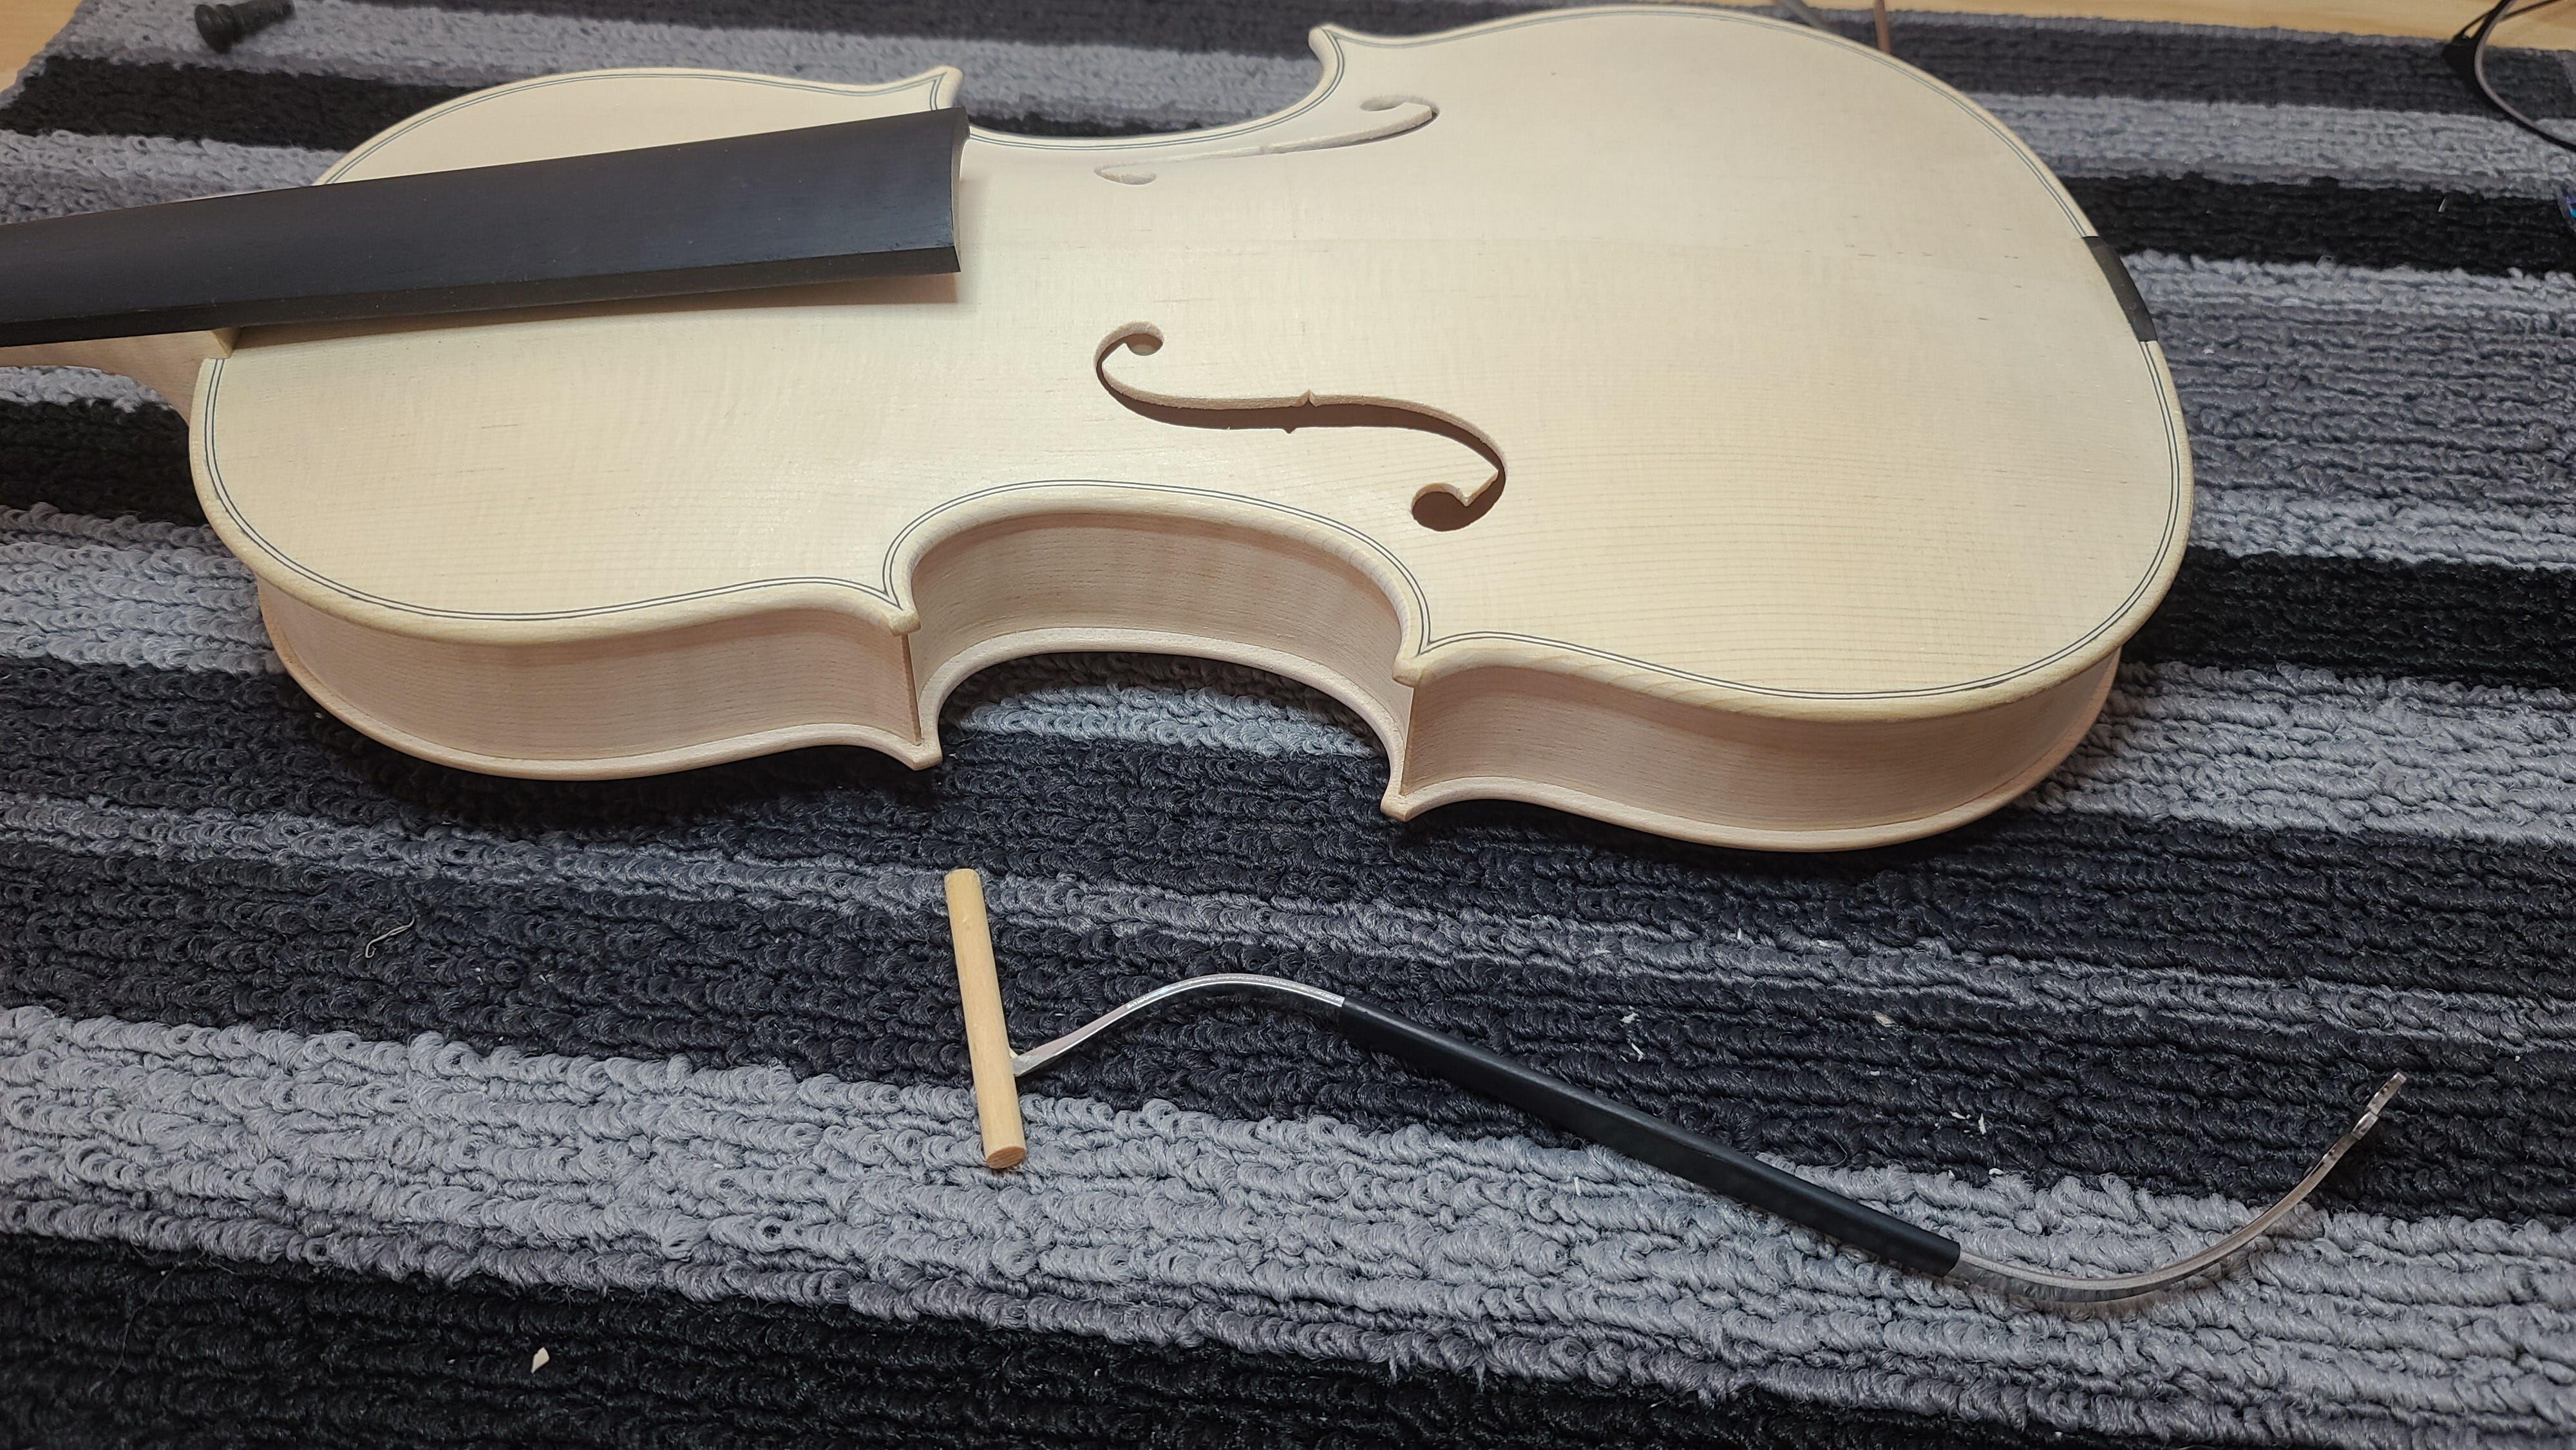
A sound post setter is the tool used for this task. The sharp end is stabbed into the post and then it is inserted into the violin through the f hole.

The best way I can describe how you get the post in place is… well… I can’t. Lots of trial and error of moving it around, pulling and pushing it so it stands in the right place. Once it’s in the right position, the setter has to be pulled out without knocking the post down.
The second most important tool is the one you use to grab the post when you are unsuccessful and it falls down, rattles around inside the violin and needs to be pulled out. I used it a lot.
Finally, after many attempts, you get it more or less right. I knocked mine down a number of times on purpose to practice. I was at it for many hours. Finally, it seemed to be pretty much straight and in the right place. It does not get glued, it is held in place simply from the pressure at each end from the top and back of the instrument.
On a totally different note, Drew had a big week at school, carving his purfling channel and gluing in the purfling. Always an exciting day in the violin making process.
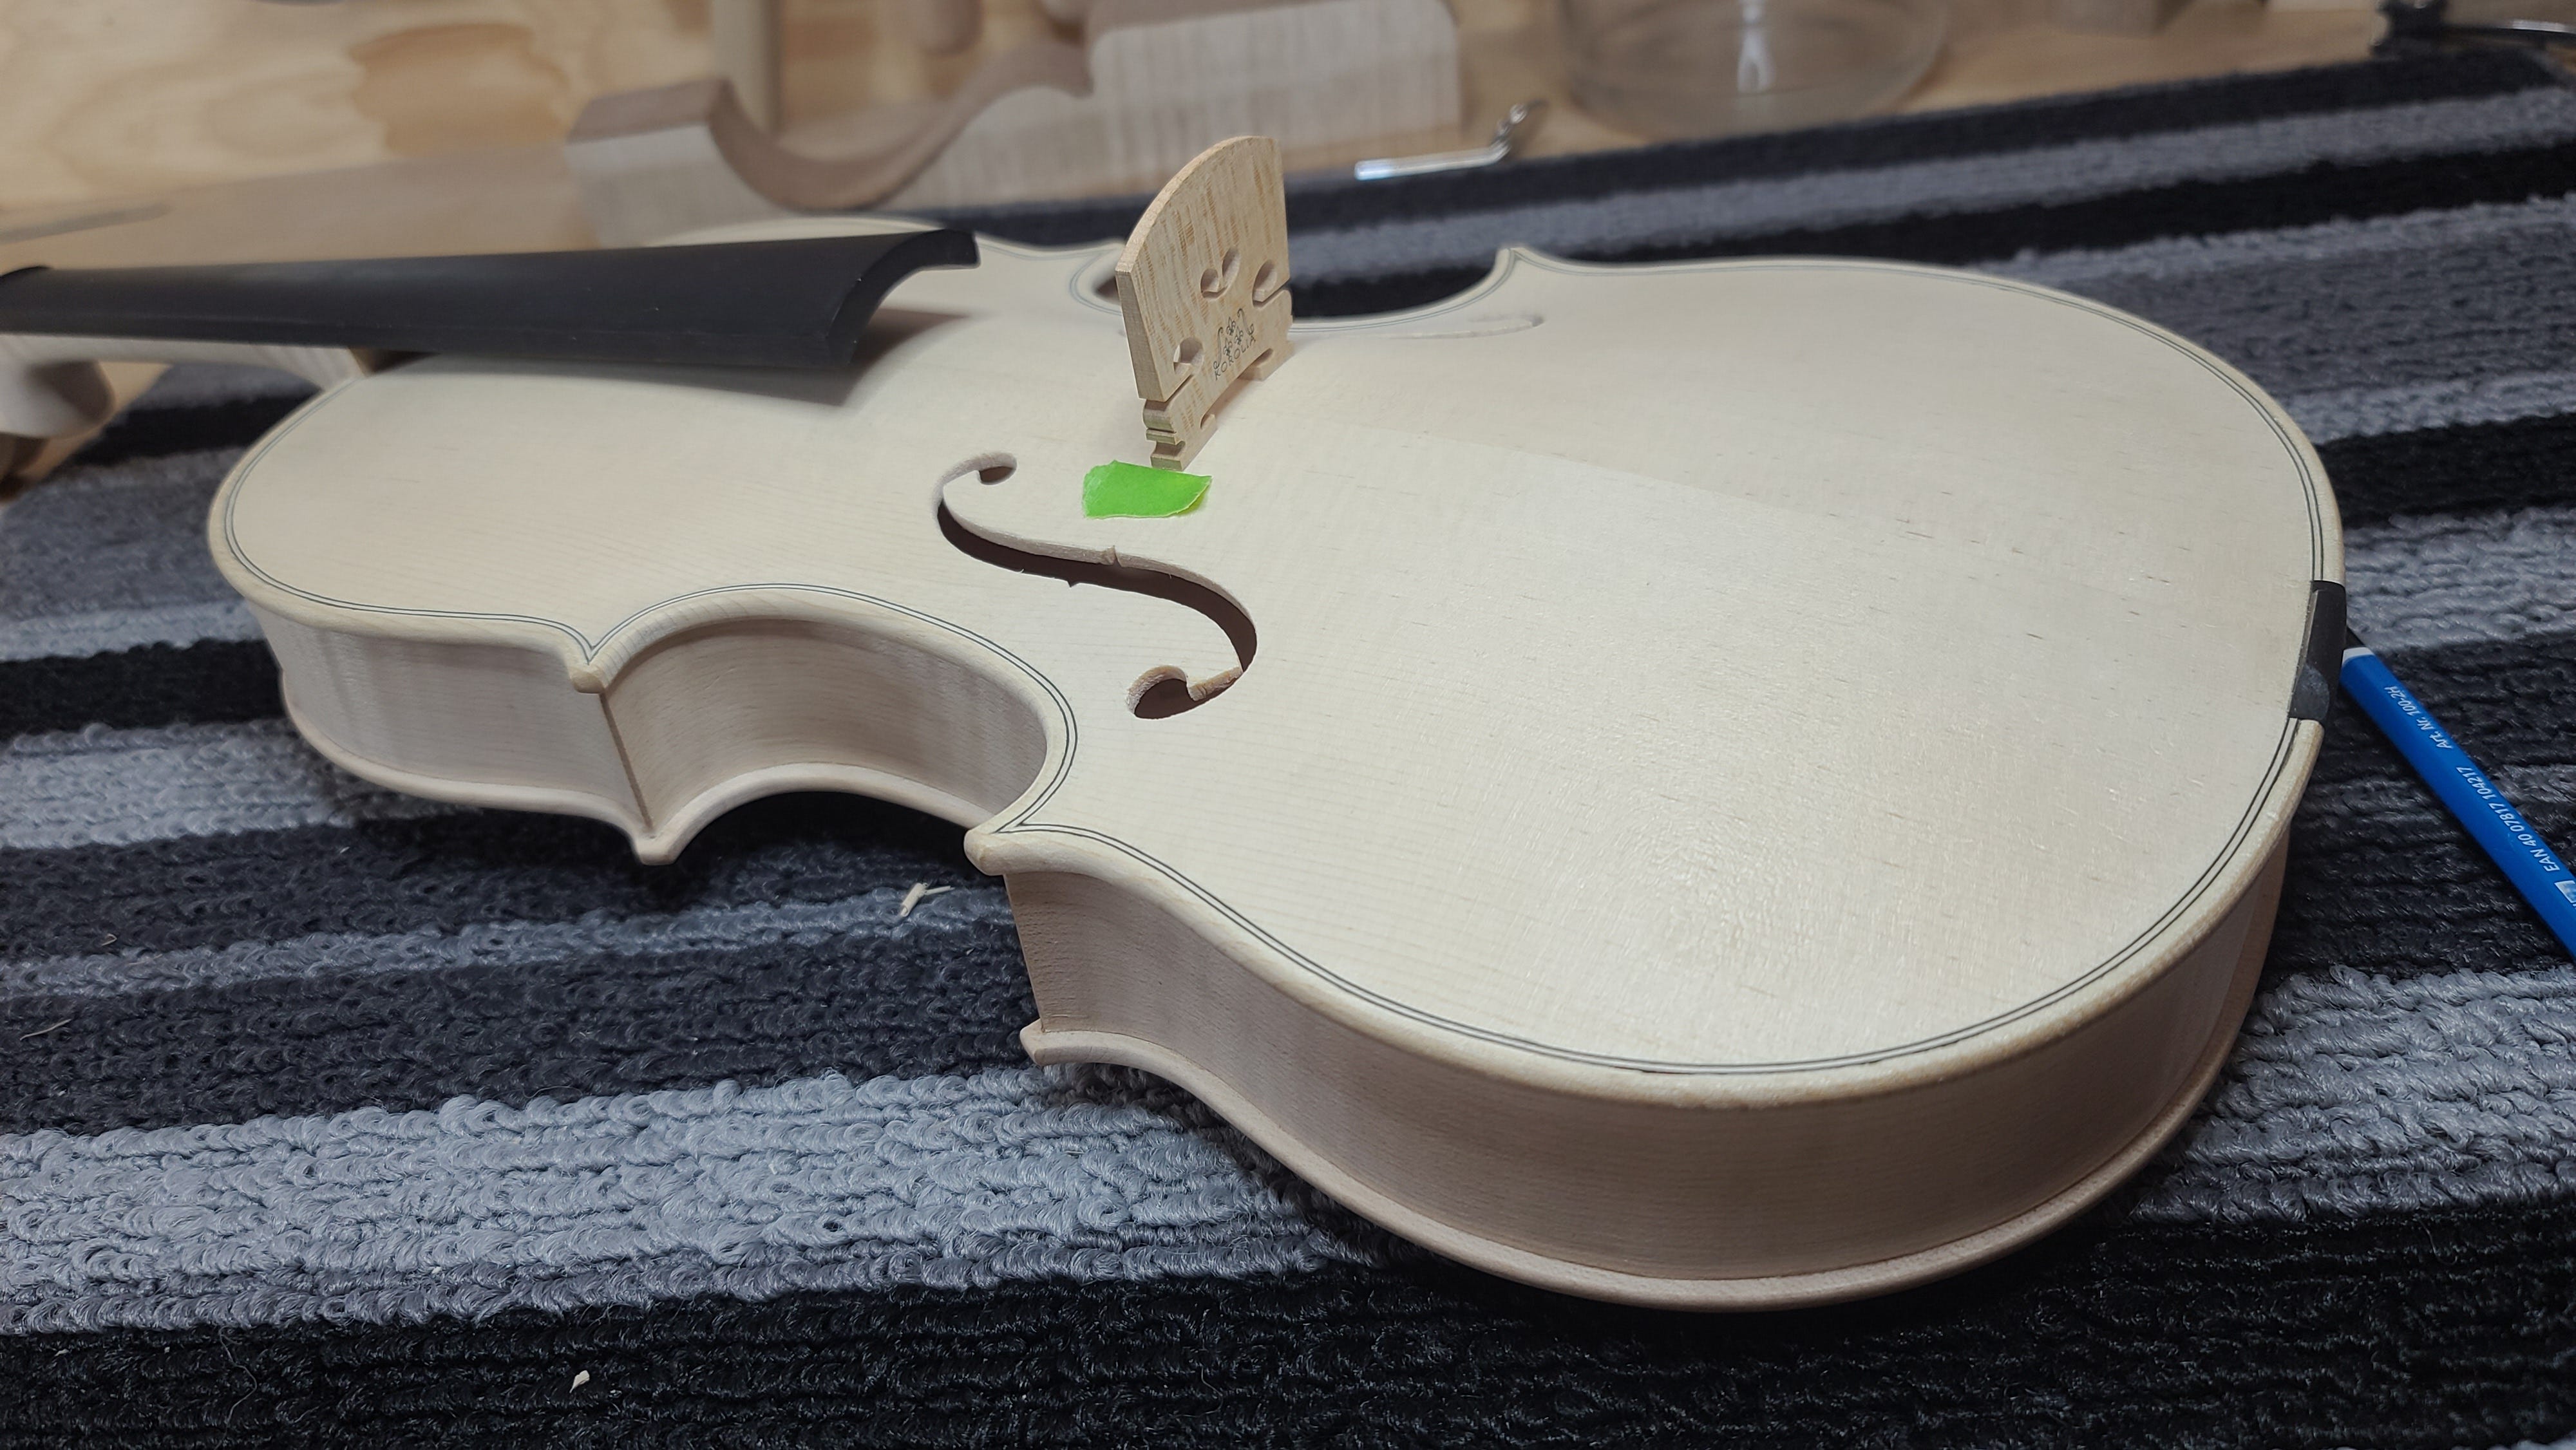
For me, the next task was carving the bridge.
Some makers will make bridges from scratch. Many will buy them pre-made but they still need a lot of work to shape, thin and refine before they are ready for use.
First, the unrefined bridge is placed in position to get an idea of how it sits.
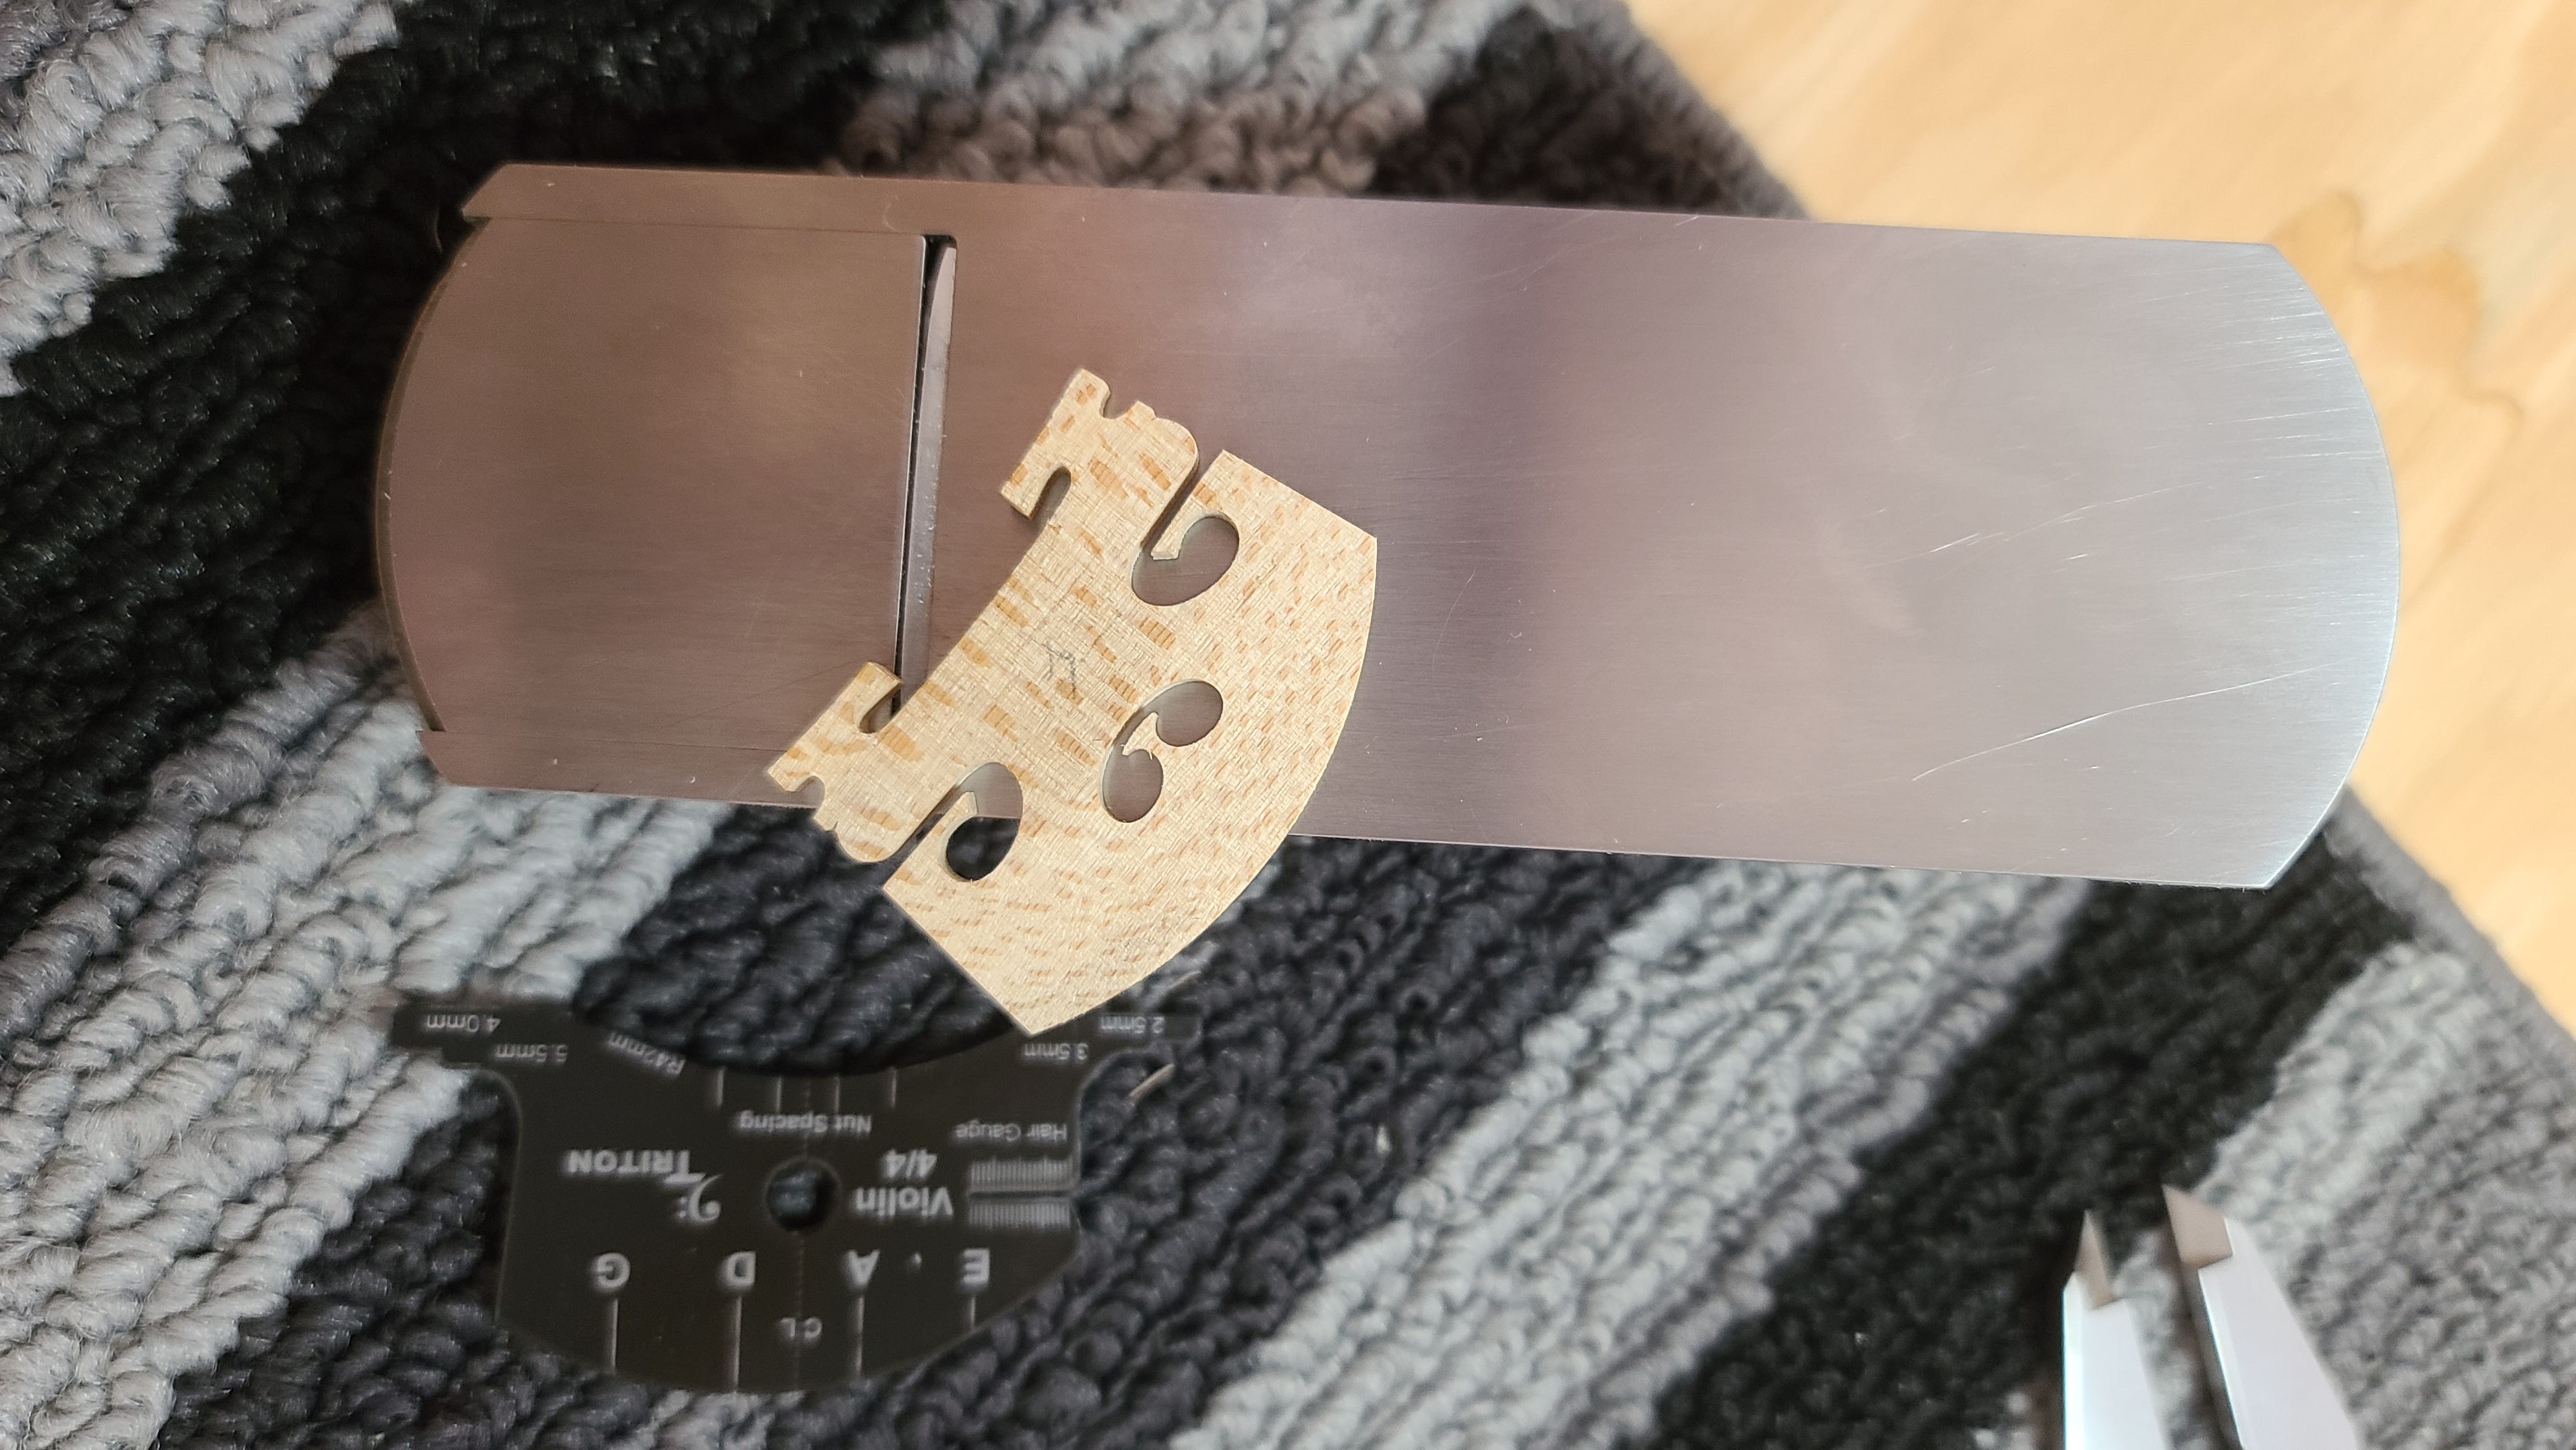
The underside of the feet are then carved to fit the curvature of the top. The bridge needs to fit the top perfectly. It also needs a slight slant away from the finger board to counter the pull and pressure of the strings.
Next, the bridge is thinned down to the right thickness and given a slight backward slant. This is done by holding a hand plane and running the surface of the bridge over the blade. It is then cut down and shaped to follow the curve of the fingerboard and to get it to the right height for the strings.
I ended up having to make two bridges; the first was too thin at the top so I had to start over.
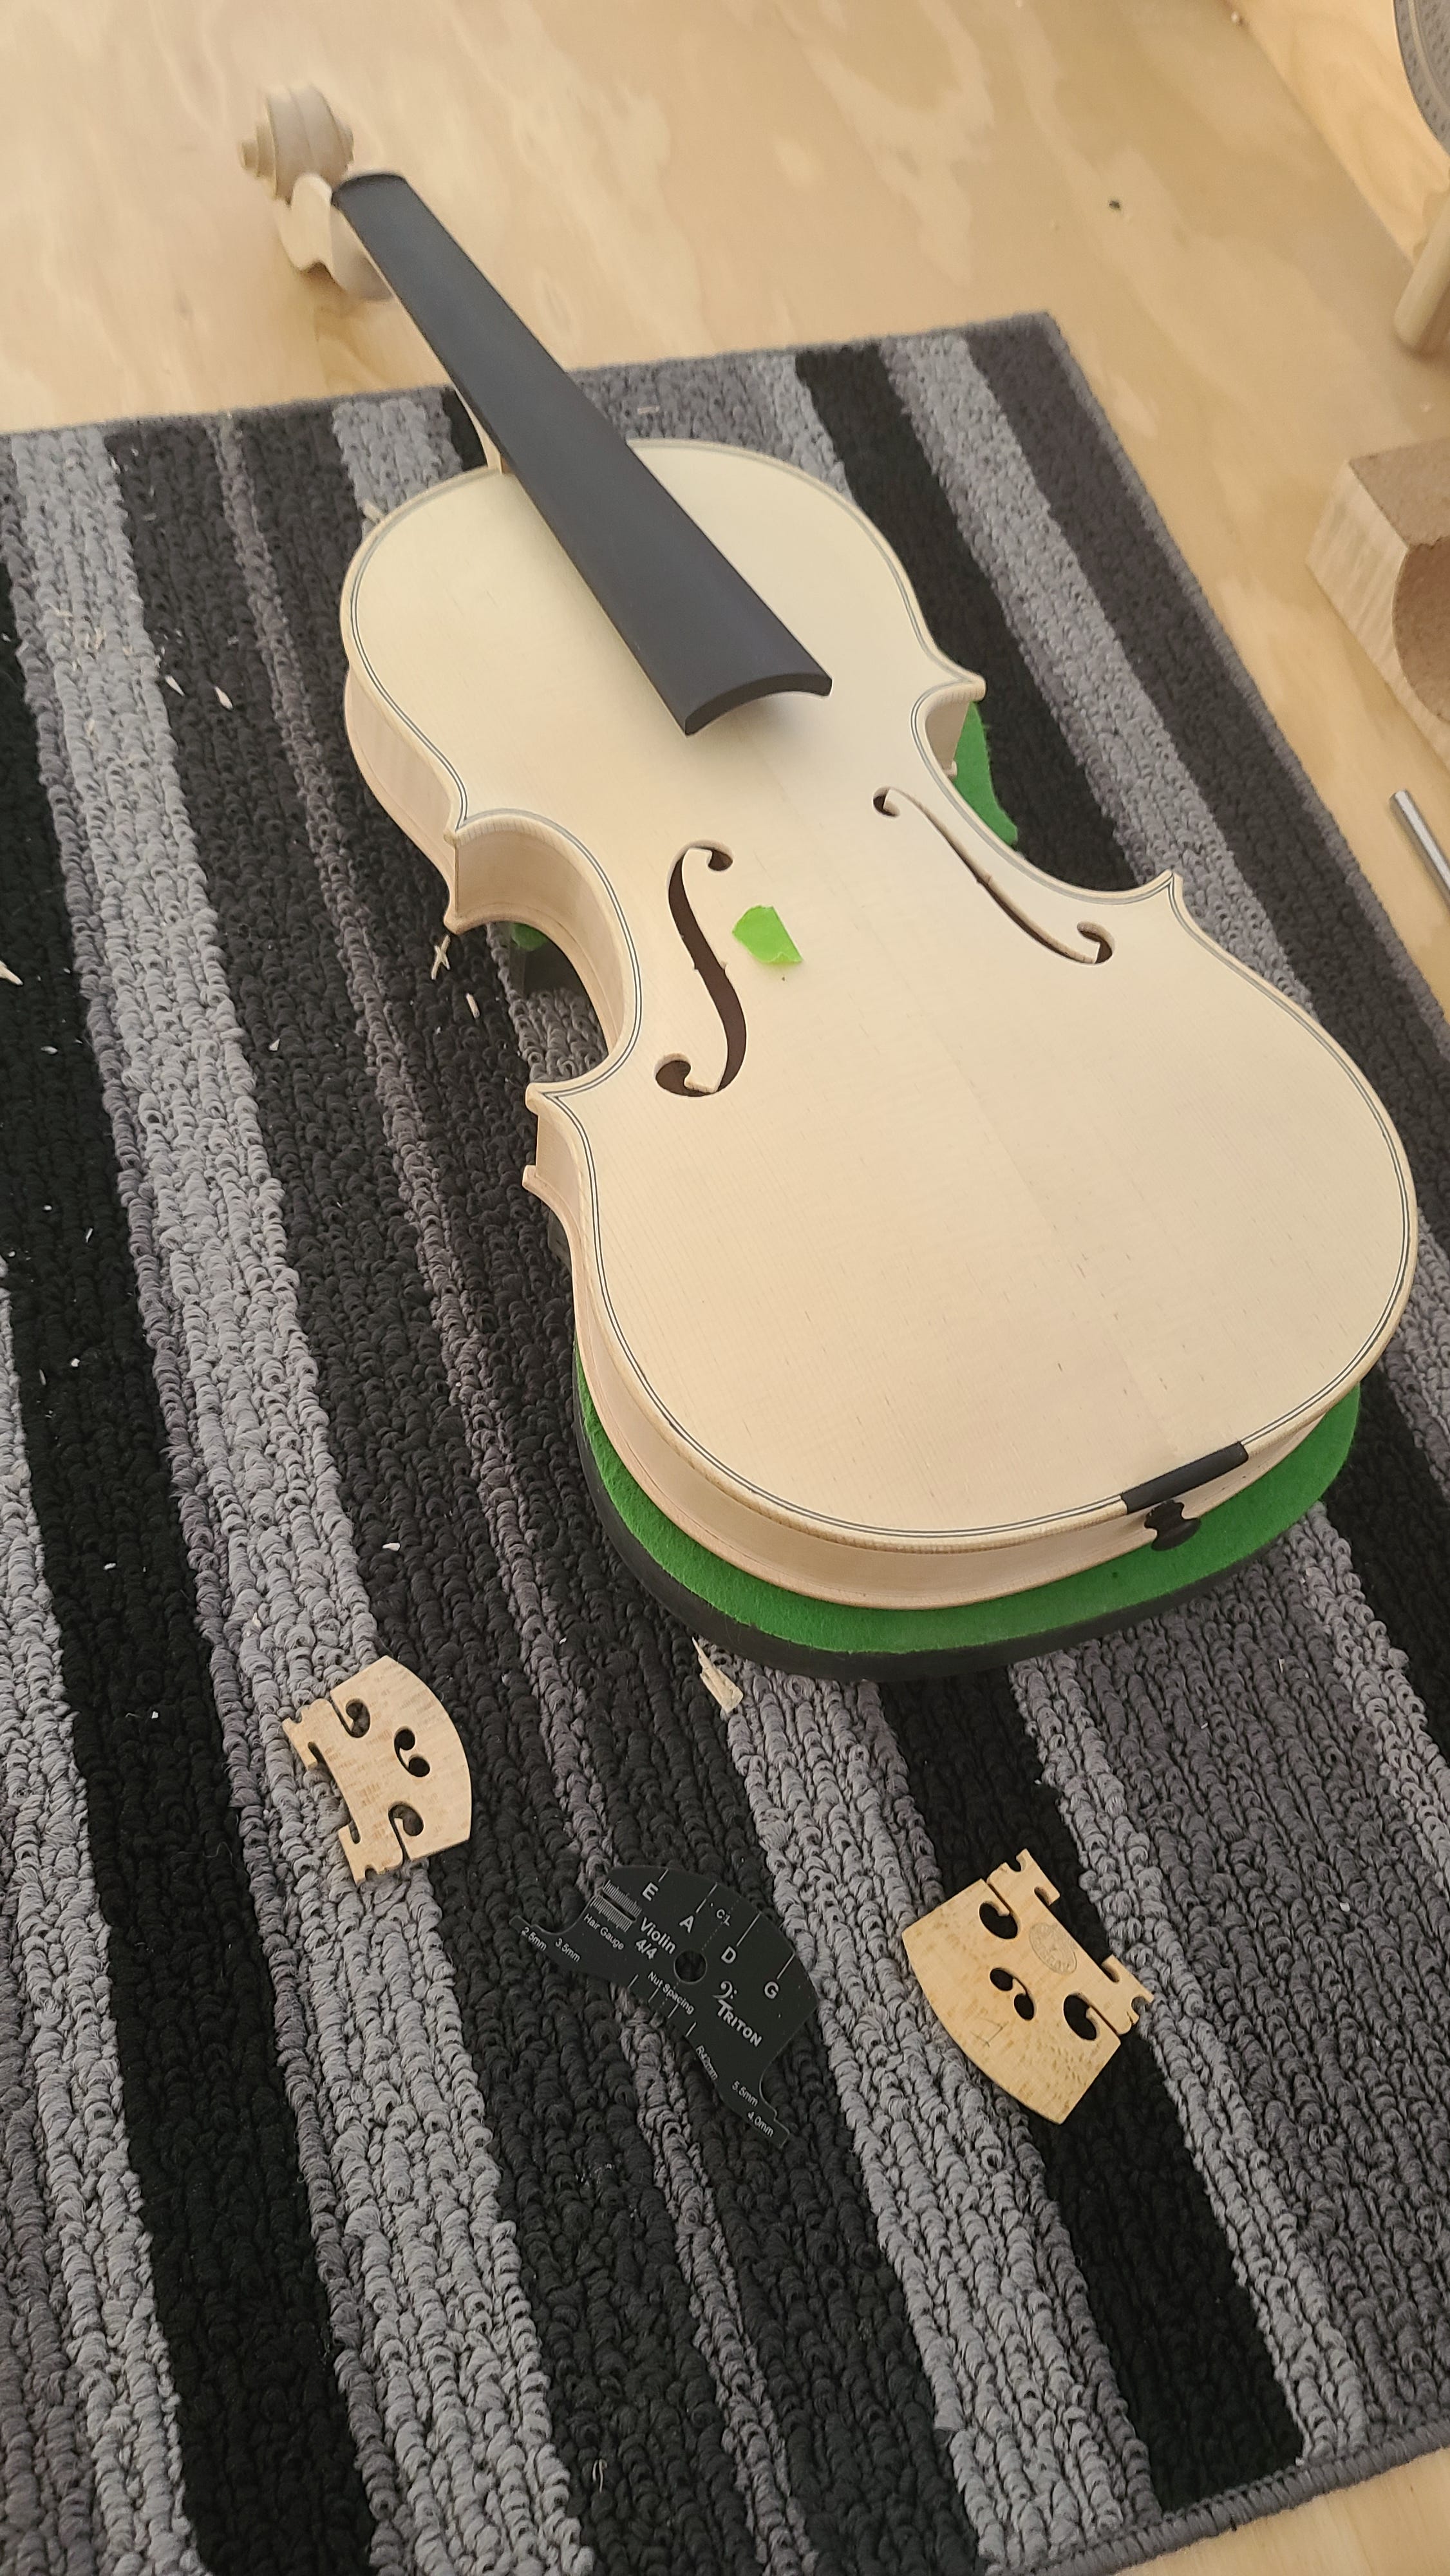
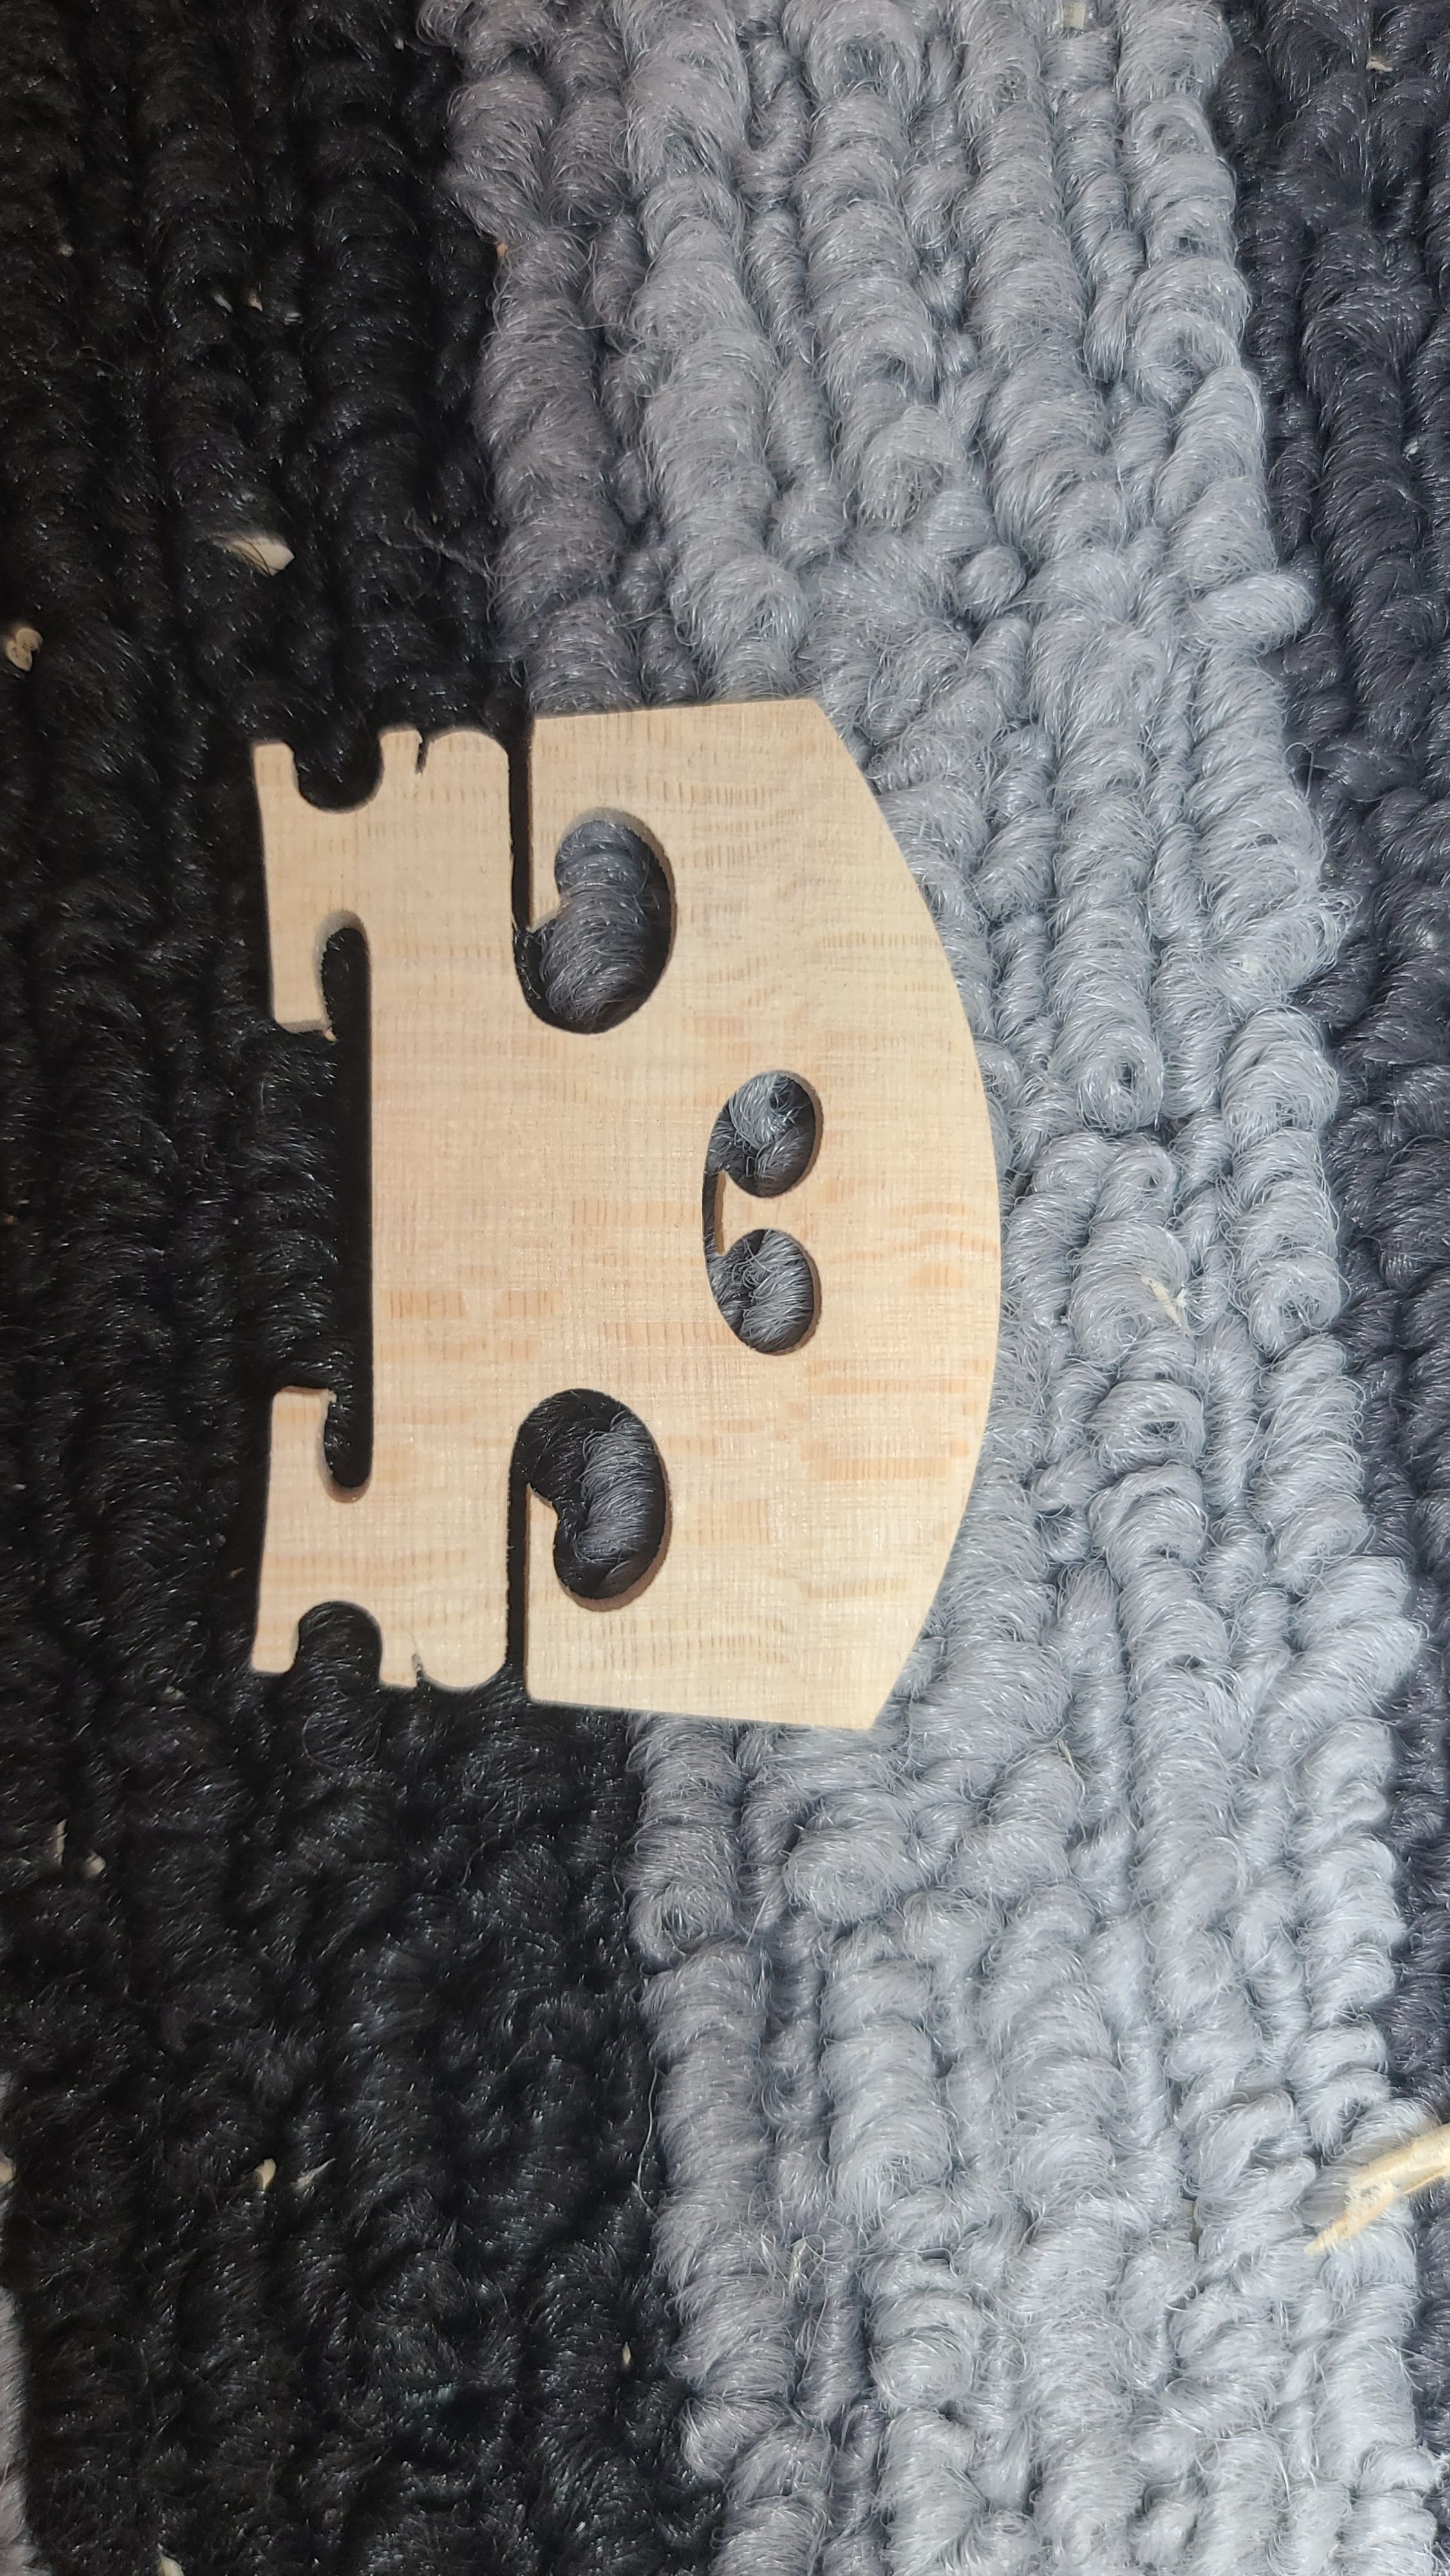
Here is what it looked like when the basic shaping was done. I still need to take some wood out around the middle lower section, the feet and the “kidneys” as it’s still too bulky.
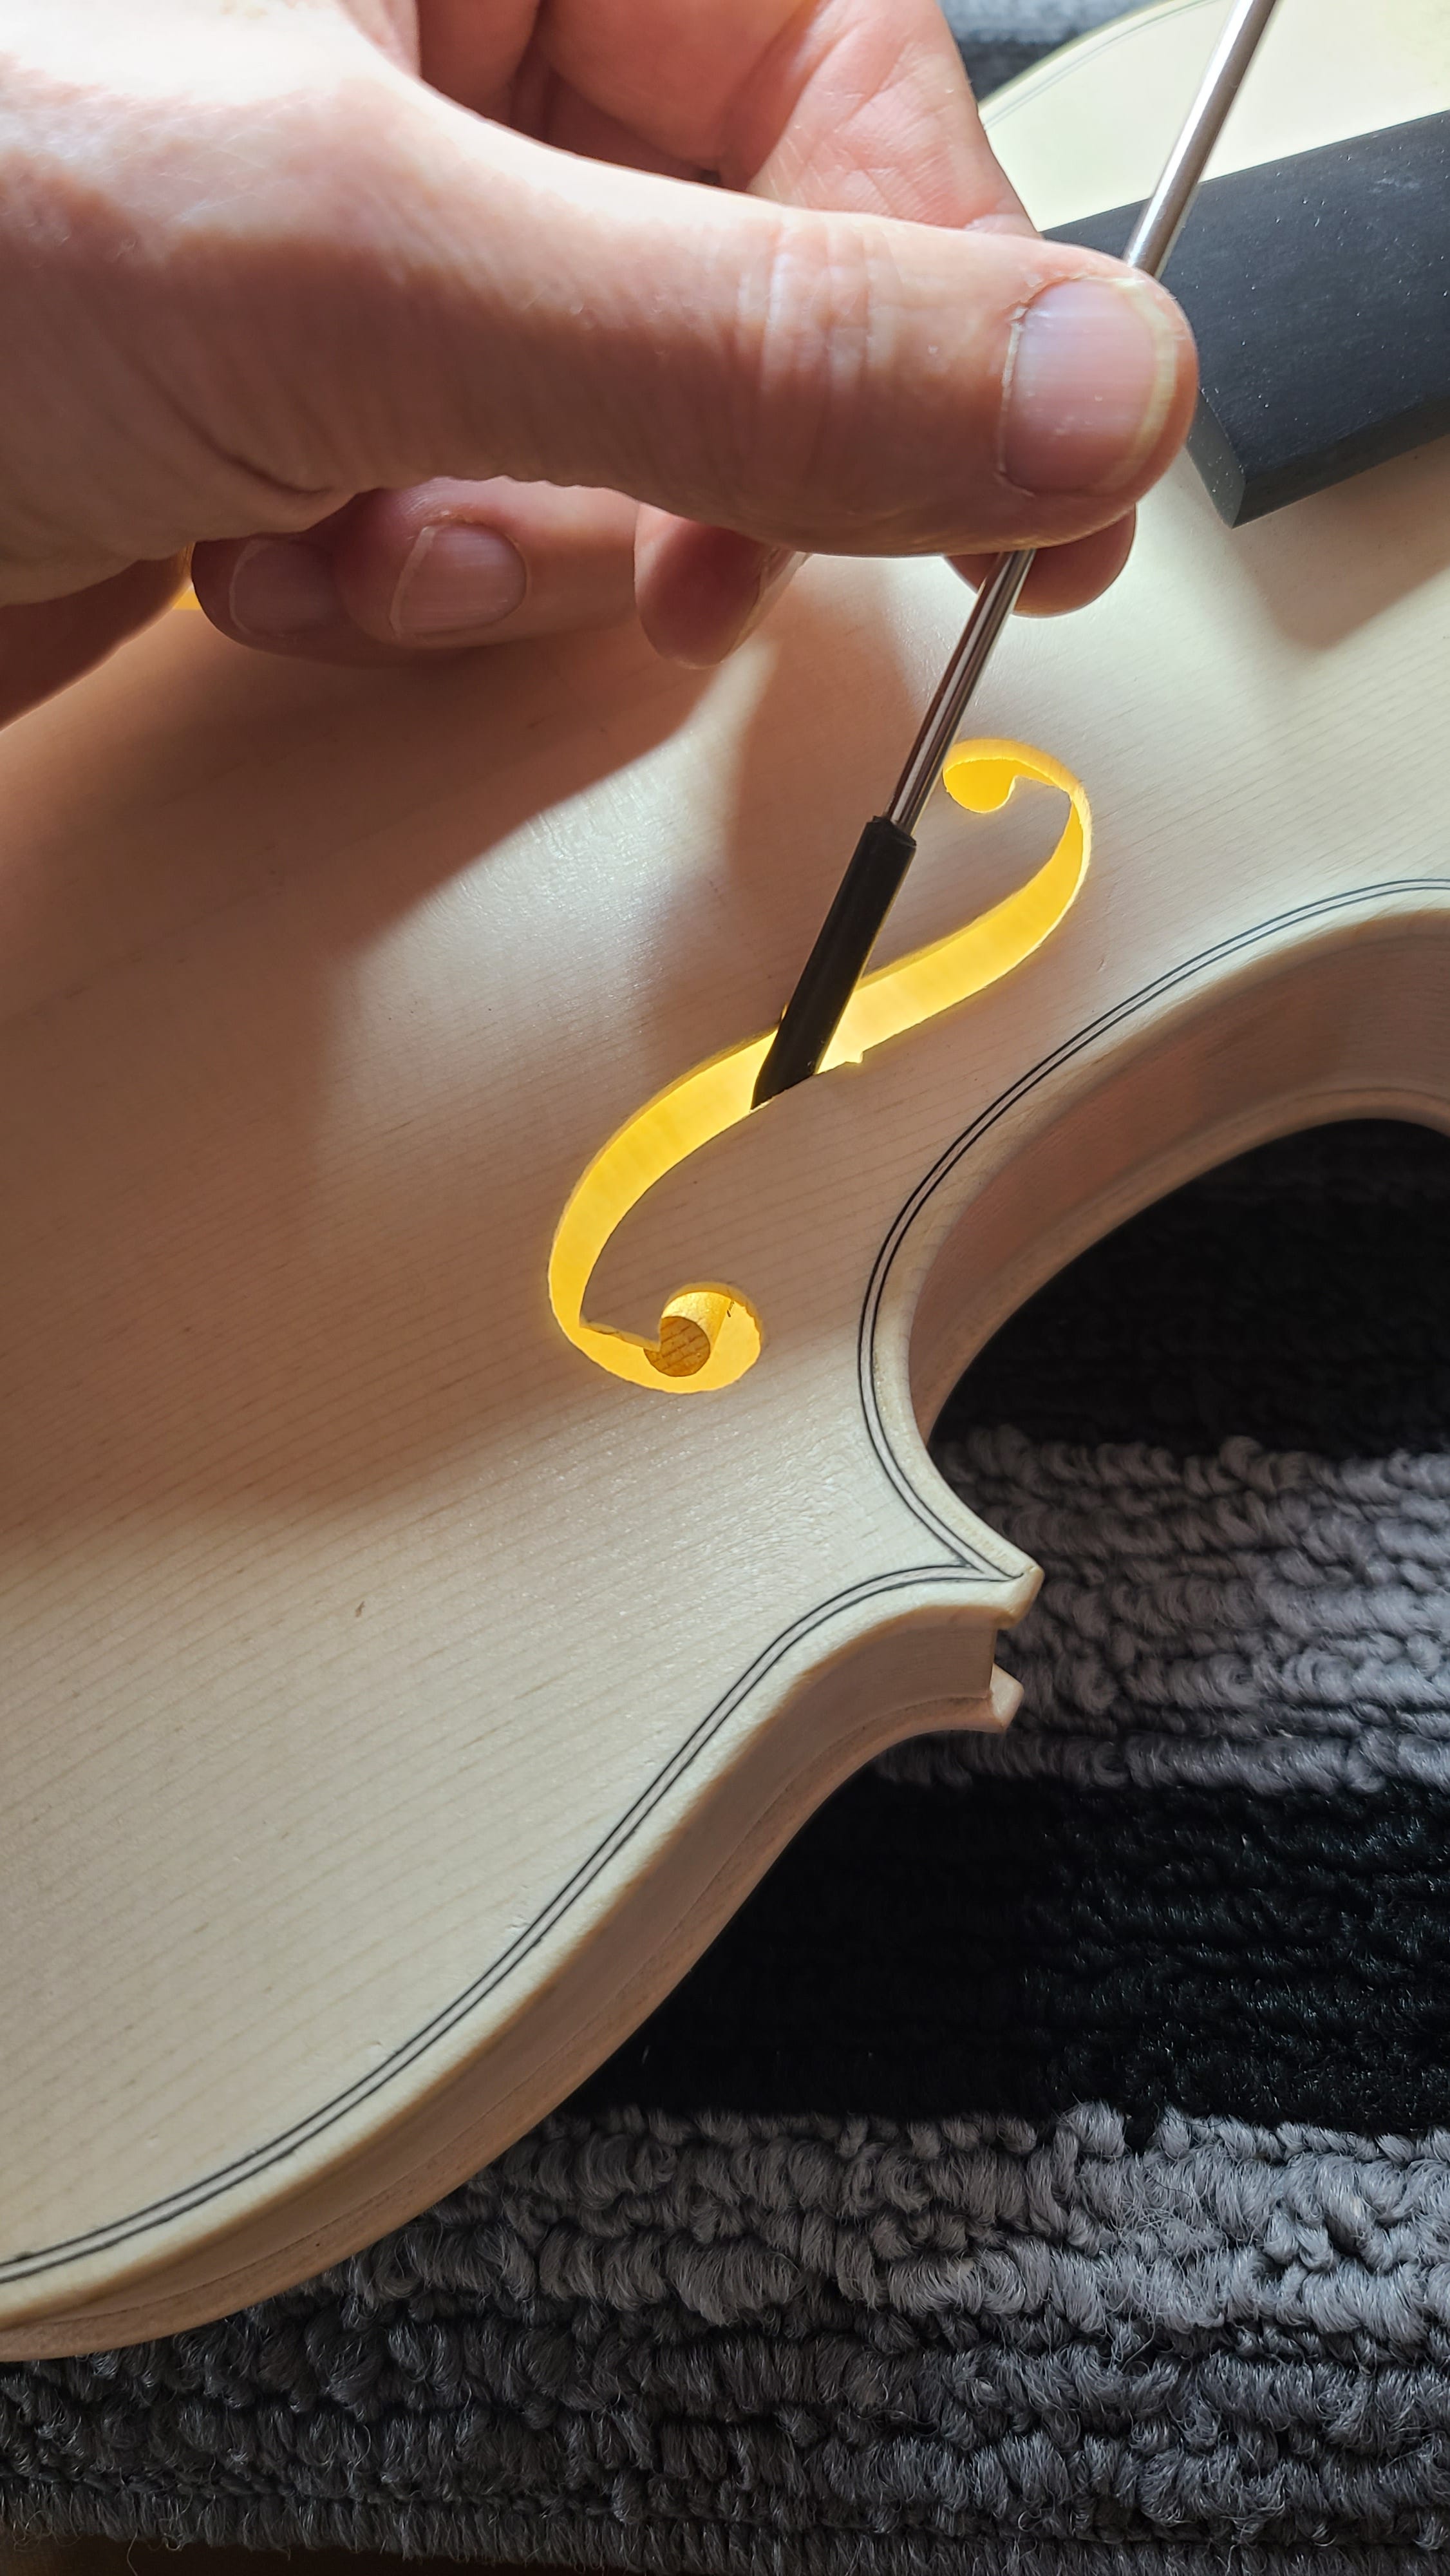
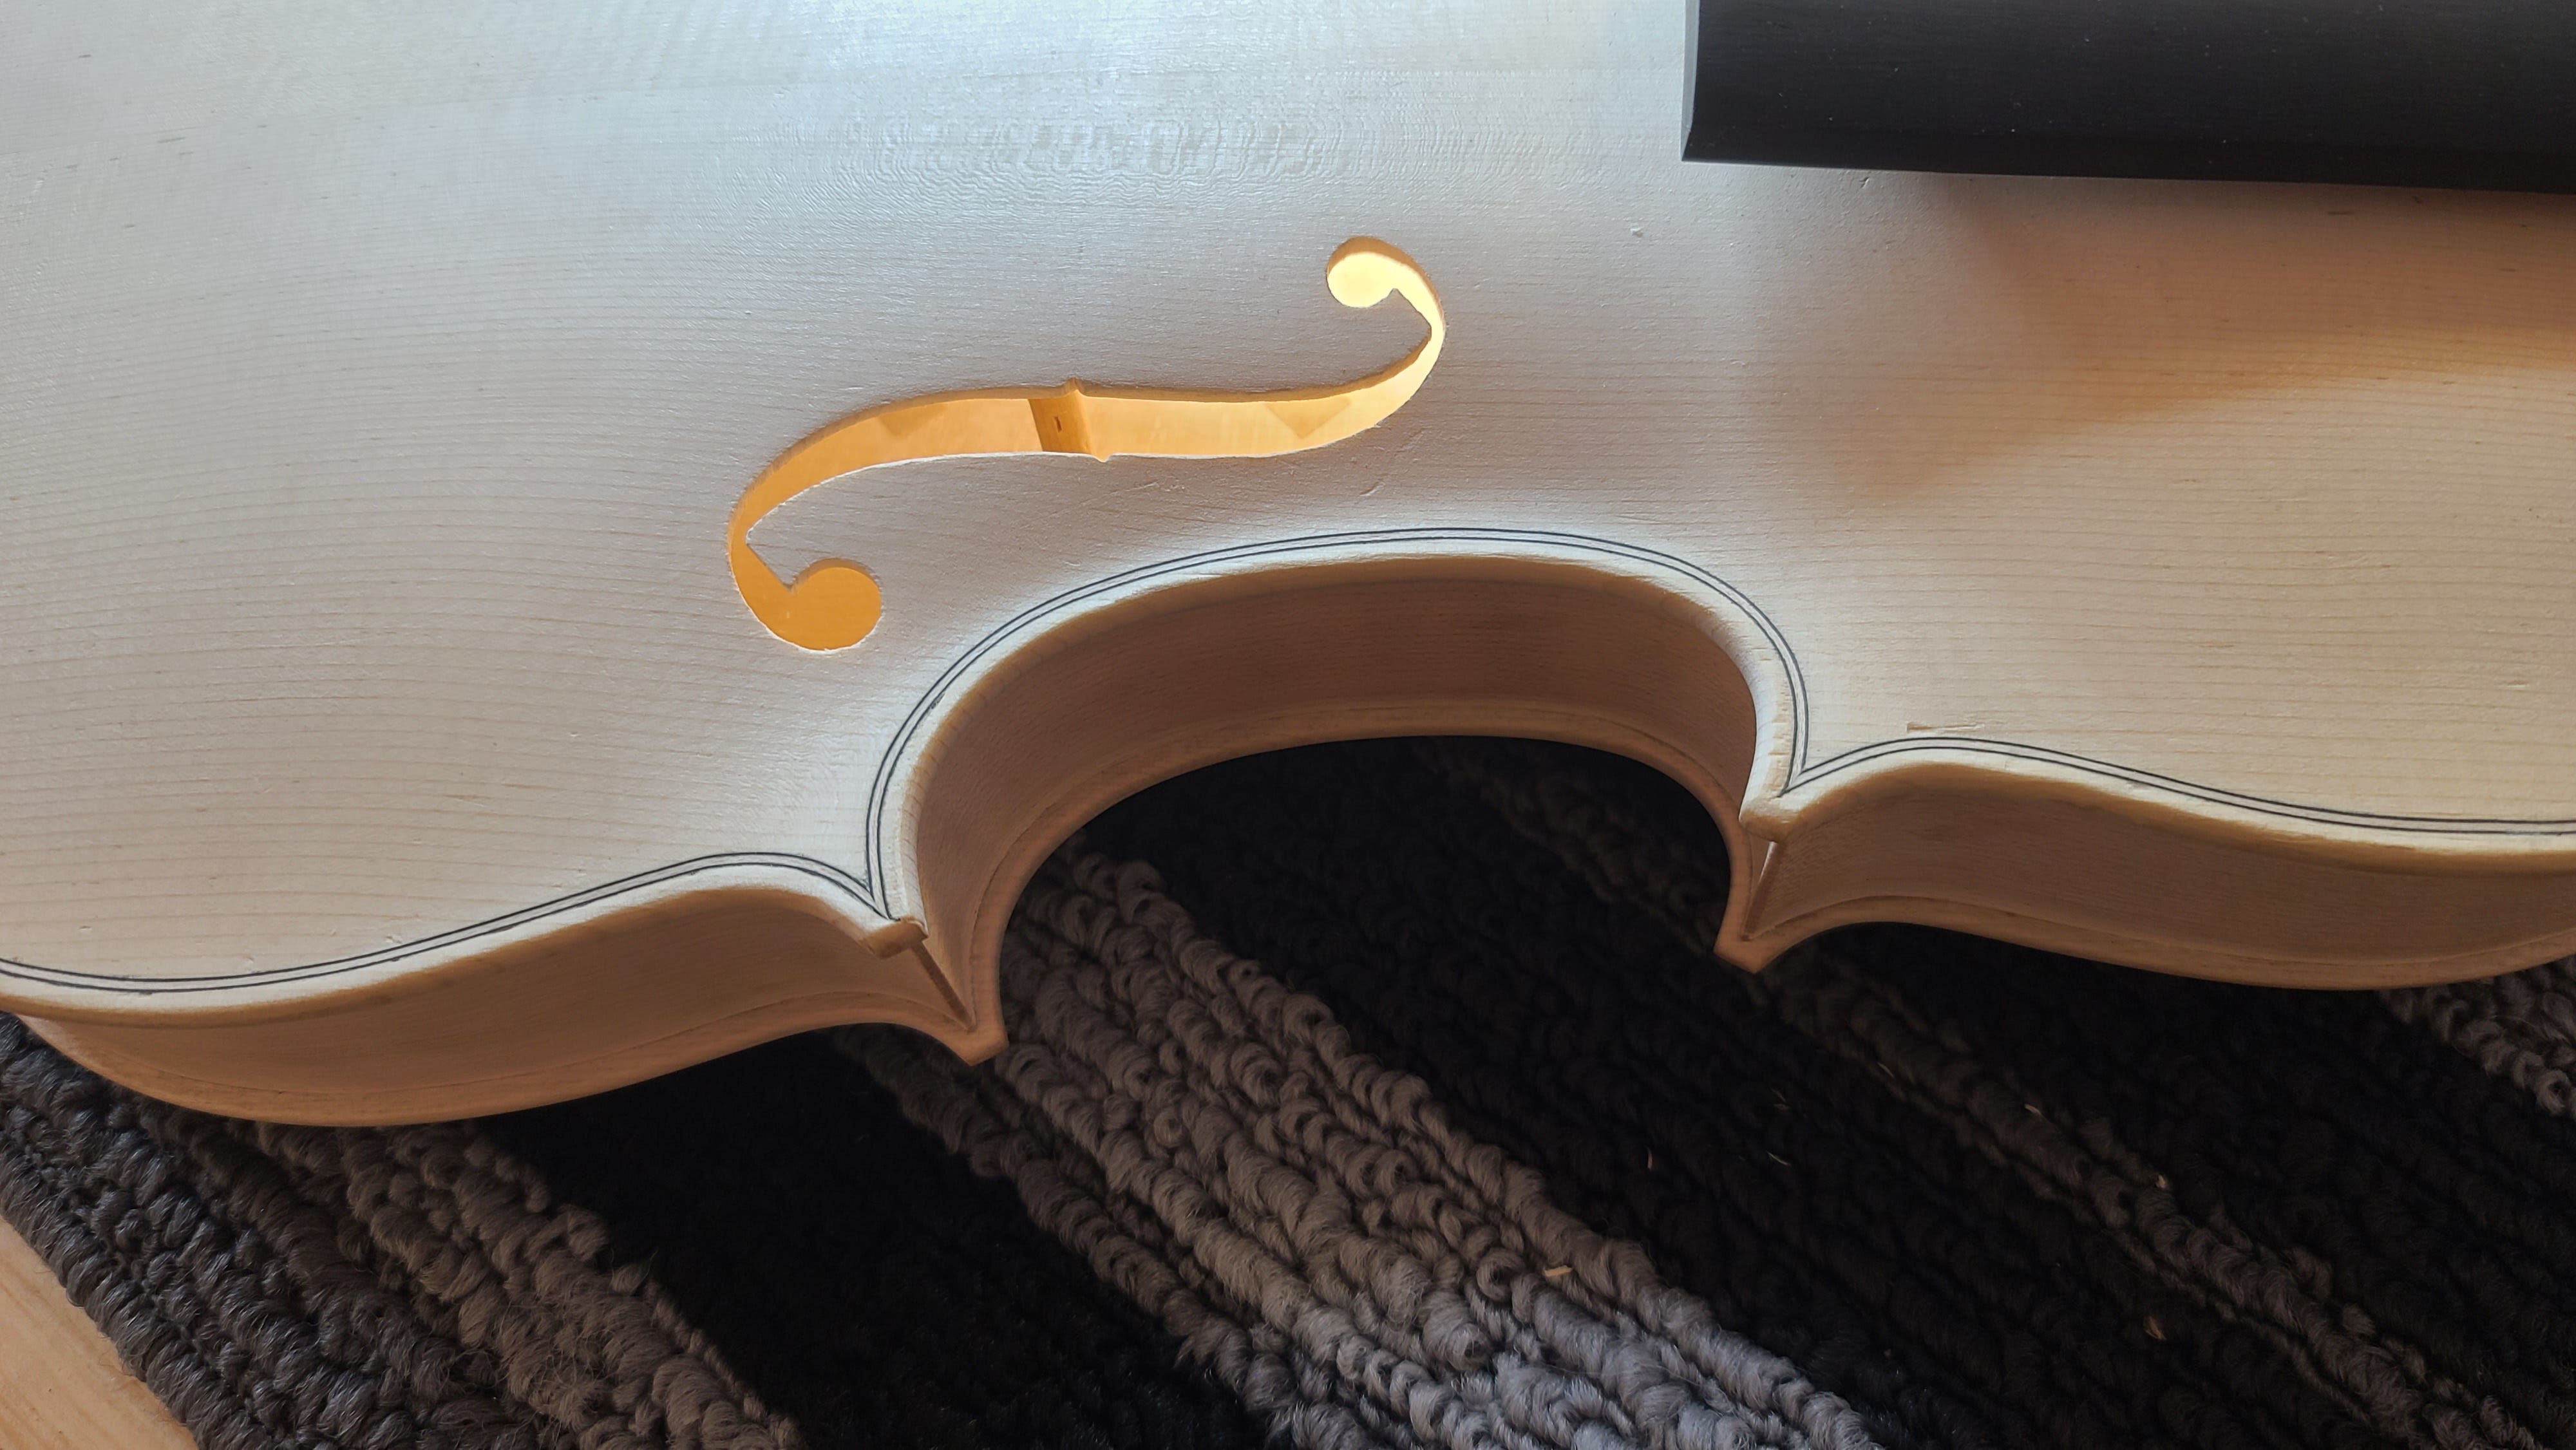
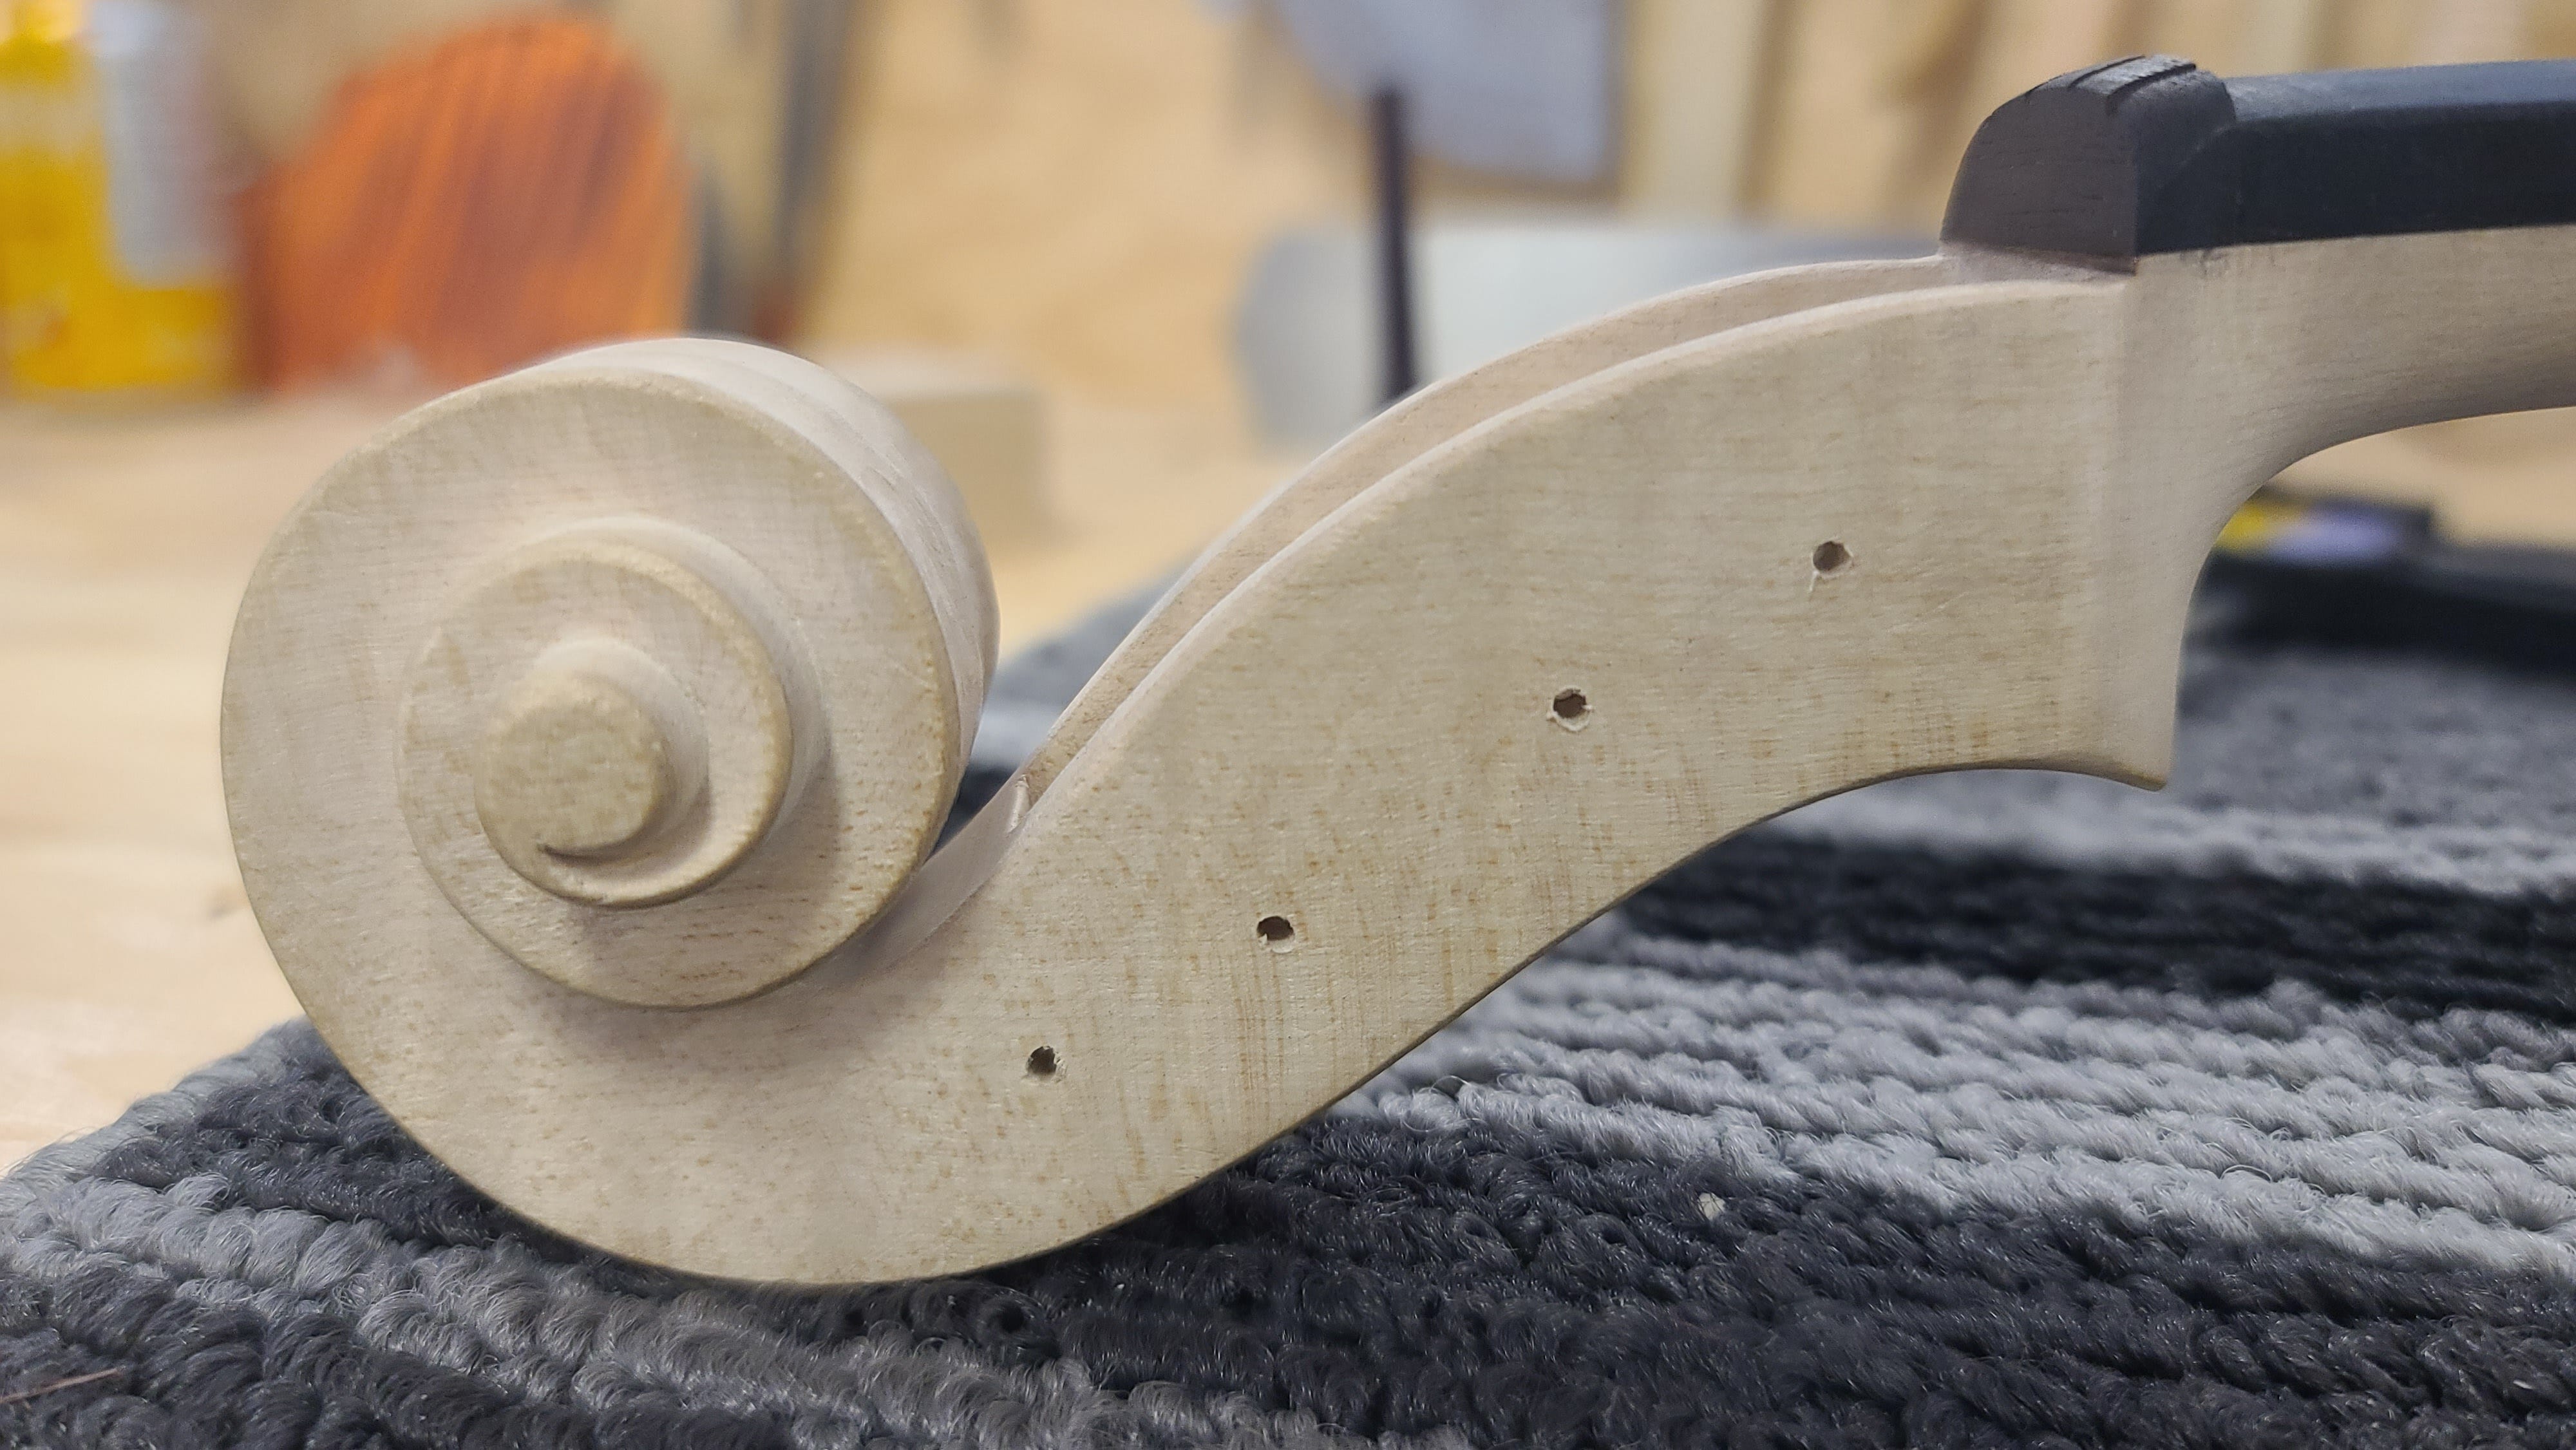
I then moved on to scribing the position of the peg holes using a template I had made.
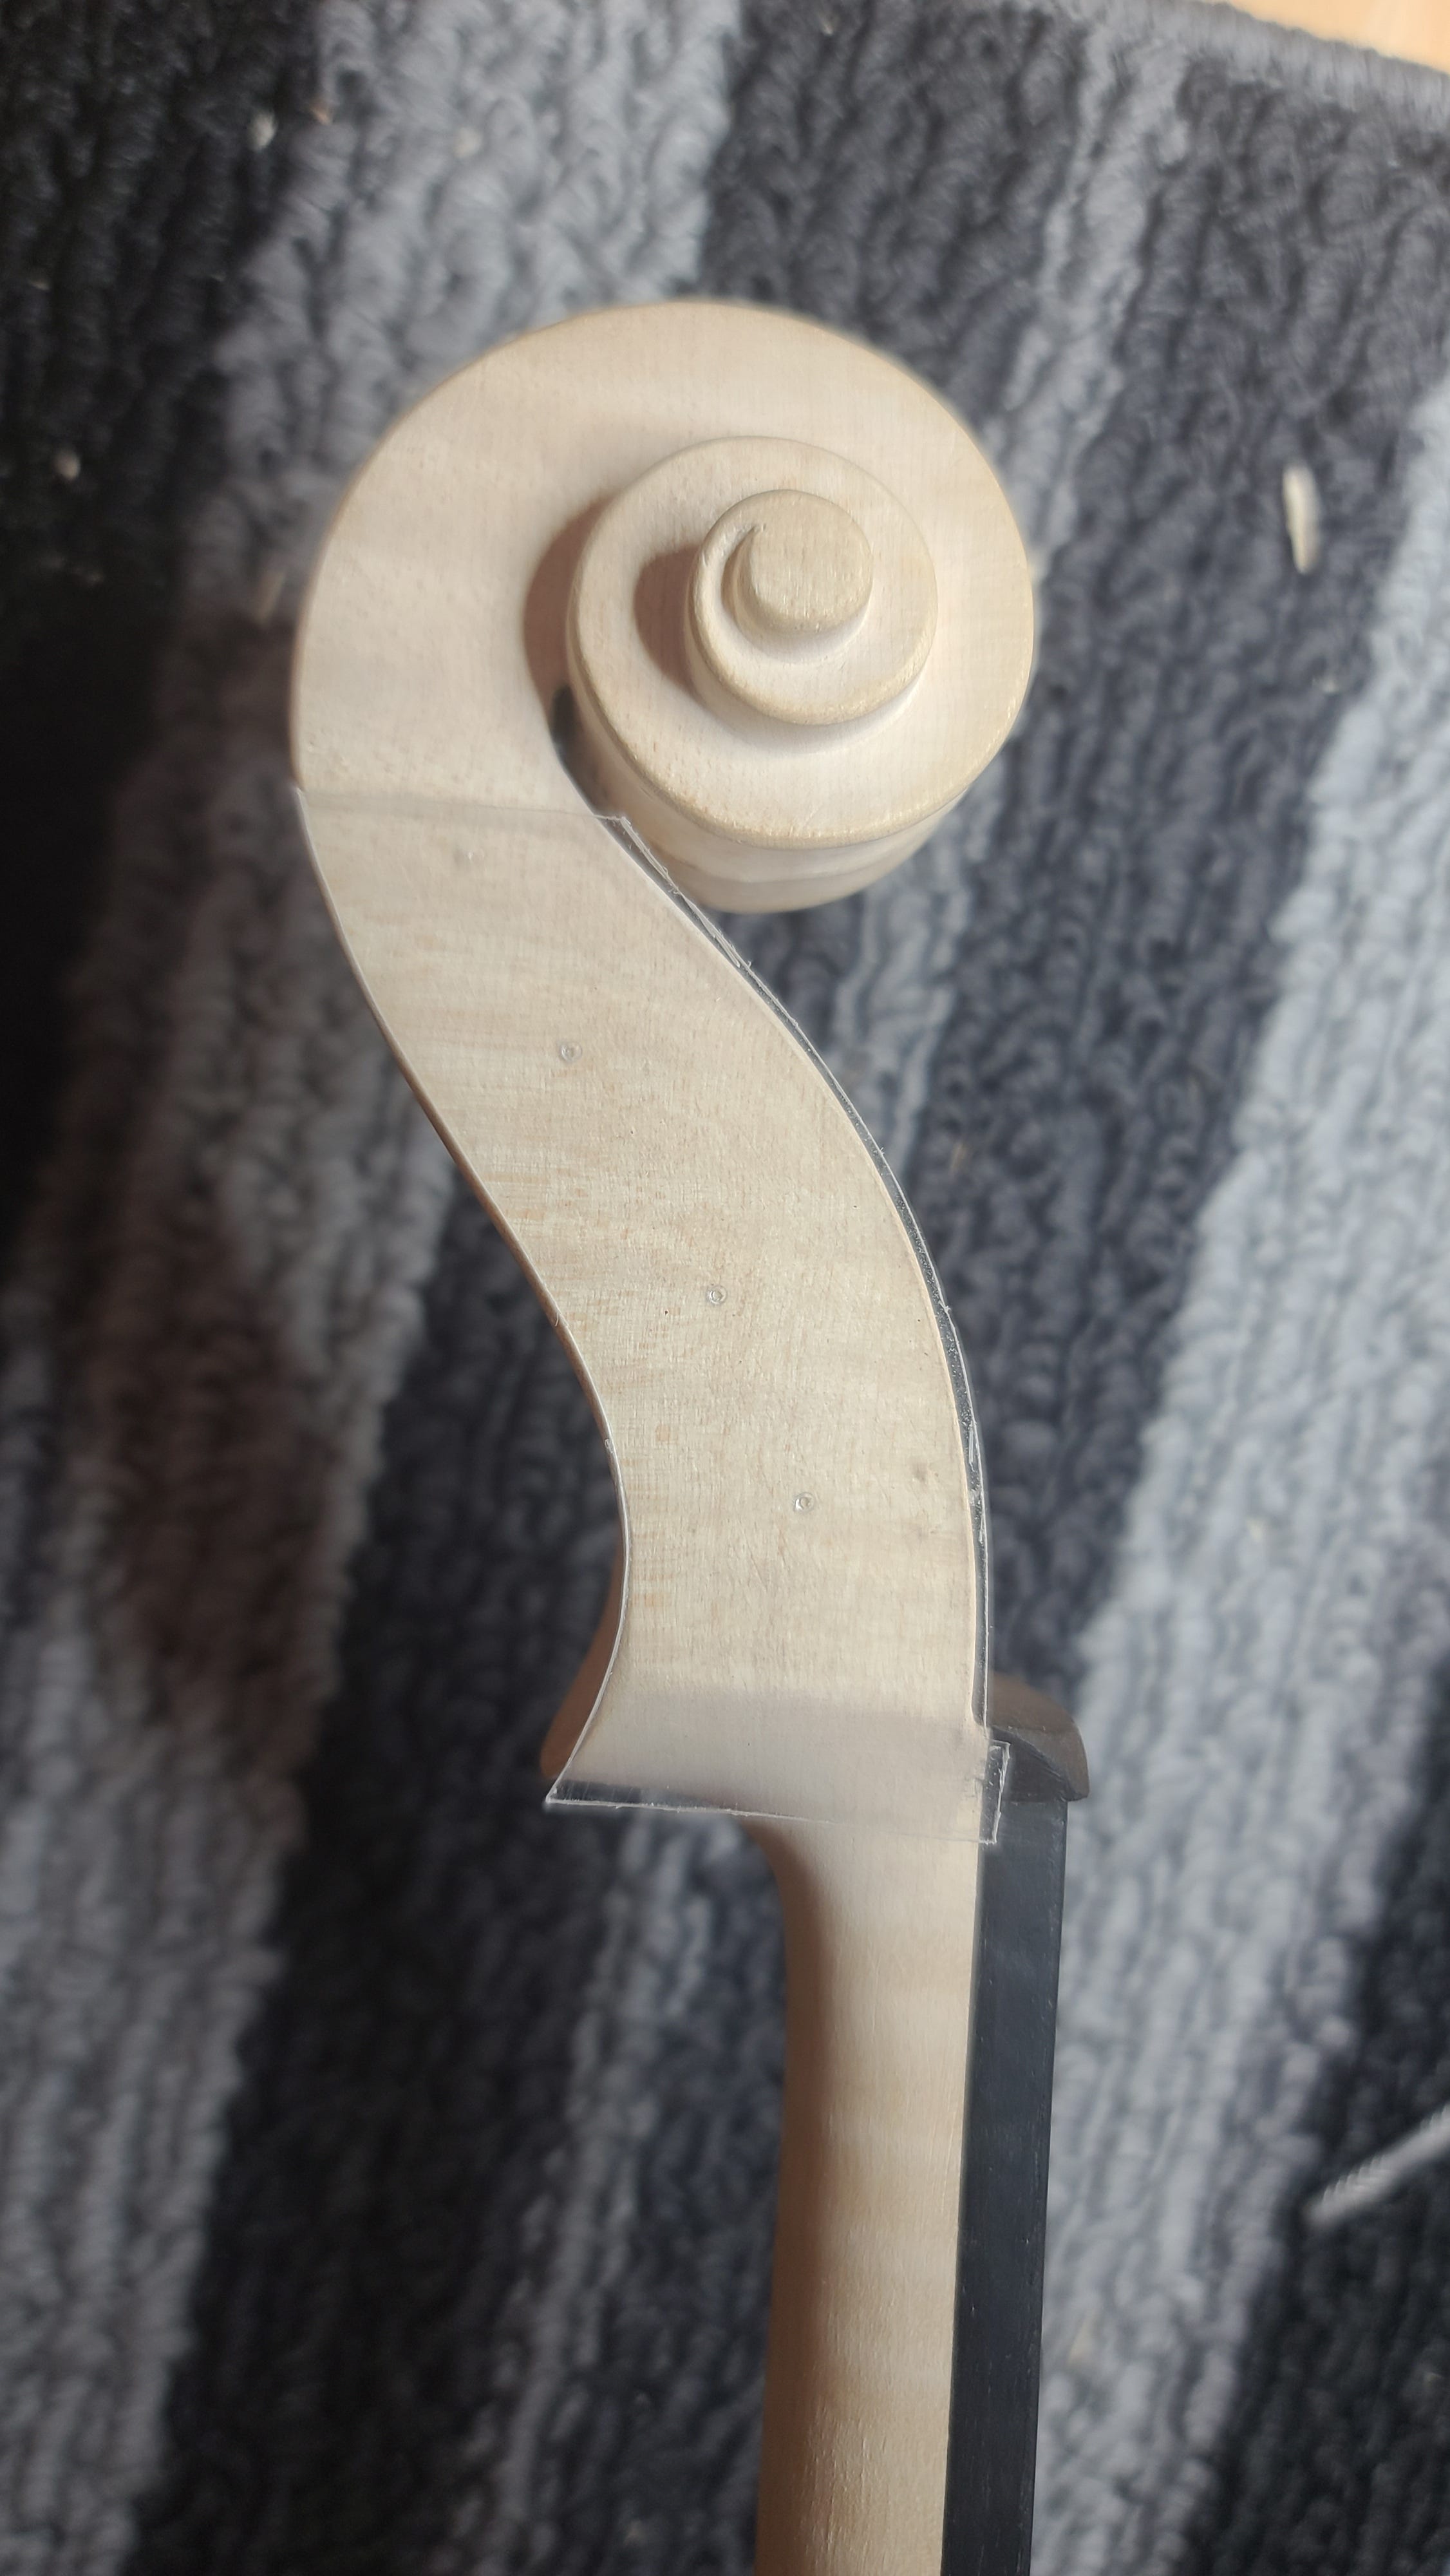
I started by making very small holes which will slowly be enlarged, making sure they stay perfectly straight from one side to the other through the peg box. I left that task for now as I will first need to slightly enlarge my peg box.
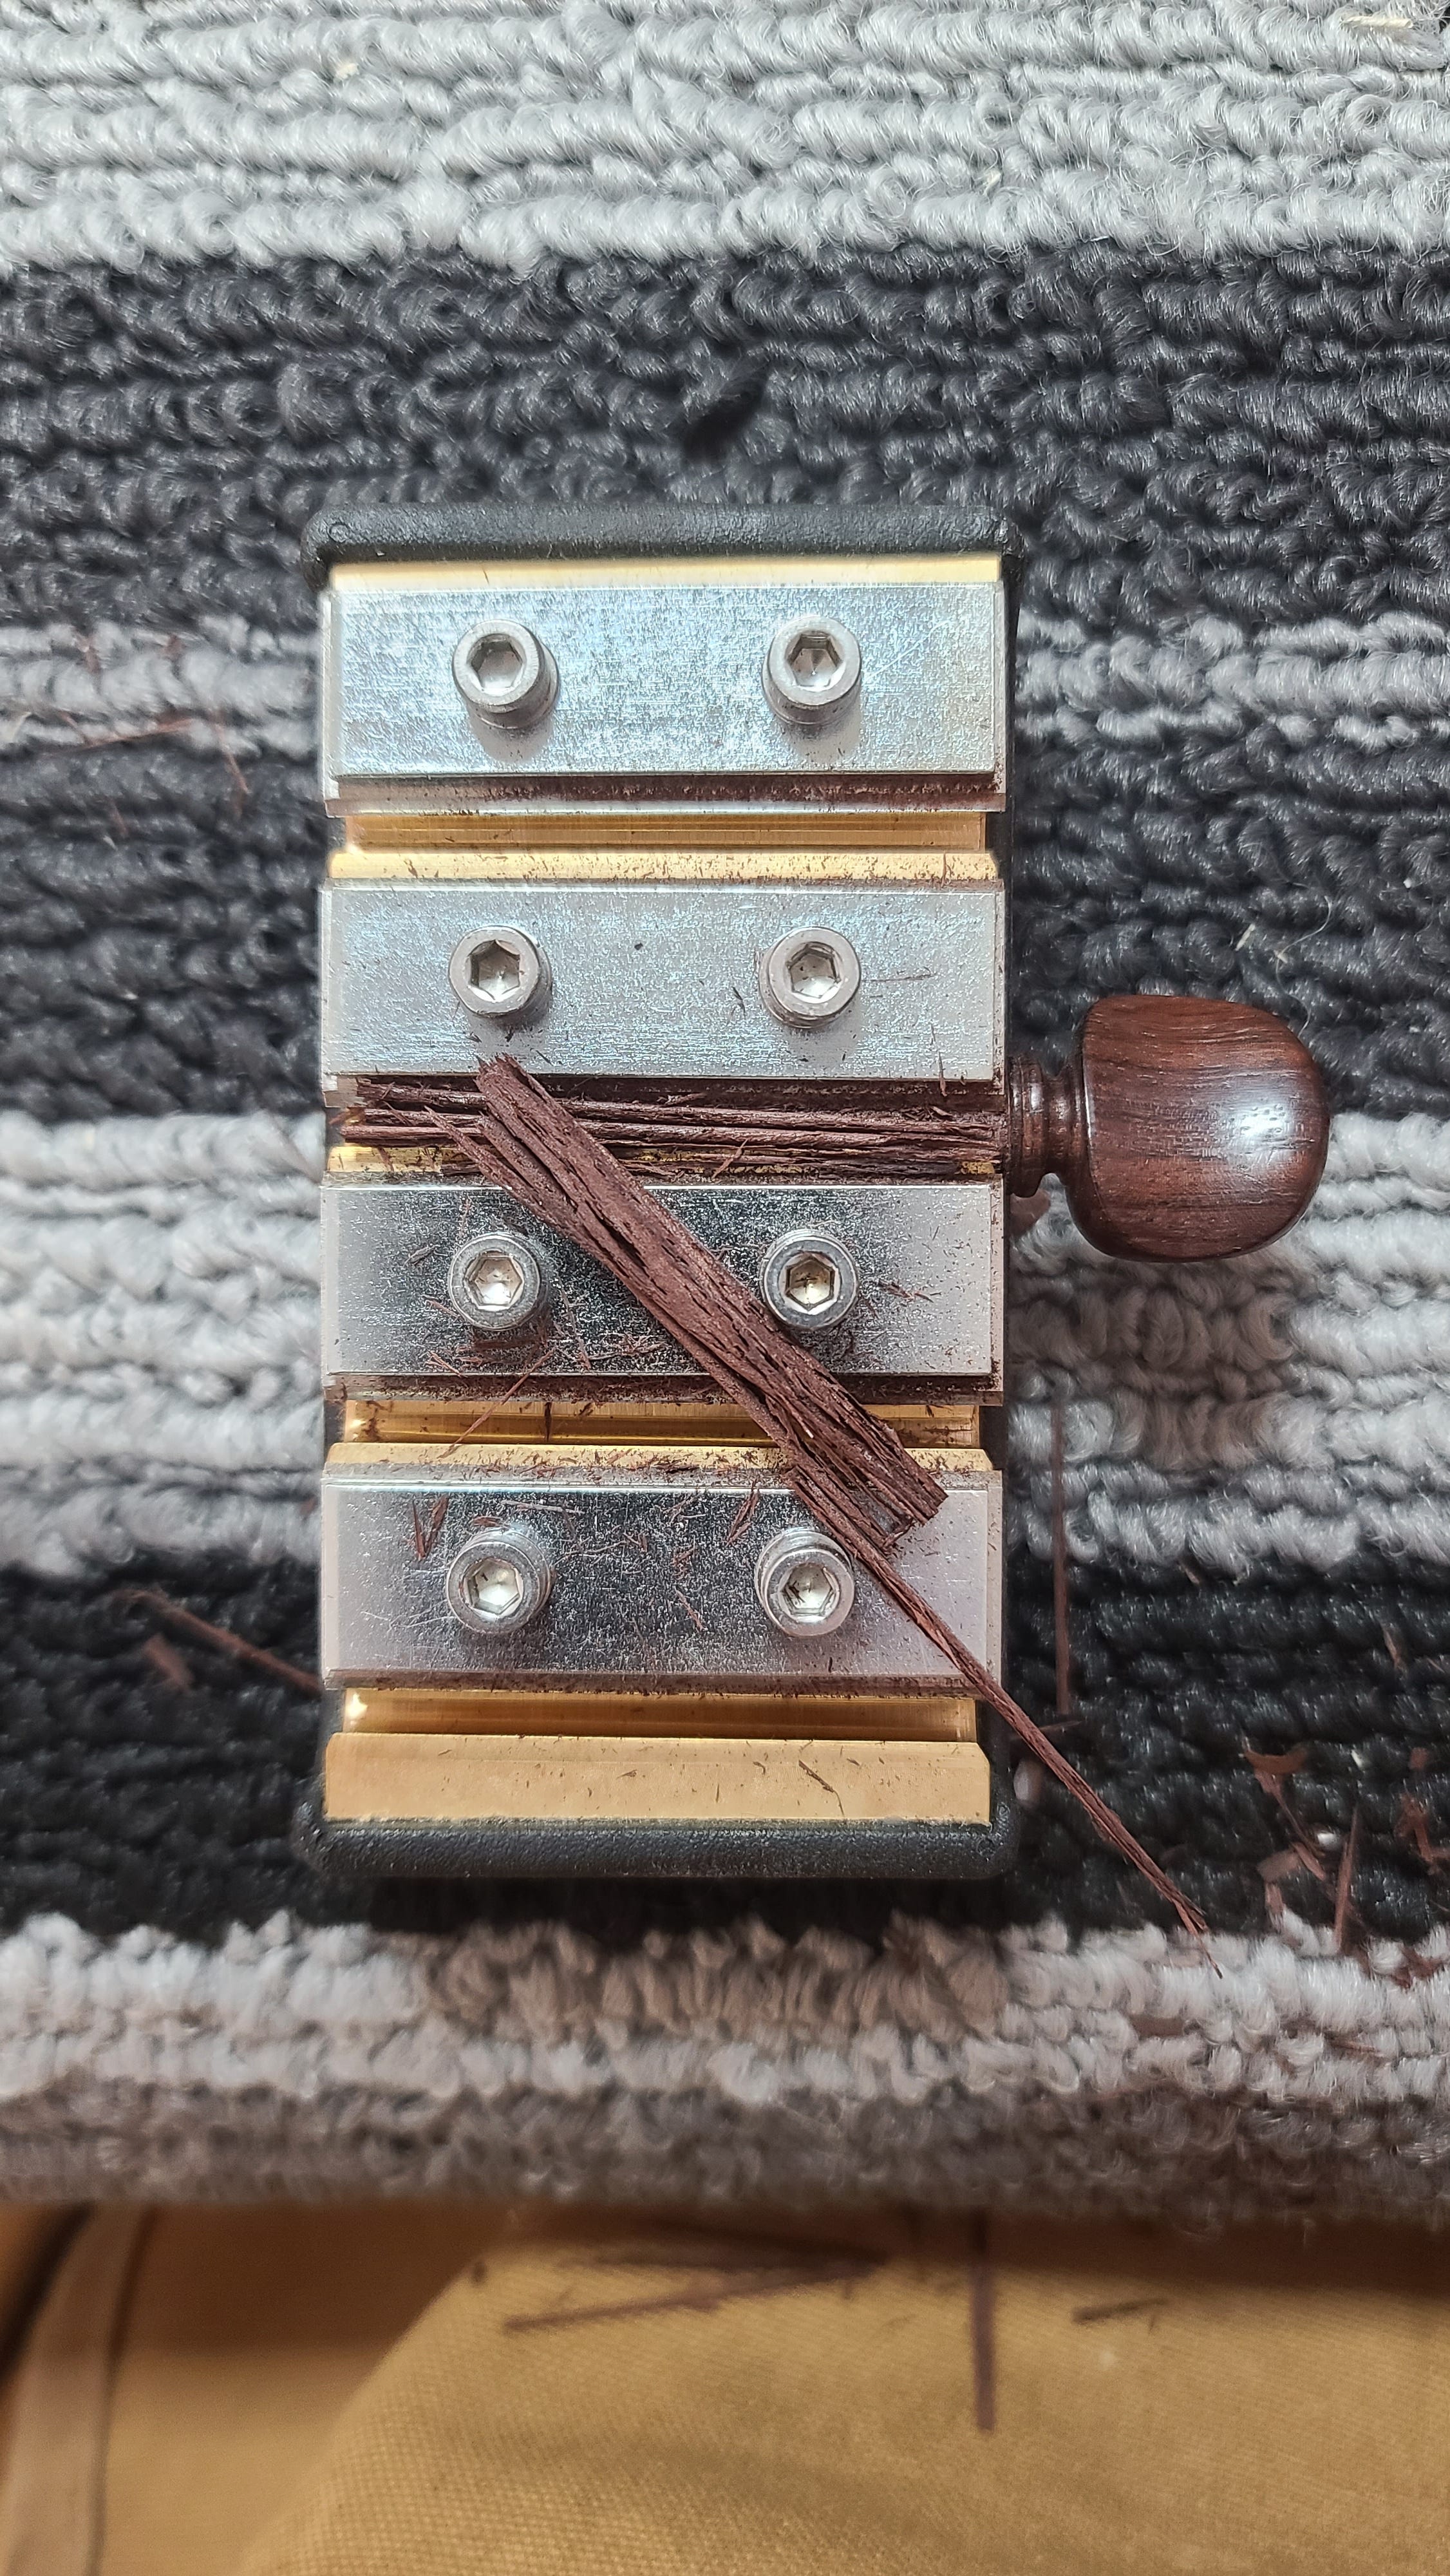
In the meantime, I worked on my pegs. I used a peg shaper to shave them down to size. The pegs are bought pre-made, but they need to be trimmed down and shaped.
Next week will be exciting. I will string up the violin and it will be played! Trying it “in the white” provides an opportunity to test it out while you can still make adjustments before varnishing.
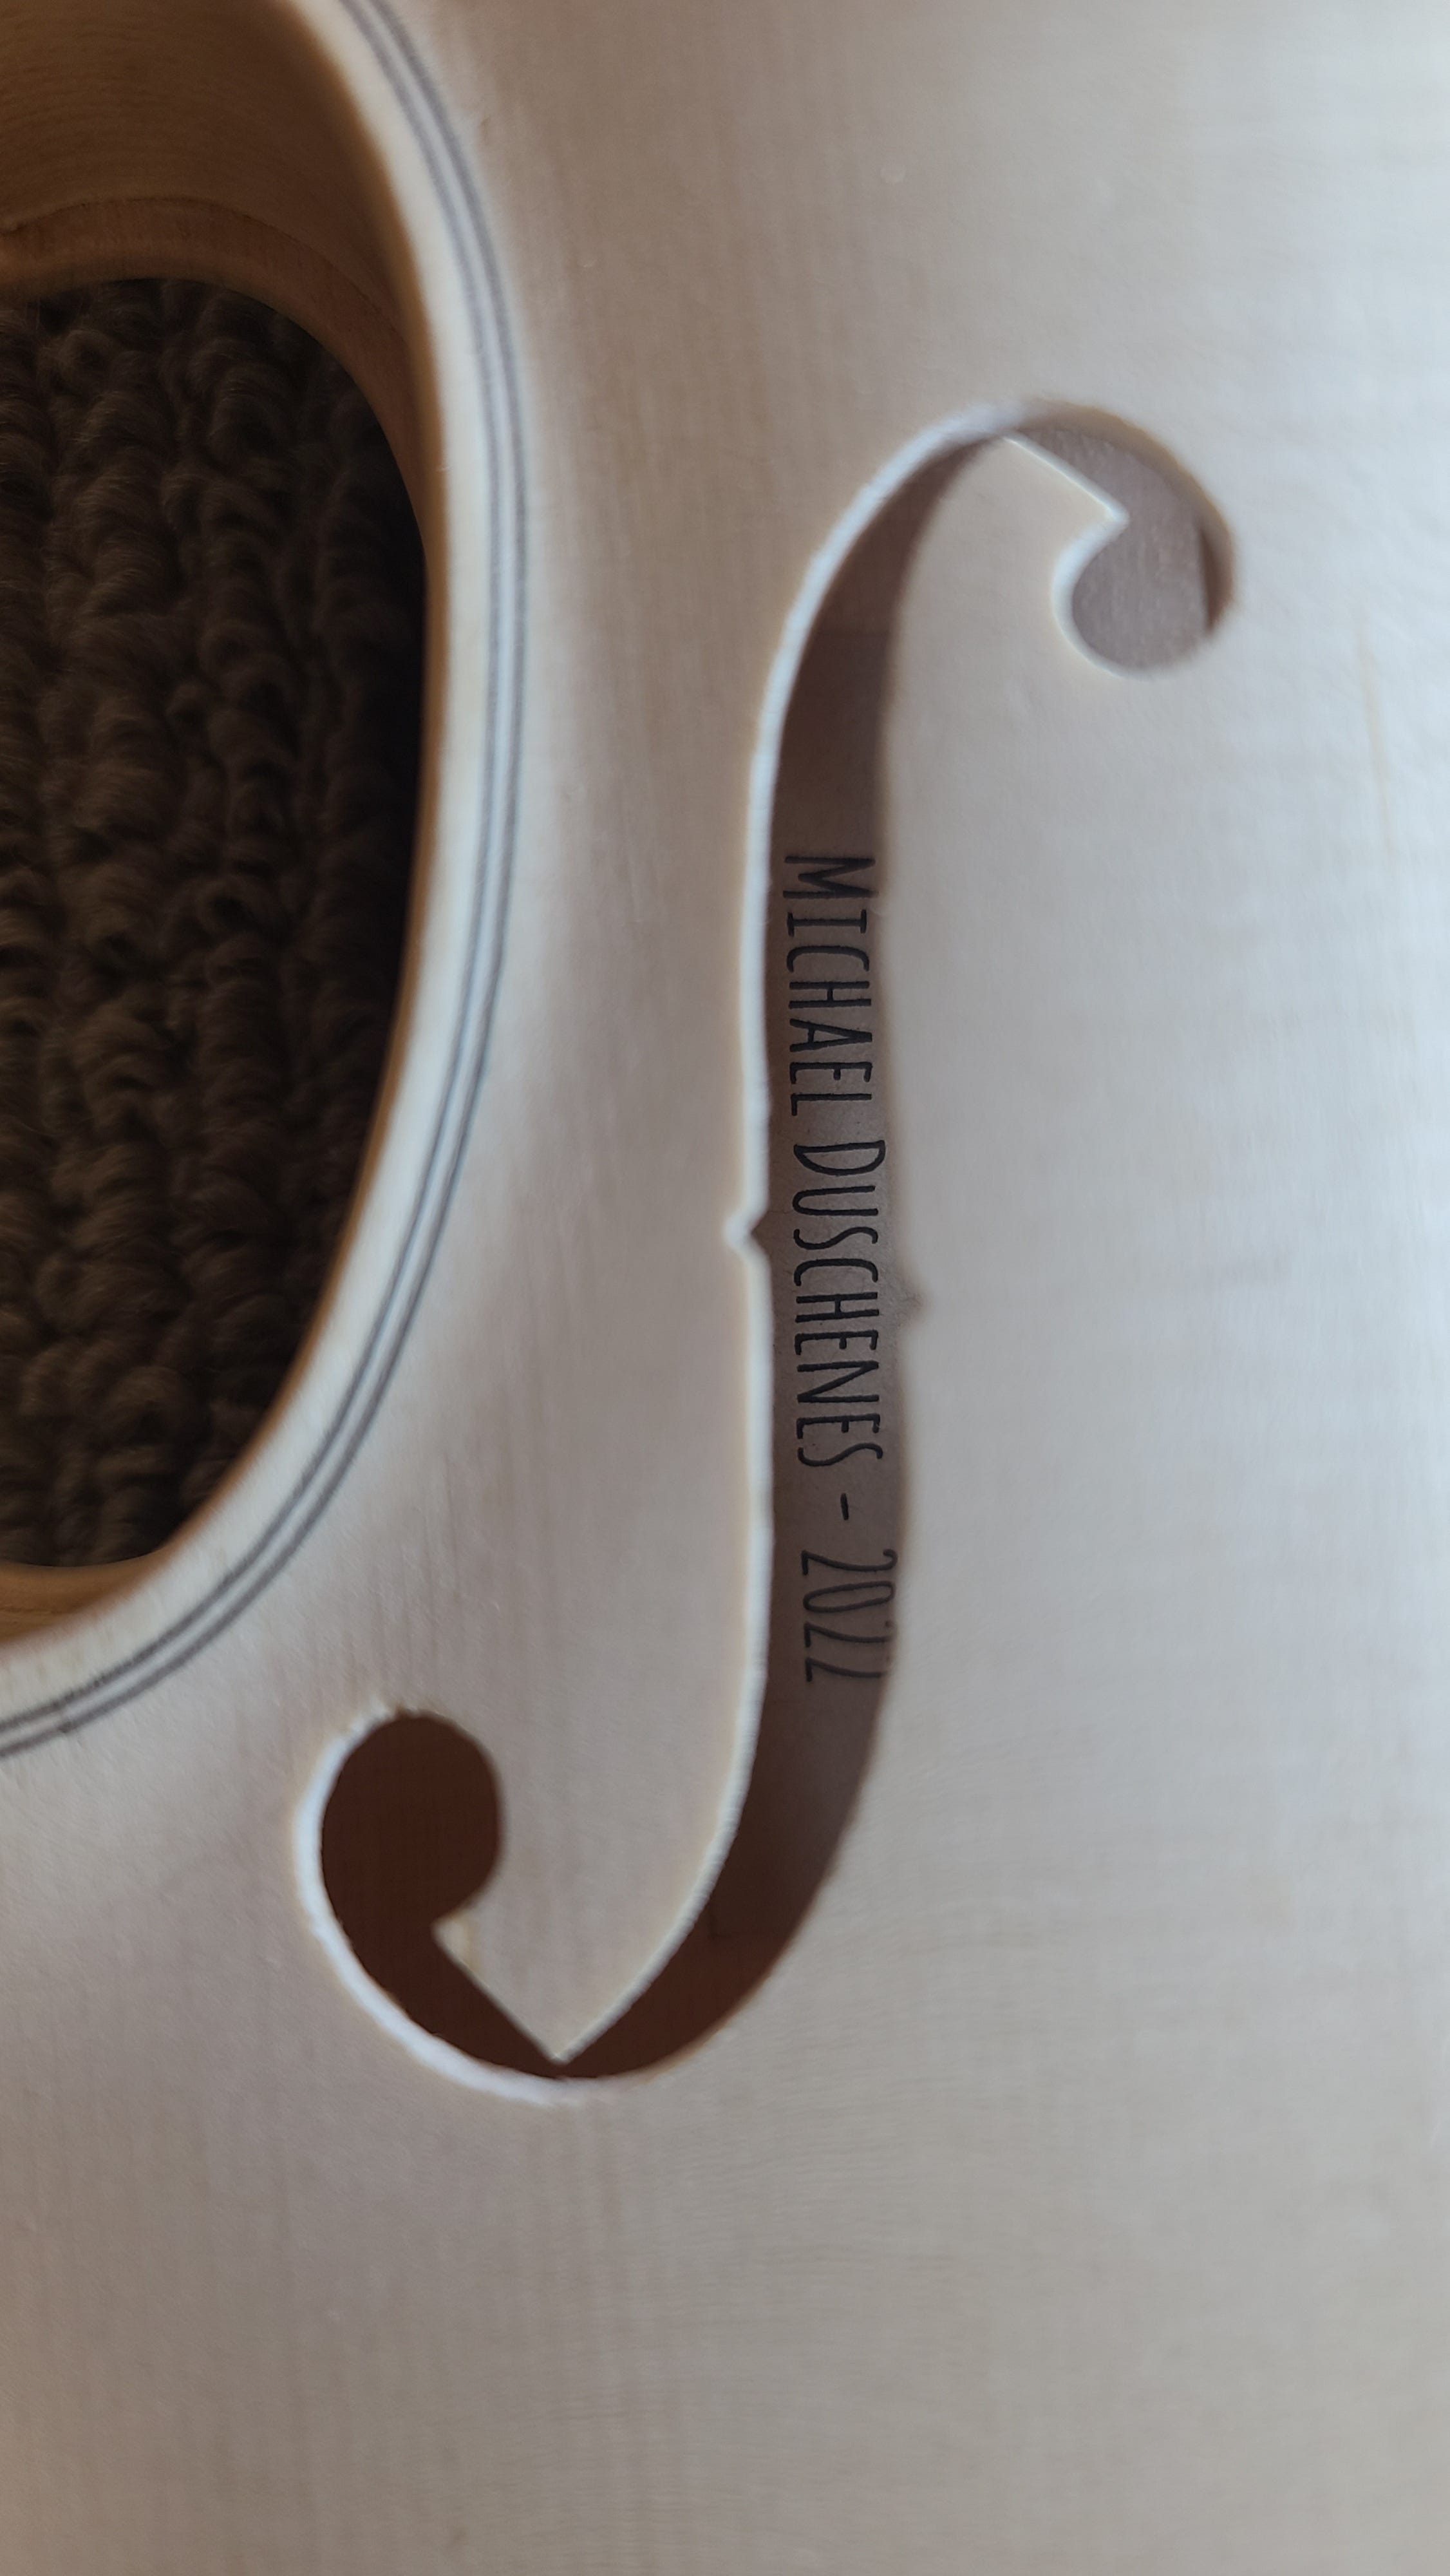
Michael Duschenes is a student at the Canadian Violin Making Institute.
Wow. Super exciting. Great photos.
These are such great posts, Michael. Thank you for sharing every stage and for your honesty when things don't go to plan. It's all fascinating. I'm very interested that you stuck your nameplate in after you'd glued it all together. Jeremy never signed my viola and now I realise he could. Will he need to borrow your special soundpost tool to get a label through the f-hole?