

Week 24 - Neck, Saddle, End Button and Nut
Feb 28 - March 4

I ended last week by gluing the partly carved neck to the body. I started this week with finishing the carving and shaping of the neck.
First, the shape of the button is traced and some excess wood is cut off.
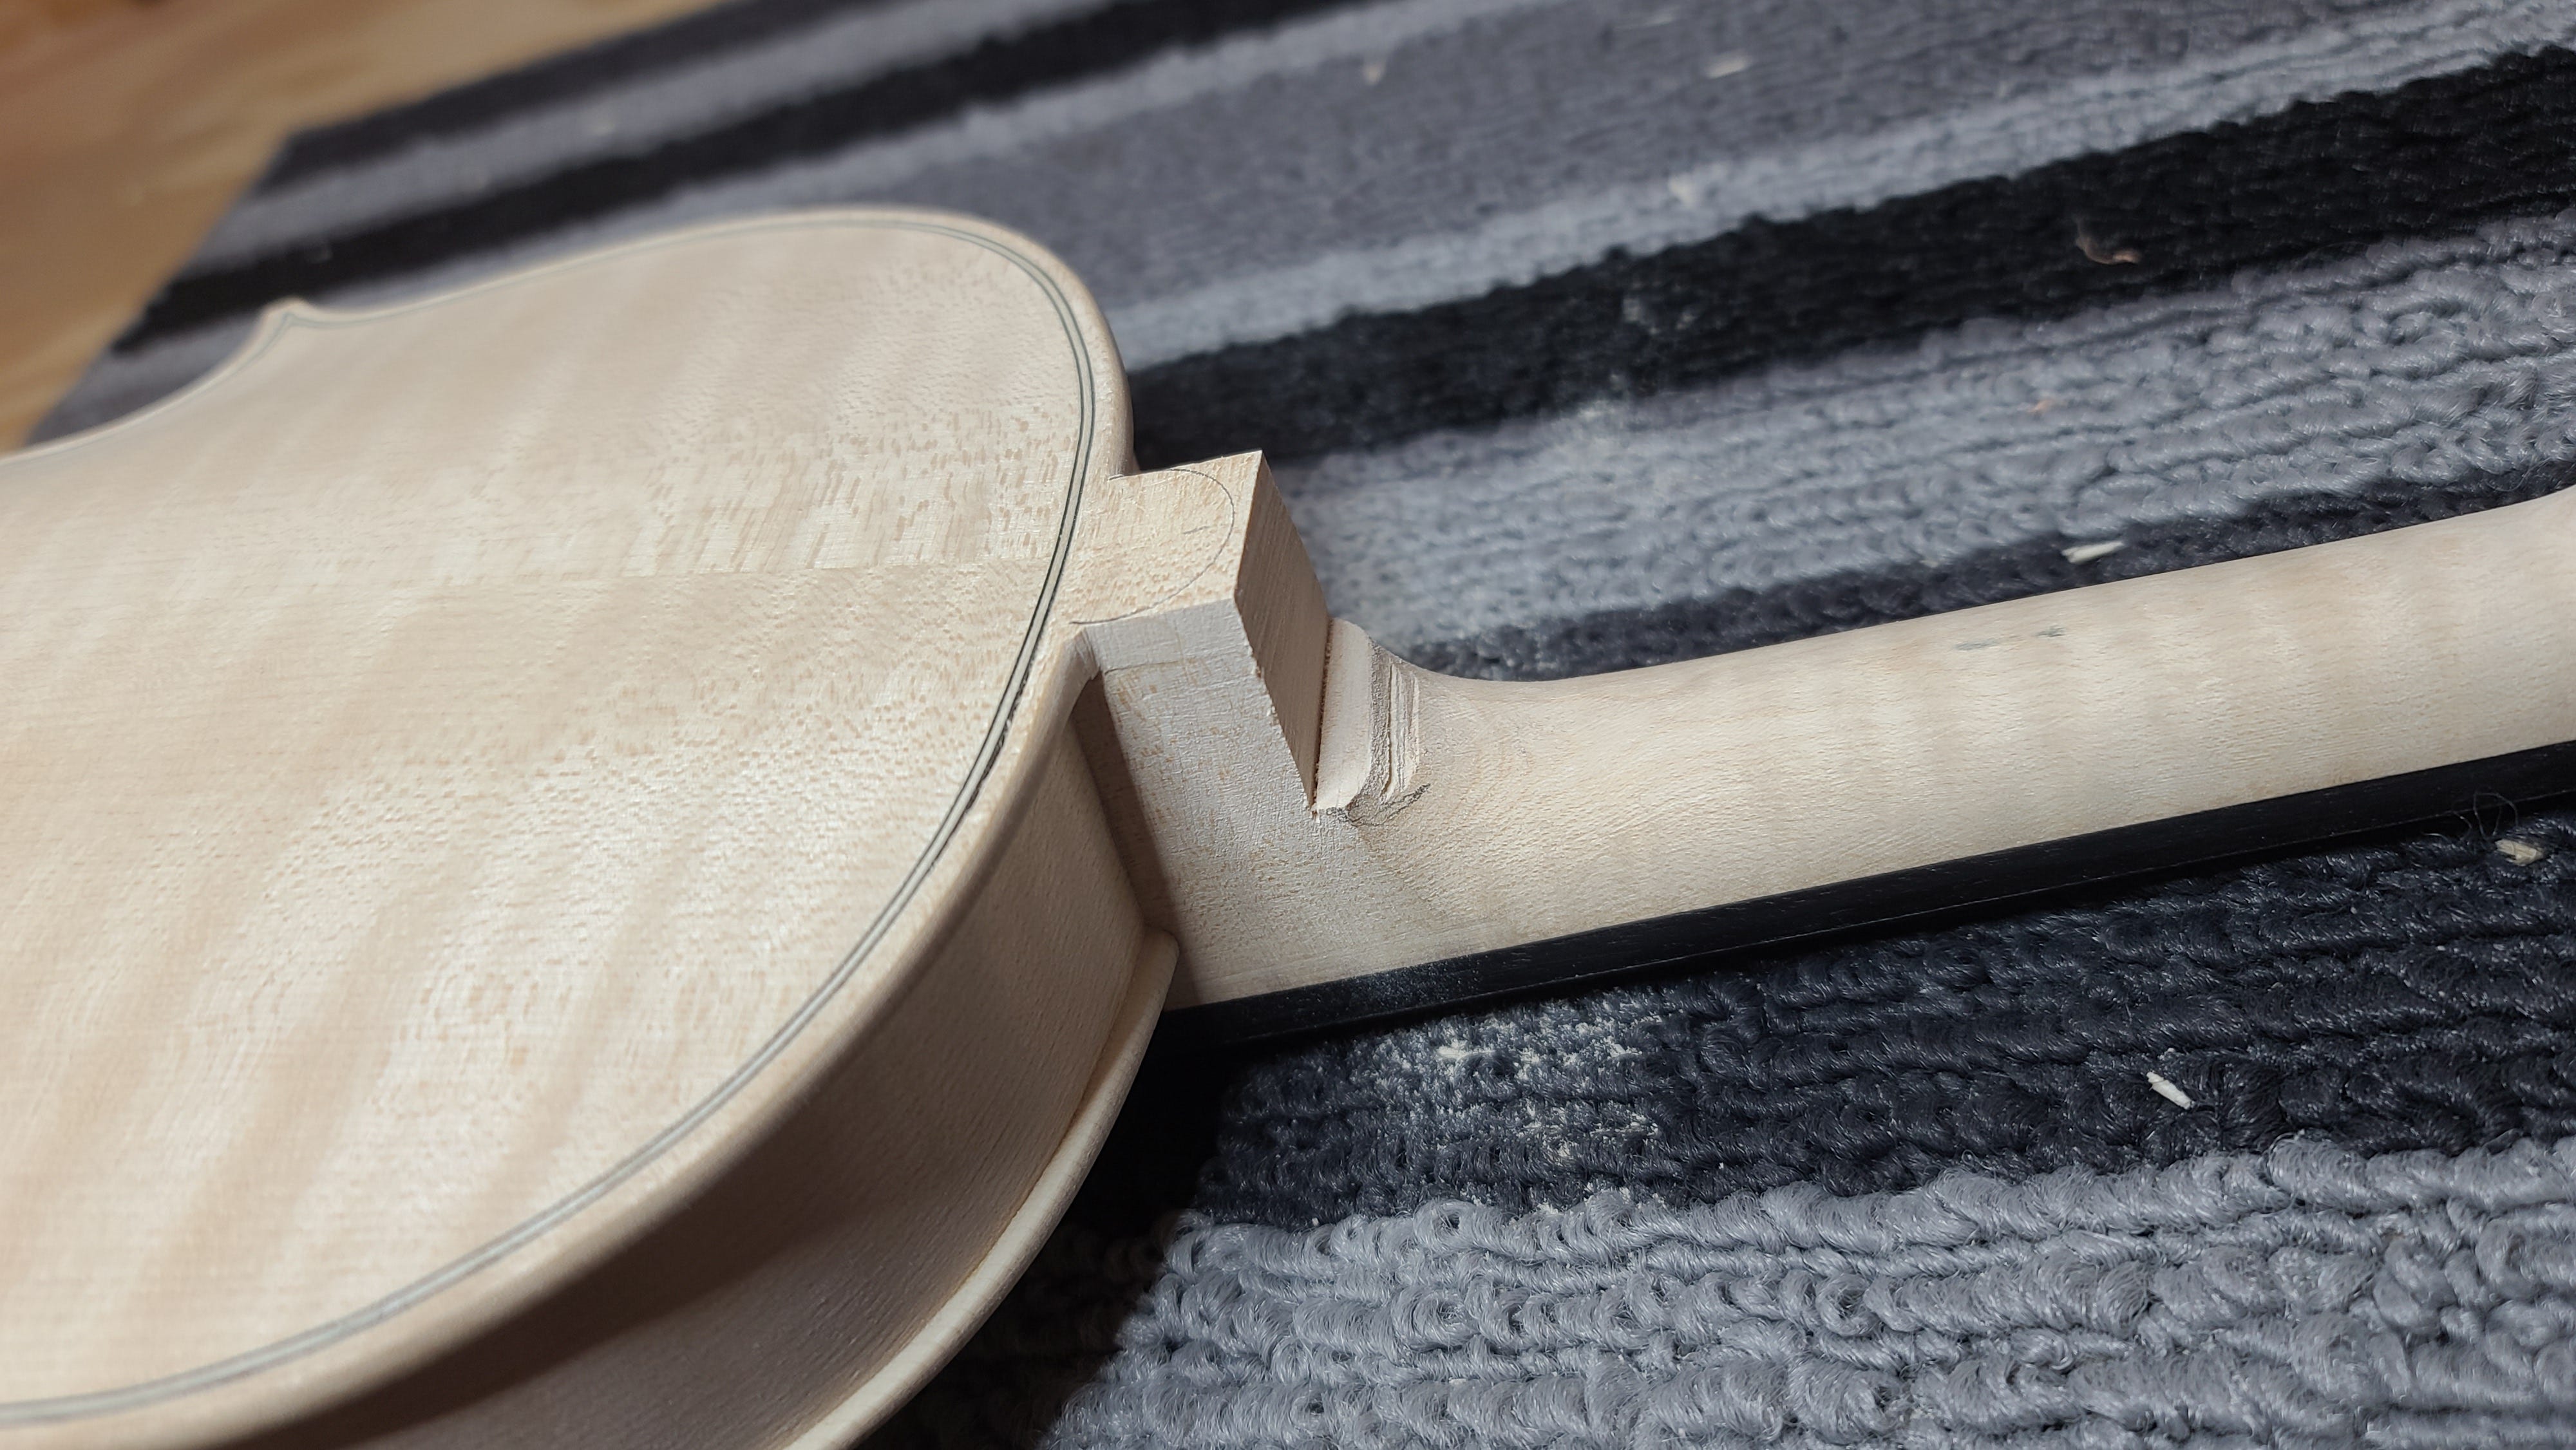
This is then further shaped with a knife to start incorporating that area into the rest of the neck.
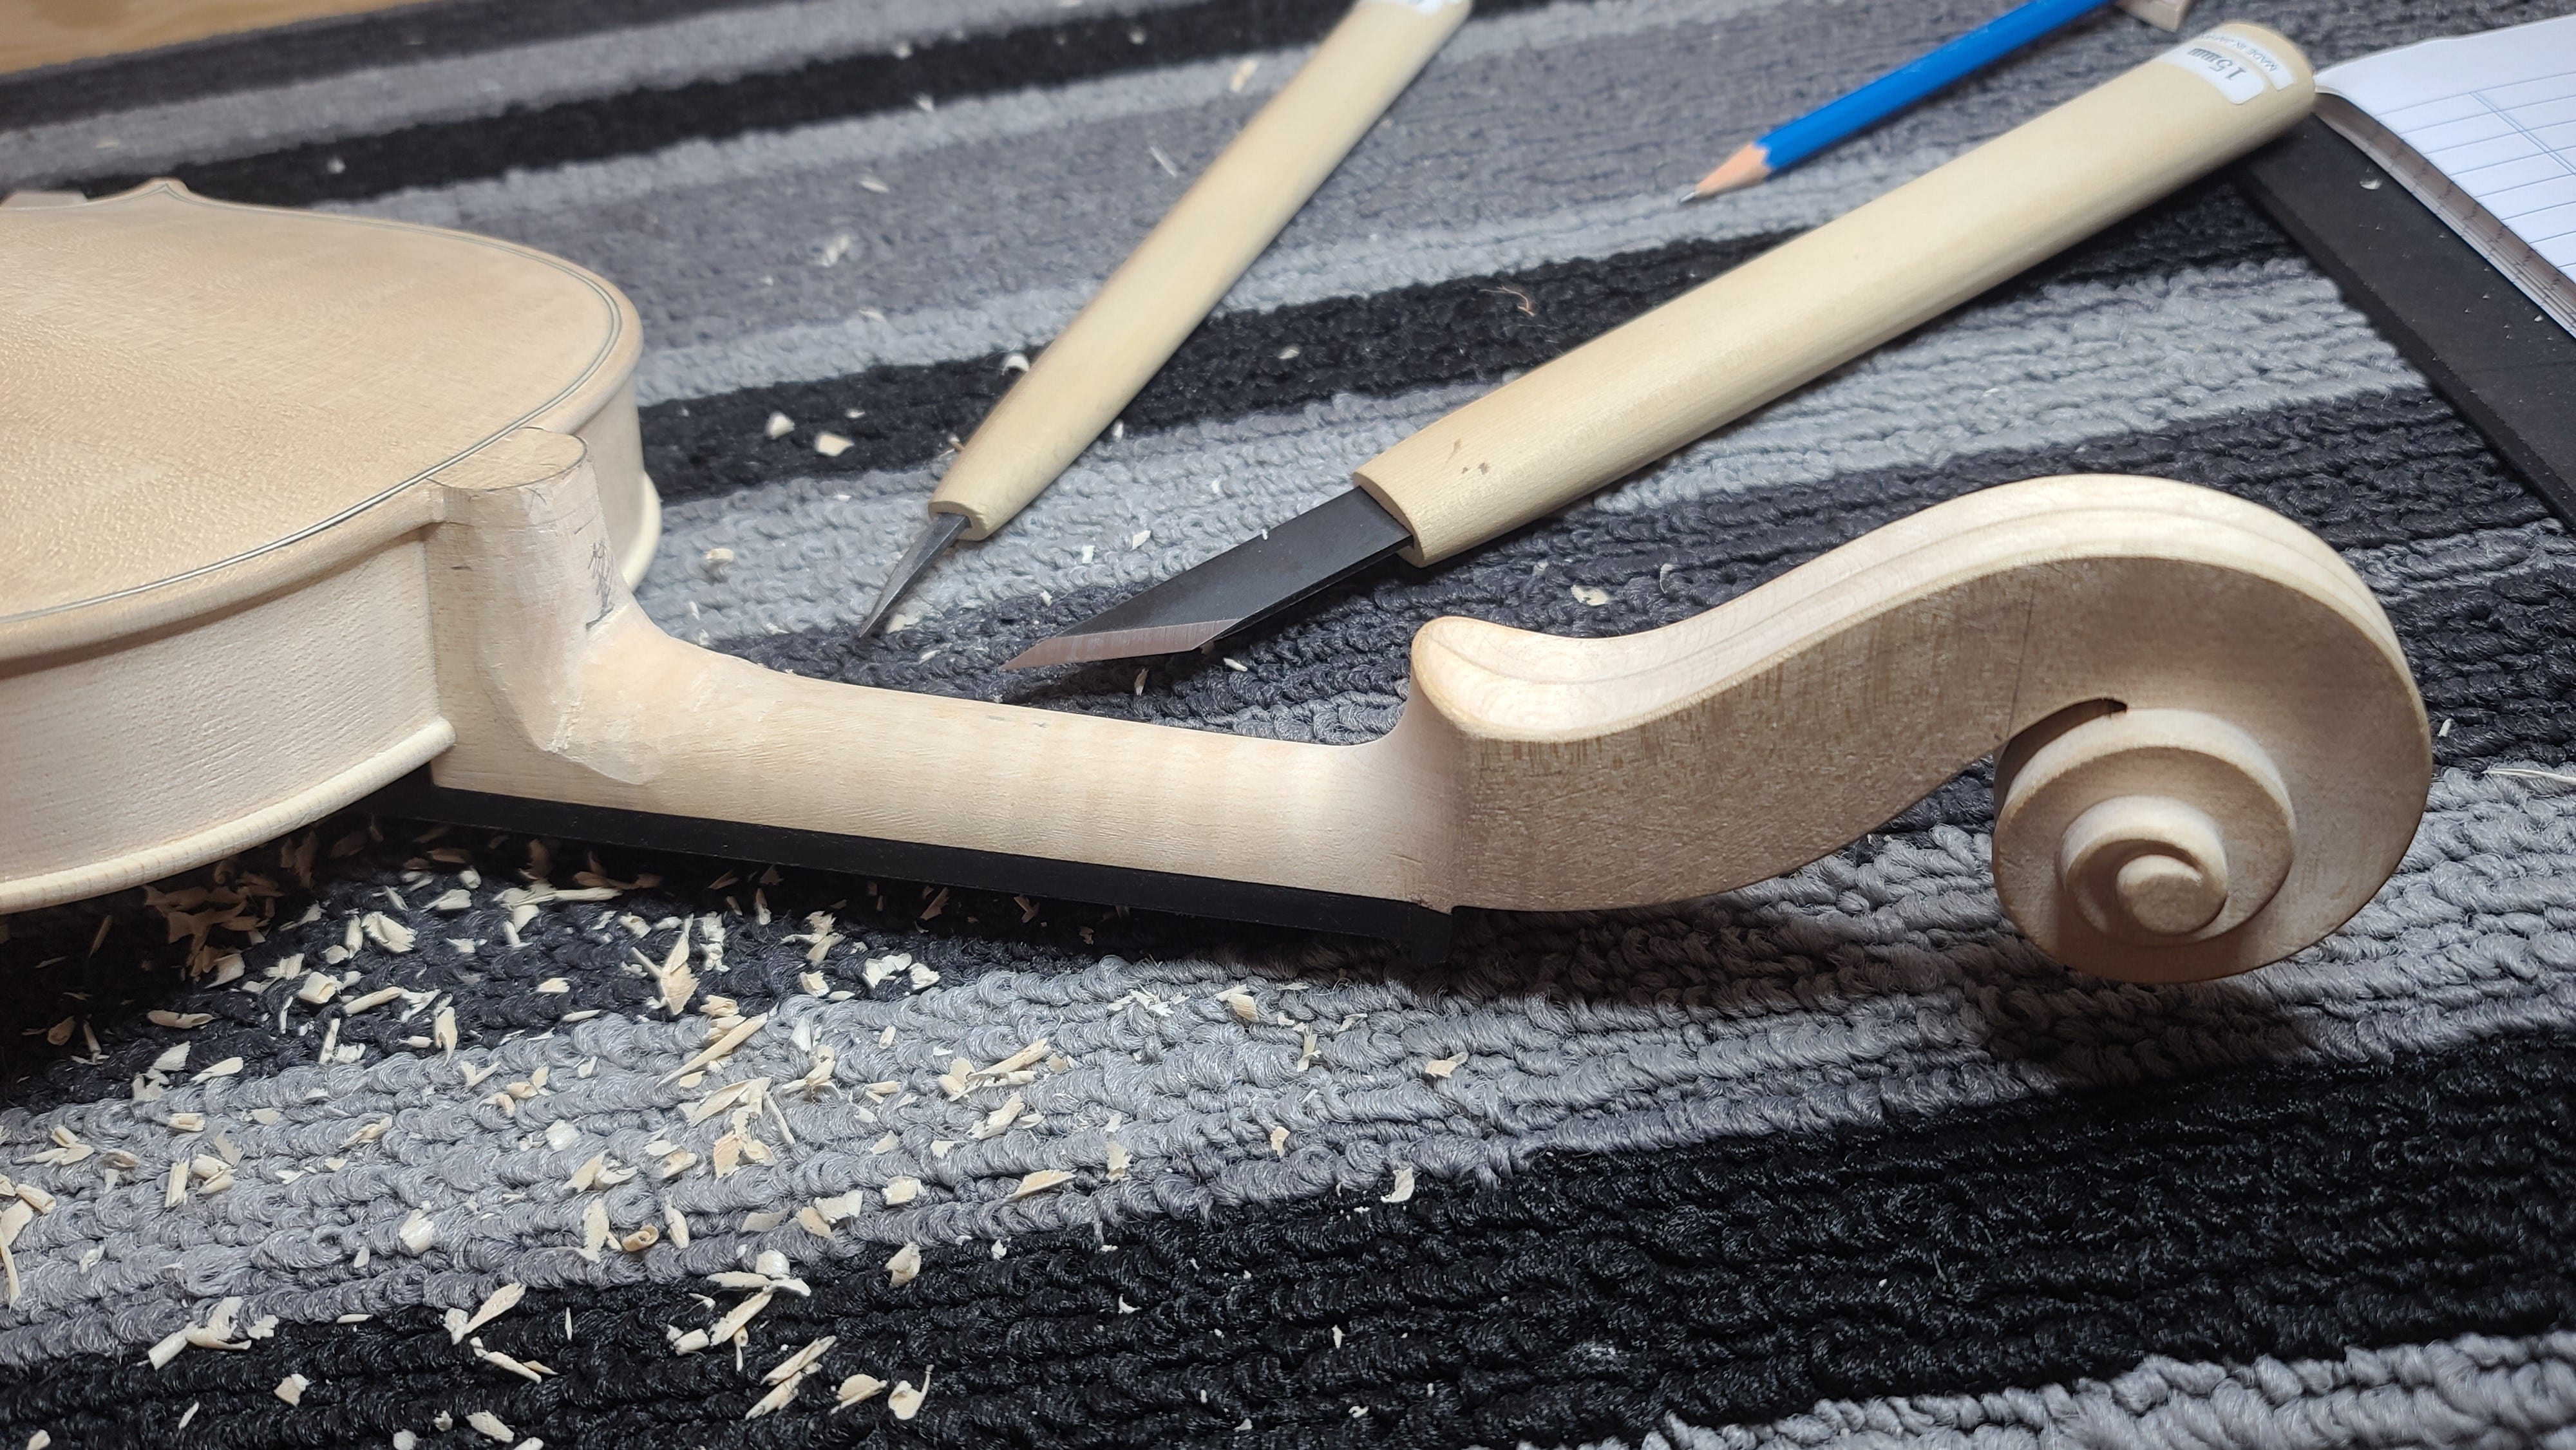
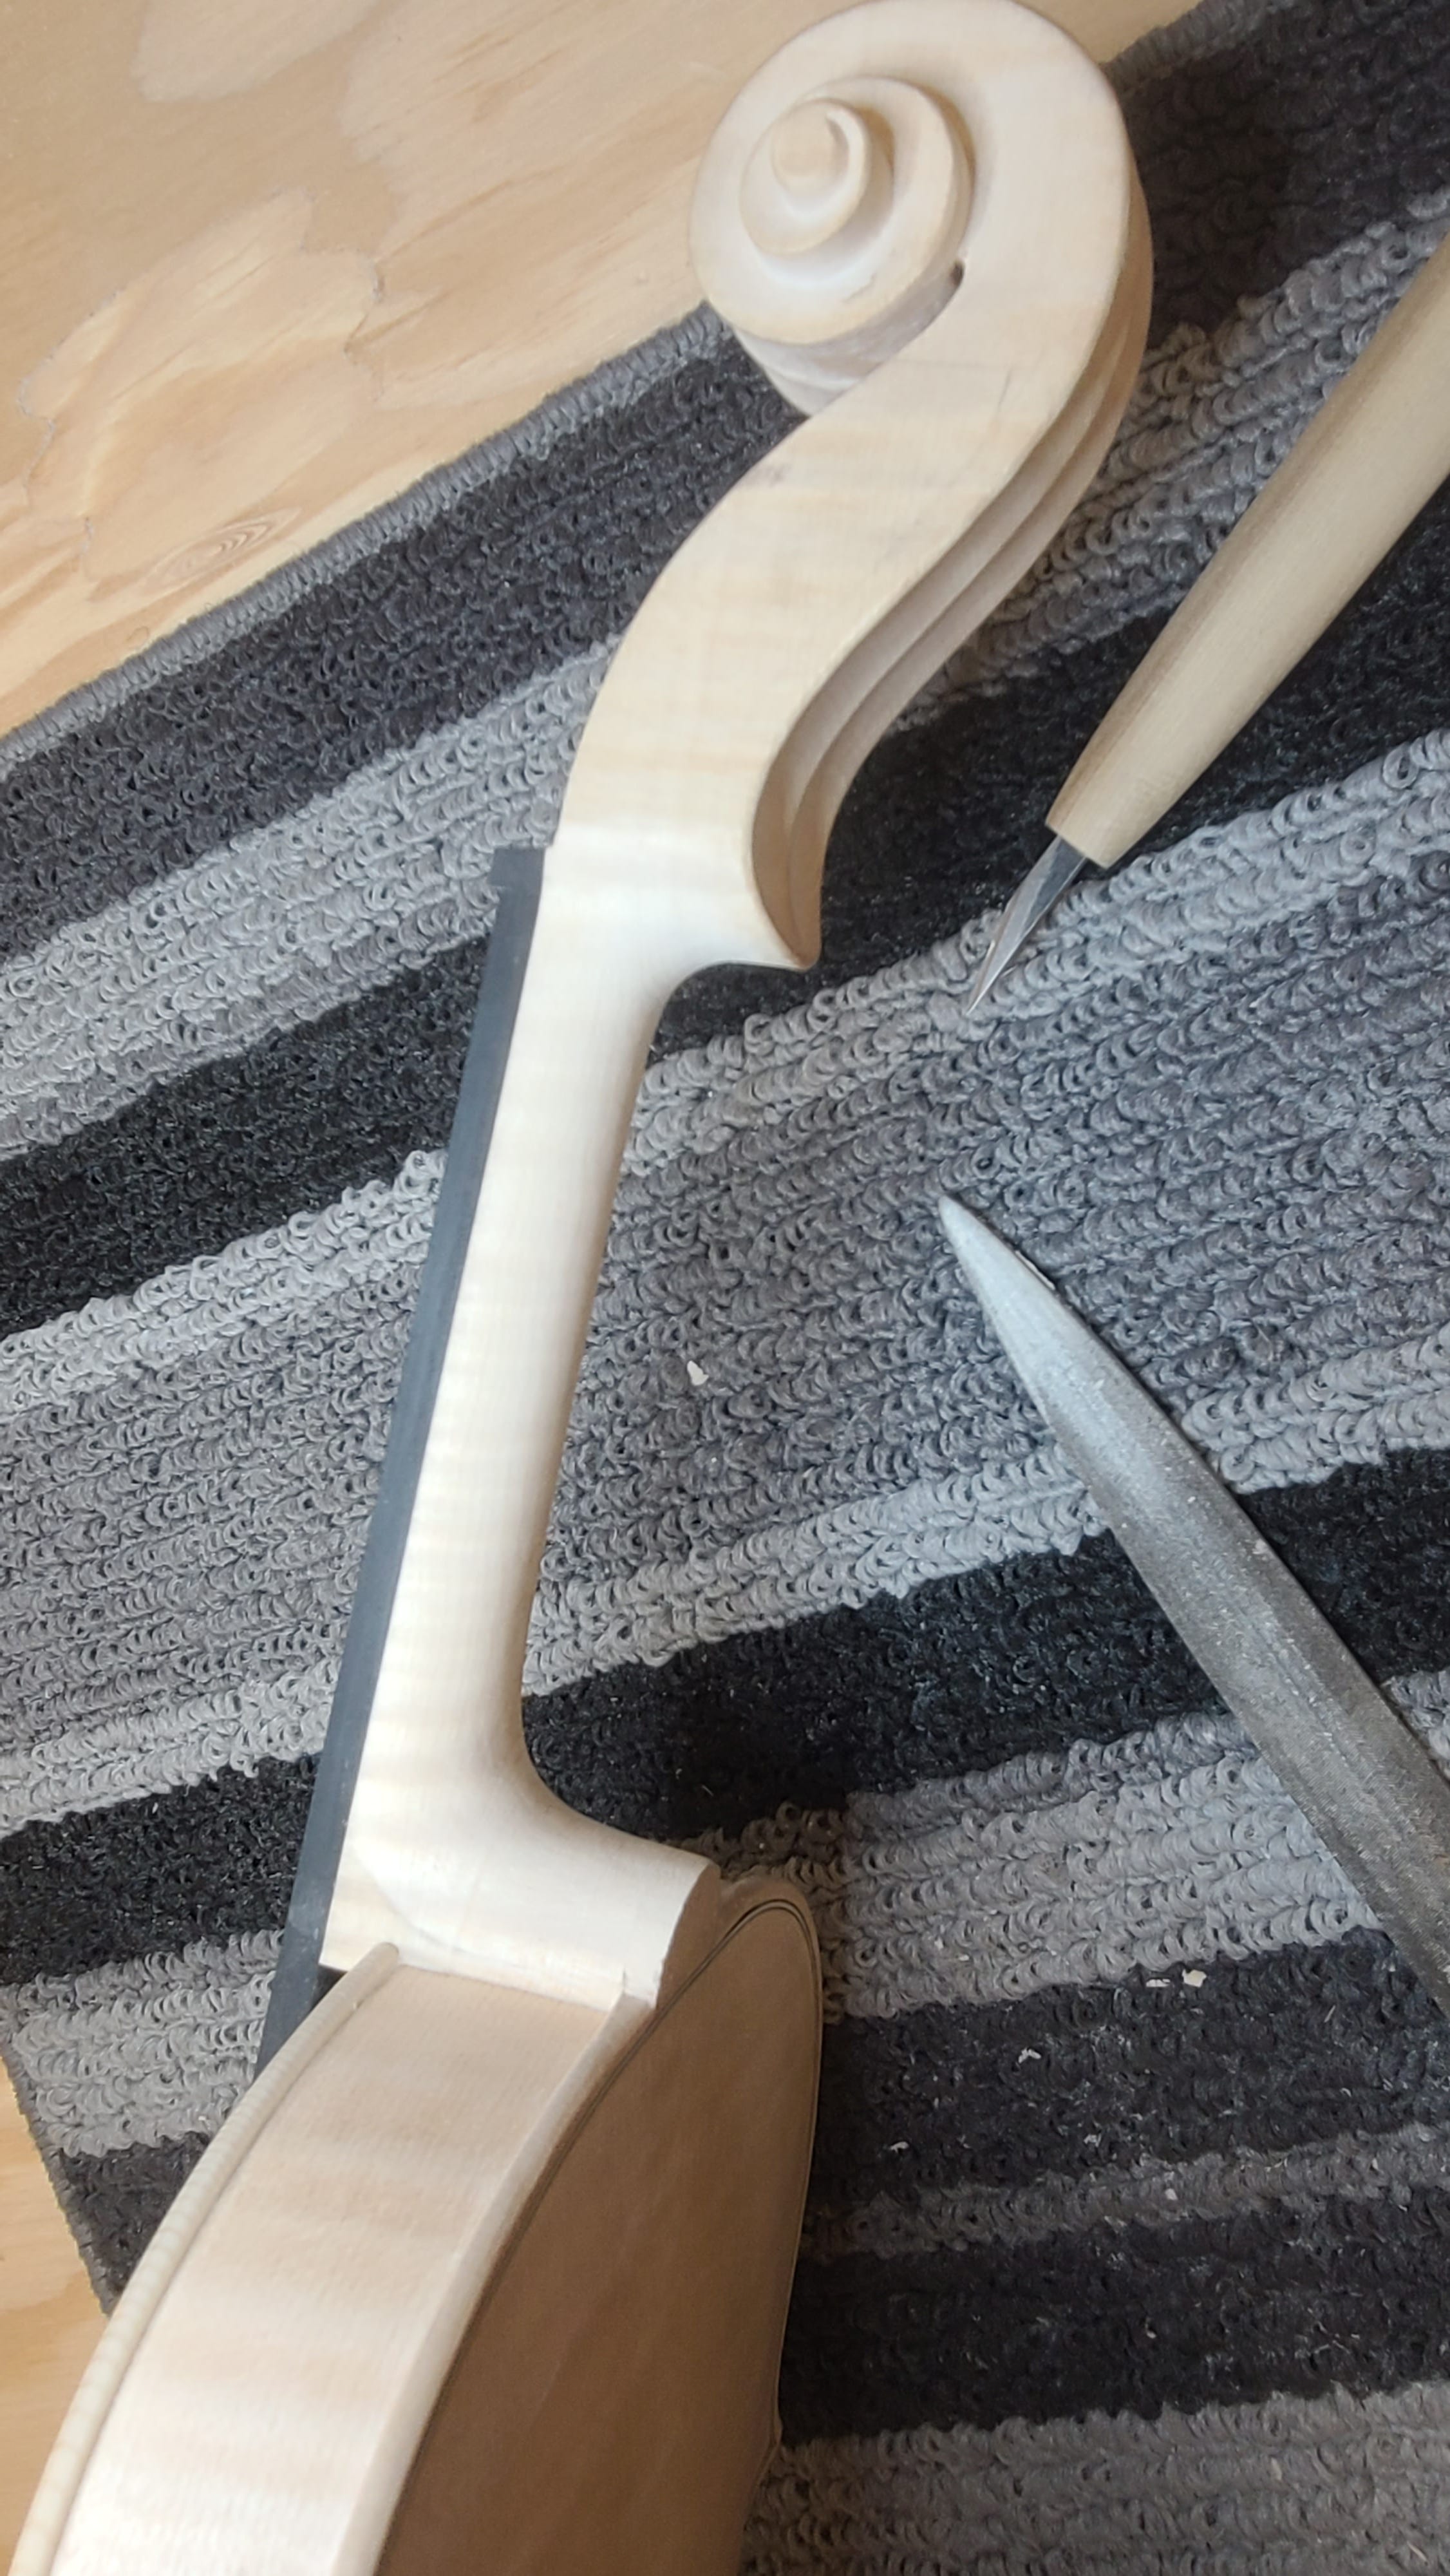
A rasp and then a file is used to bring the neck to its finished shape and thickness.

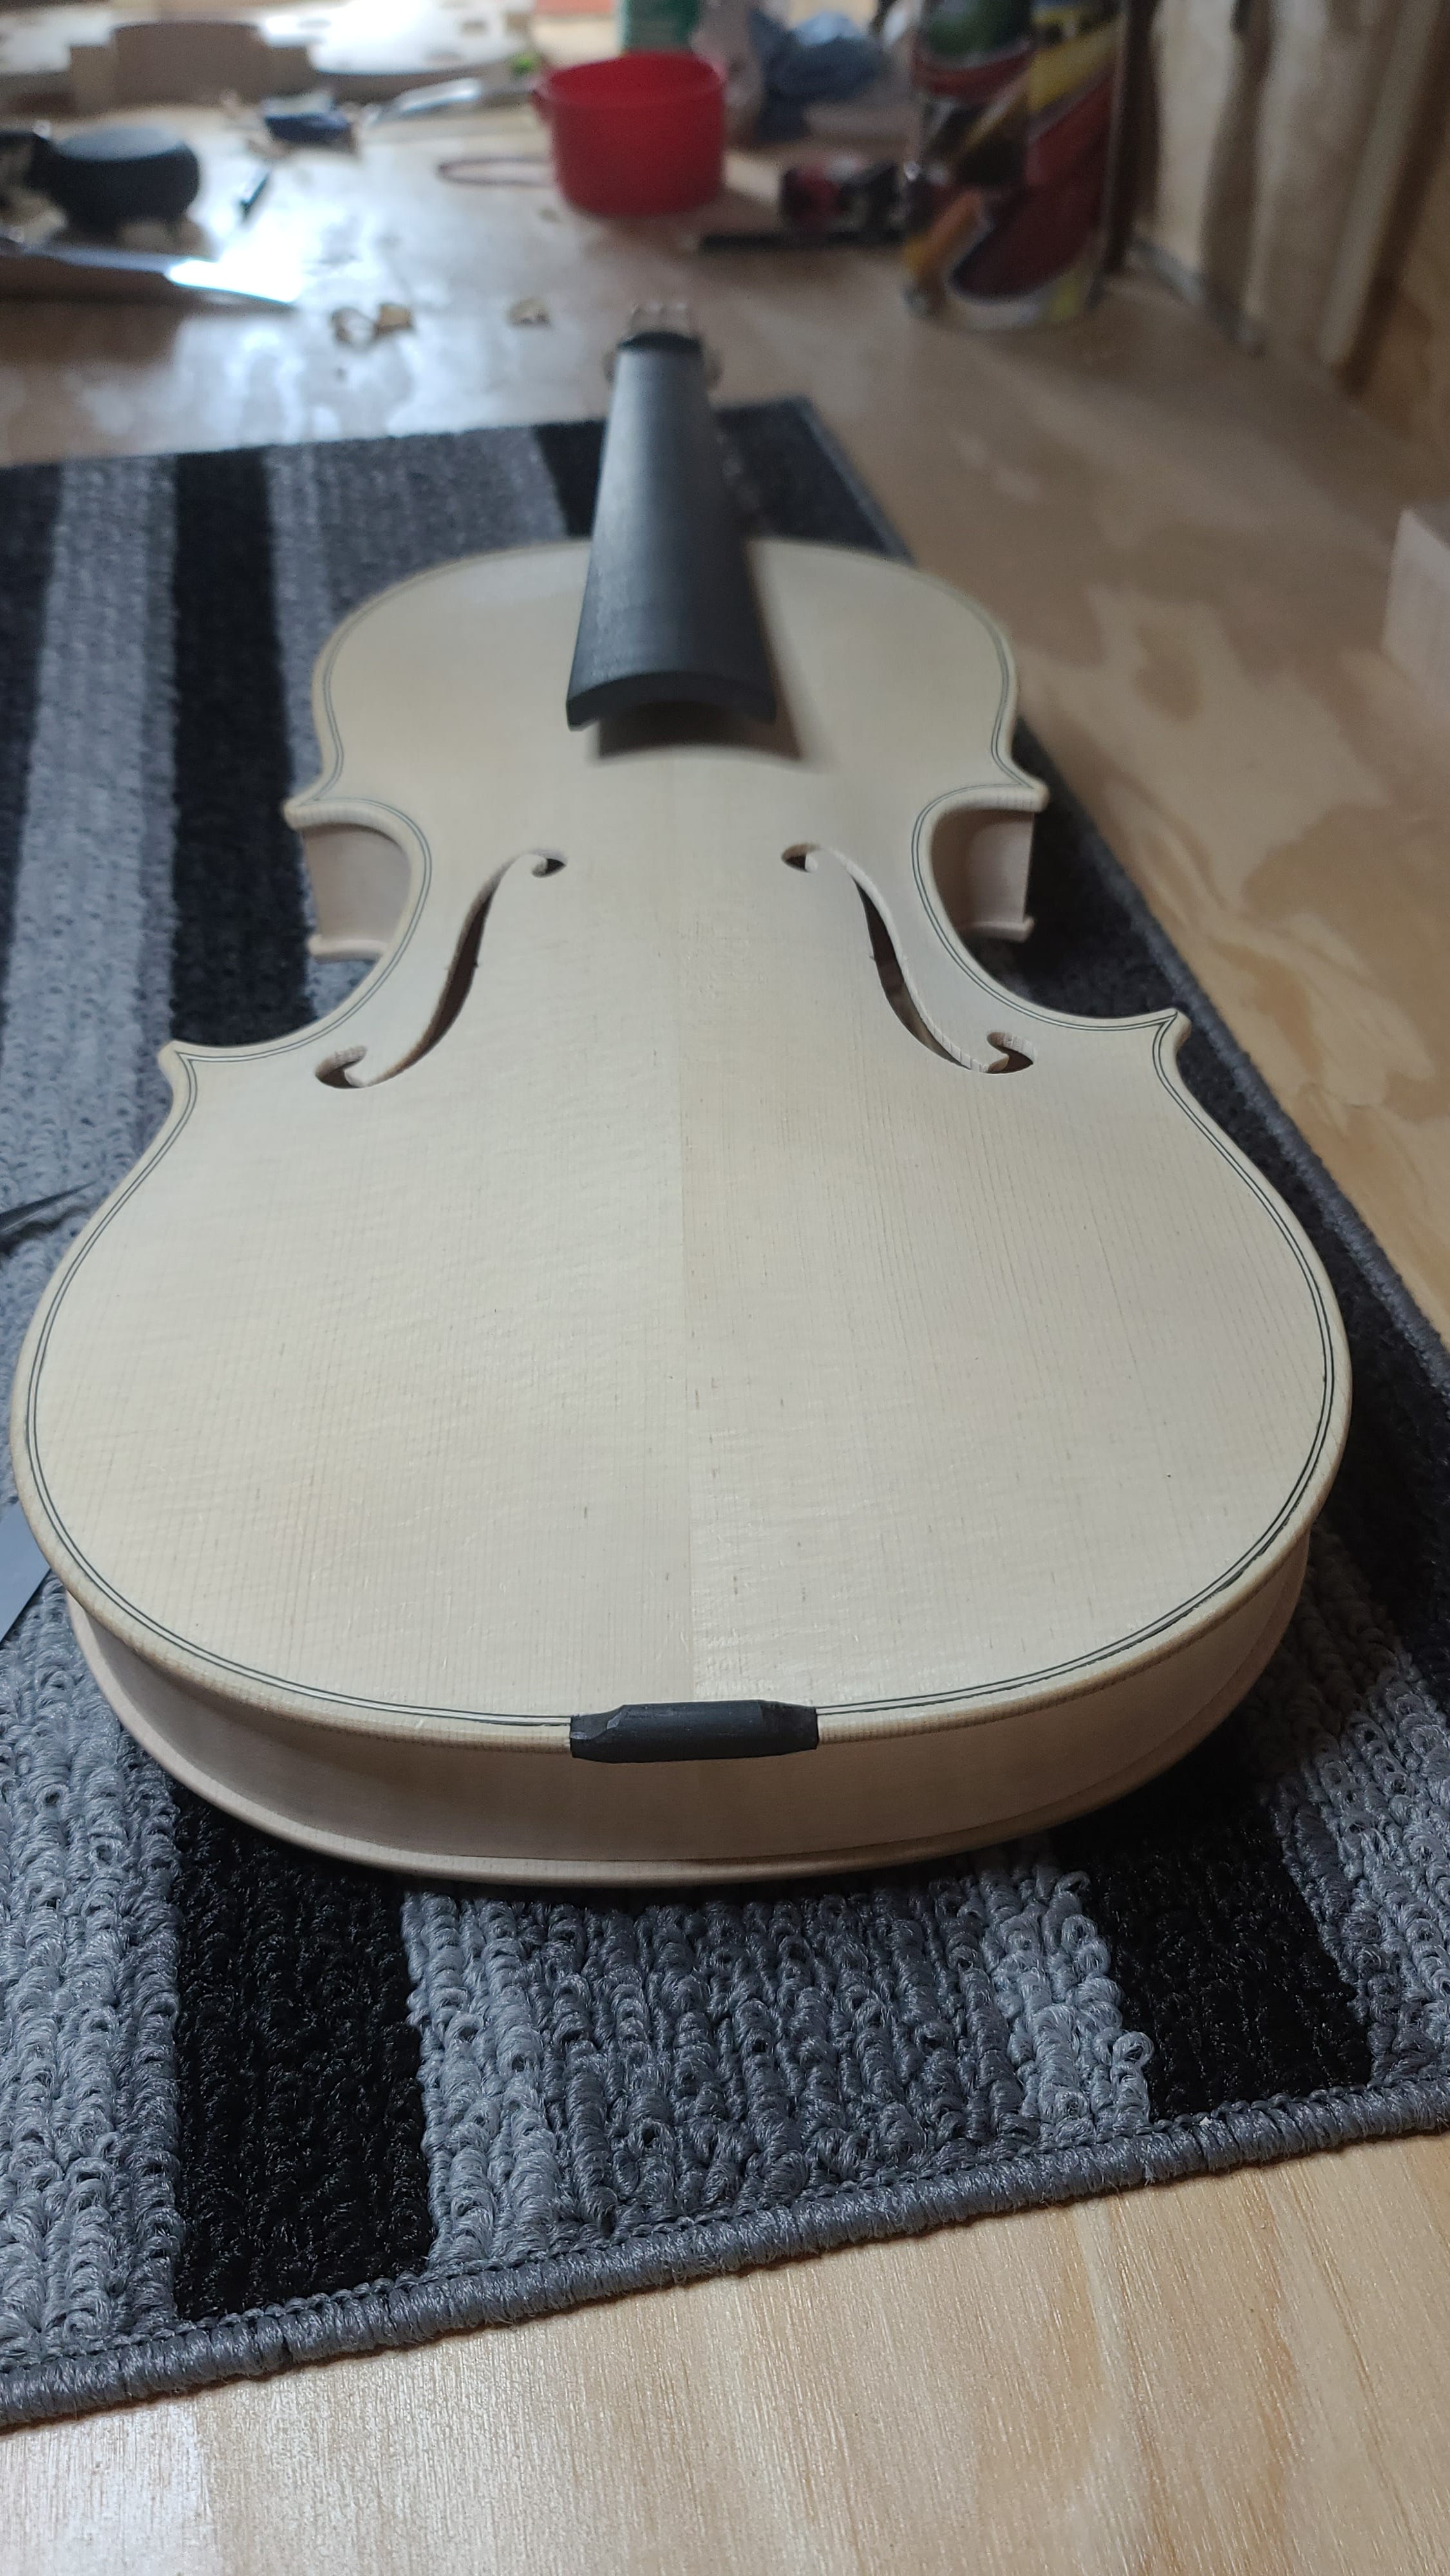
Next, I worked on the saddle which will support the tail piece to which the strings are attached. The saddle is made of ebony and is notched into the body at a slight angle to help withstand the force that will be exerted on it by the strings.

It’s a little hard to explain what the saddle does. Below is a picture of a violin where you can see the strings attached to the tailpiece. The tailpiece is attached to the end button (sometimes called the peg, and I’ll get to that piece shortly) with a wire (tail gut) that leans with considerable force against the saddle. Without the saddle, the tail gut would carve right into the instrument.

Below is my saddle glued in.
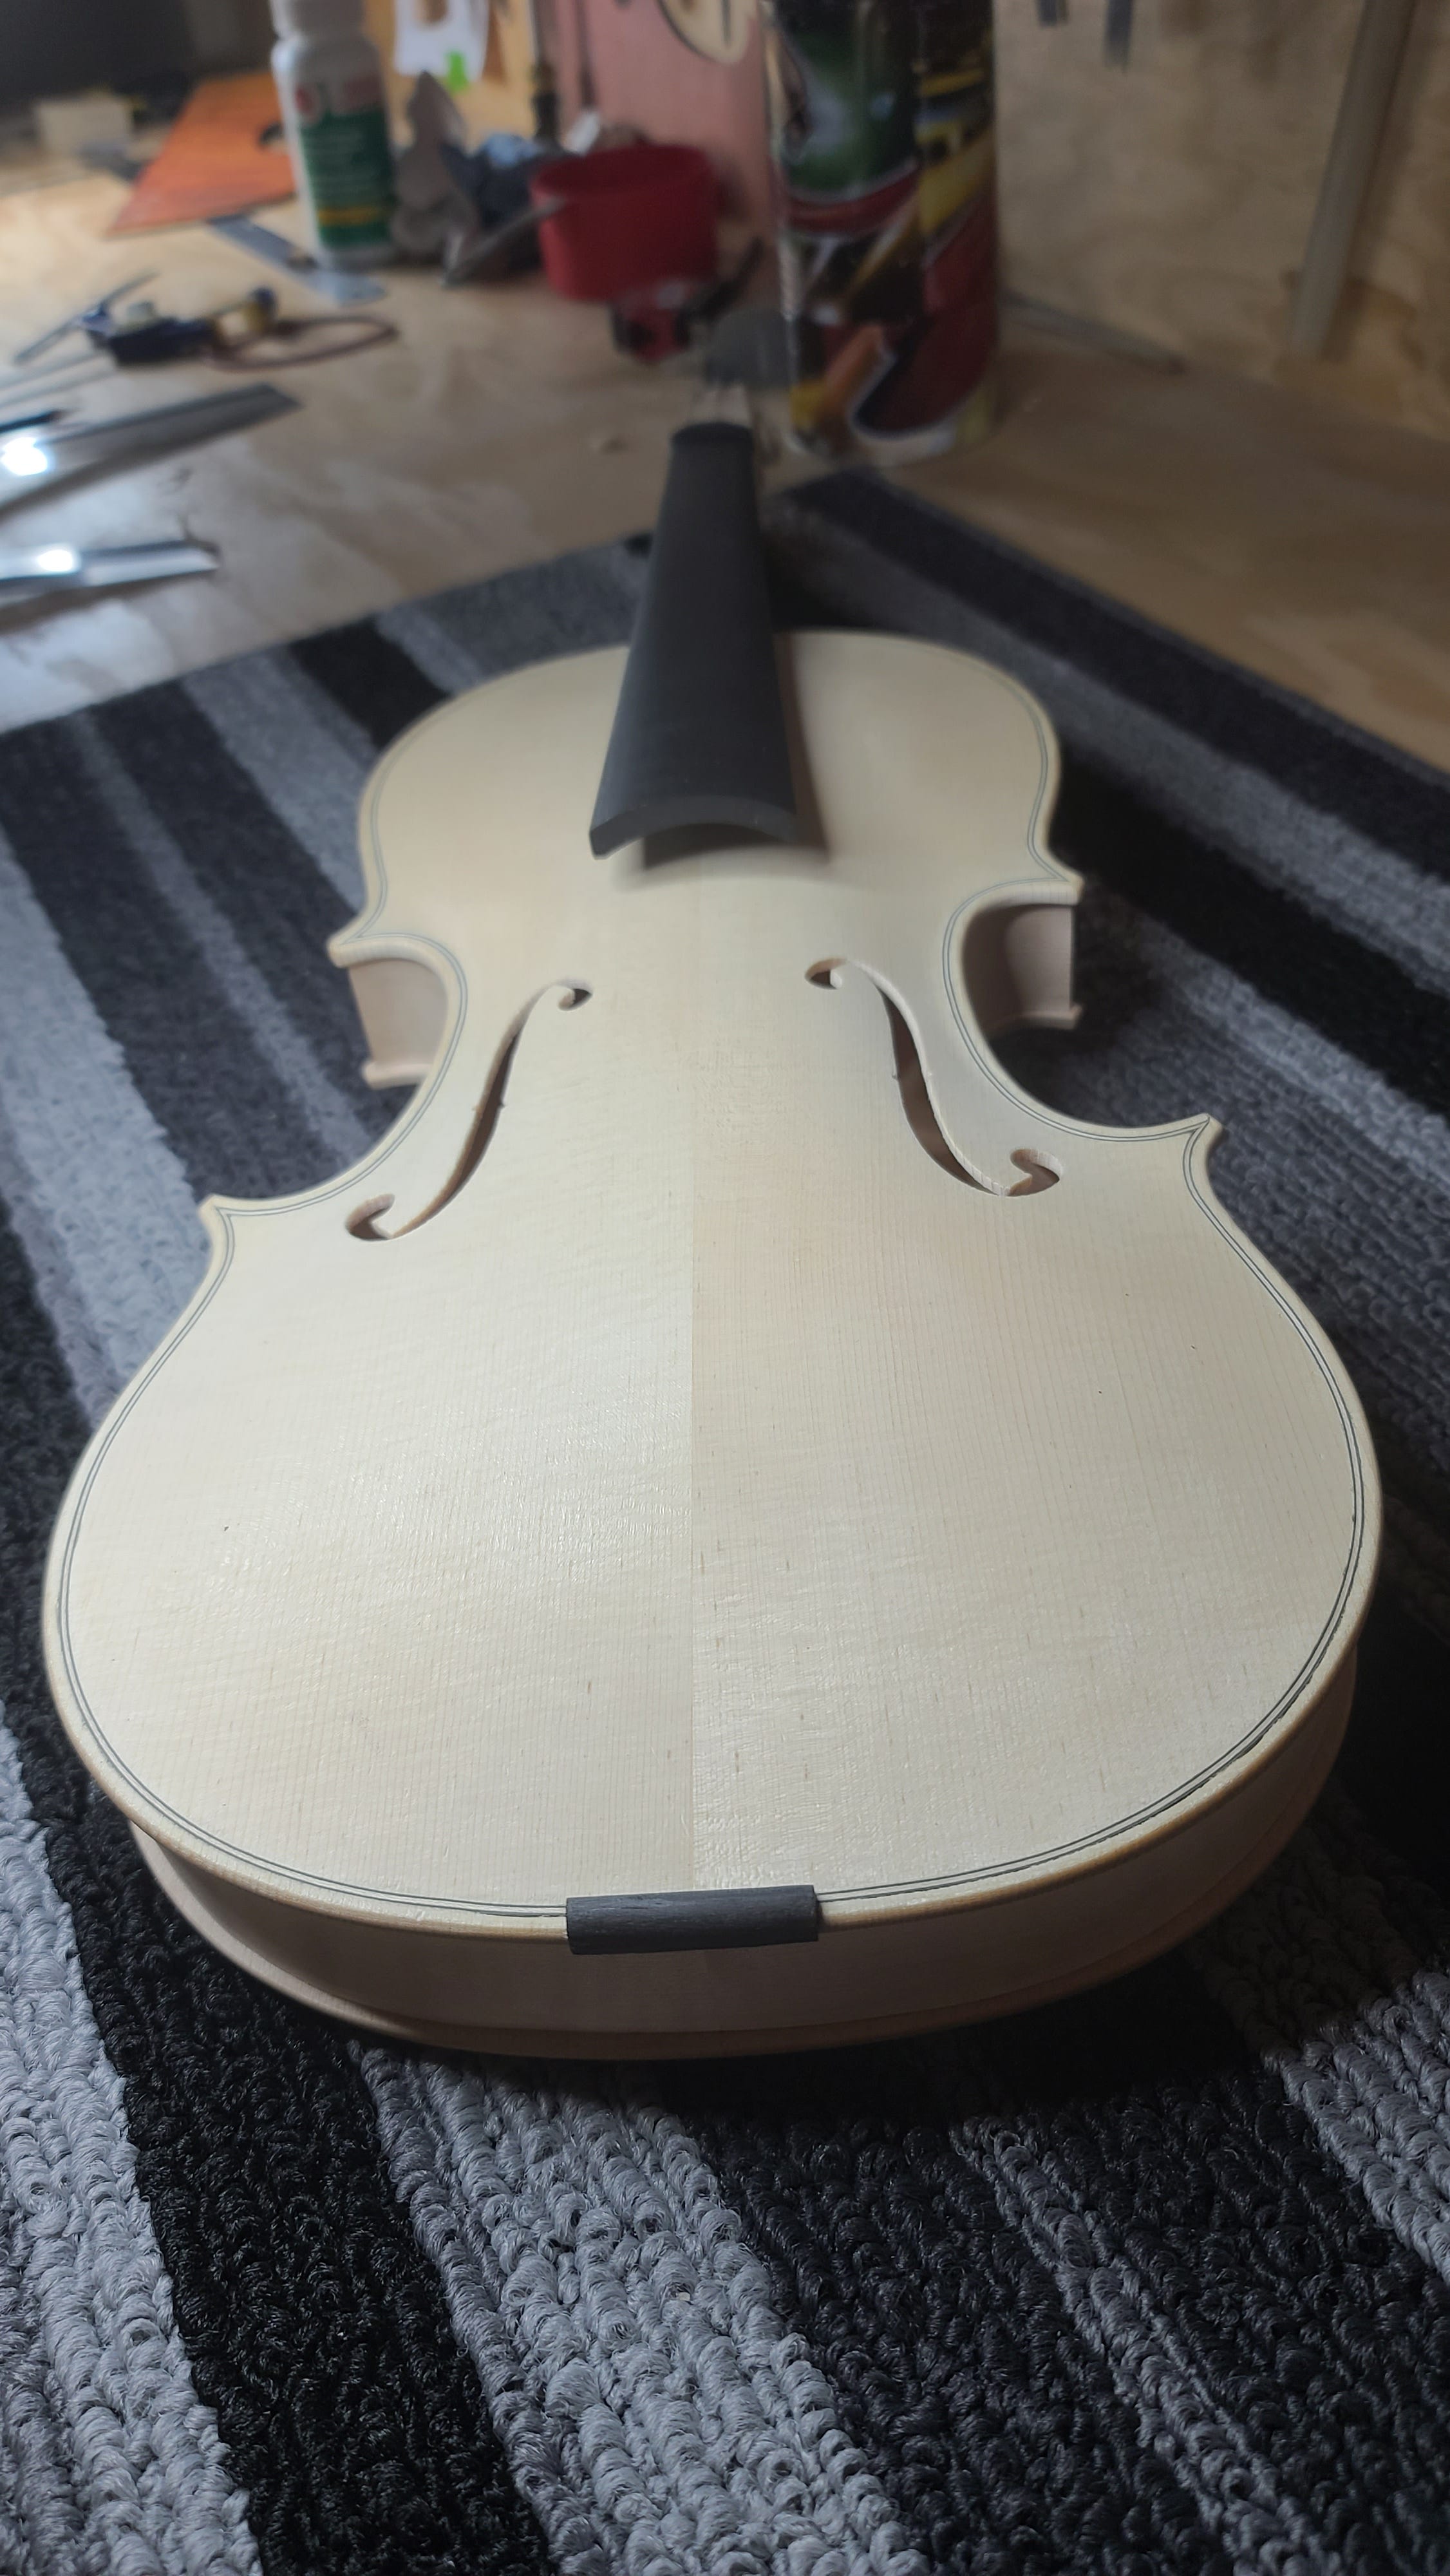
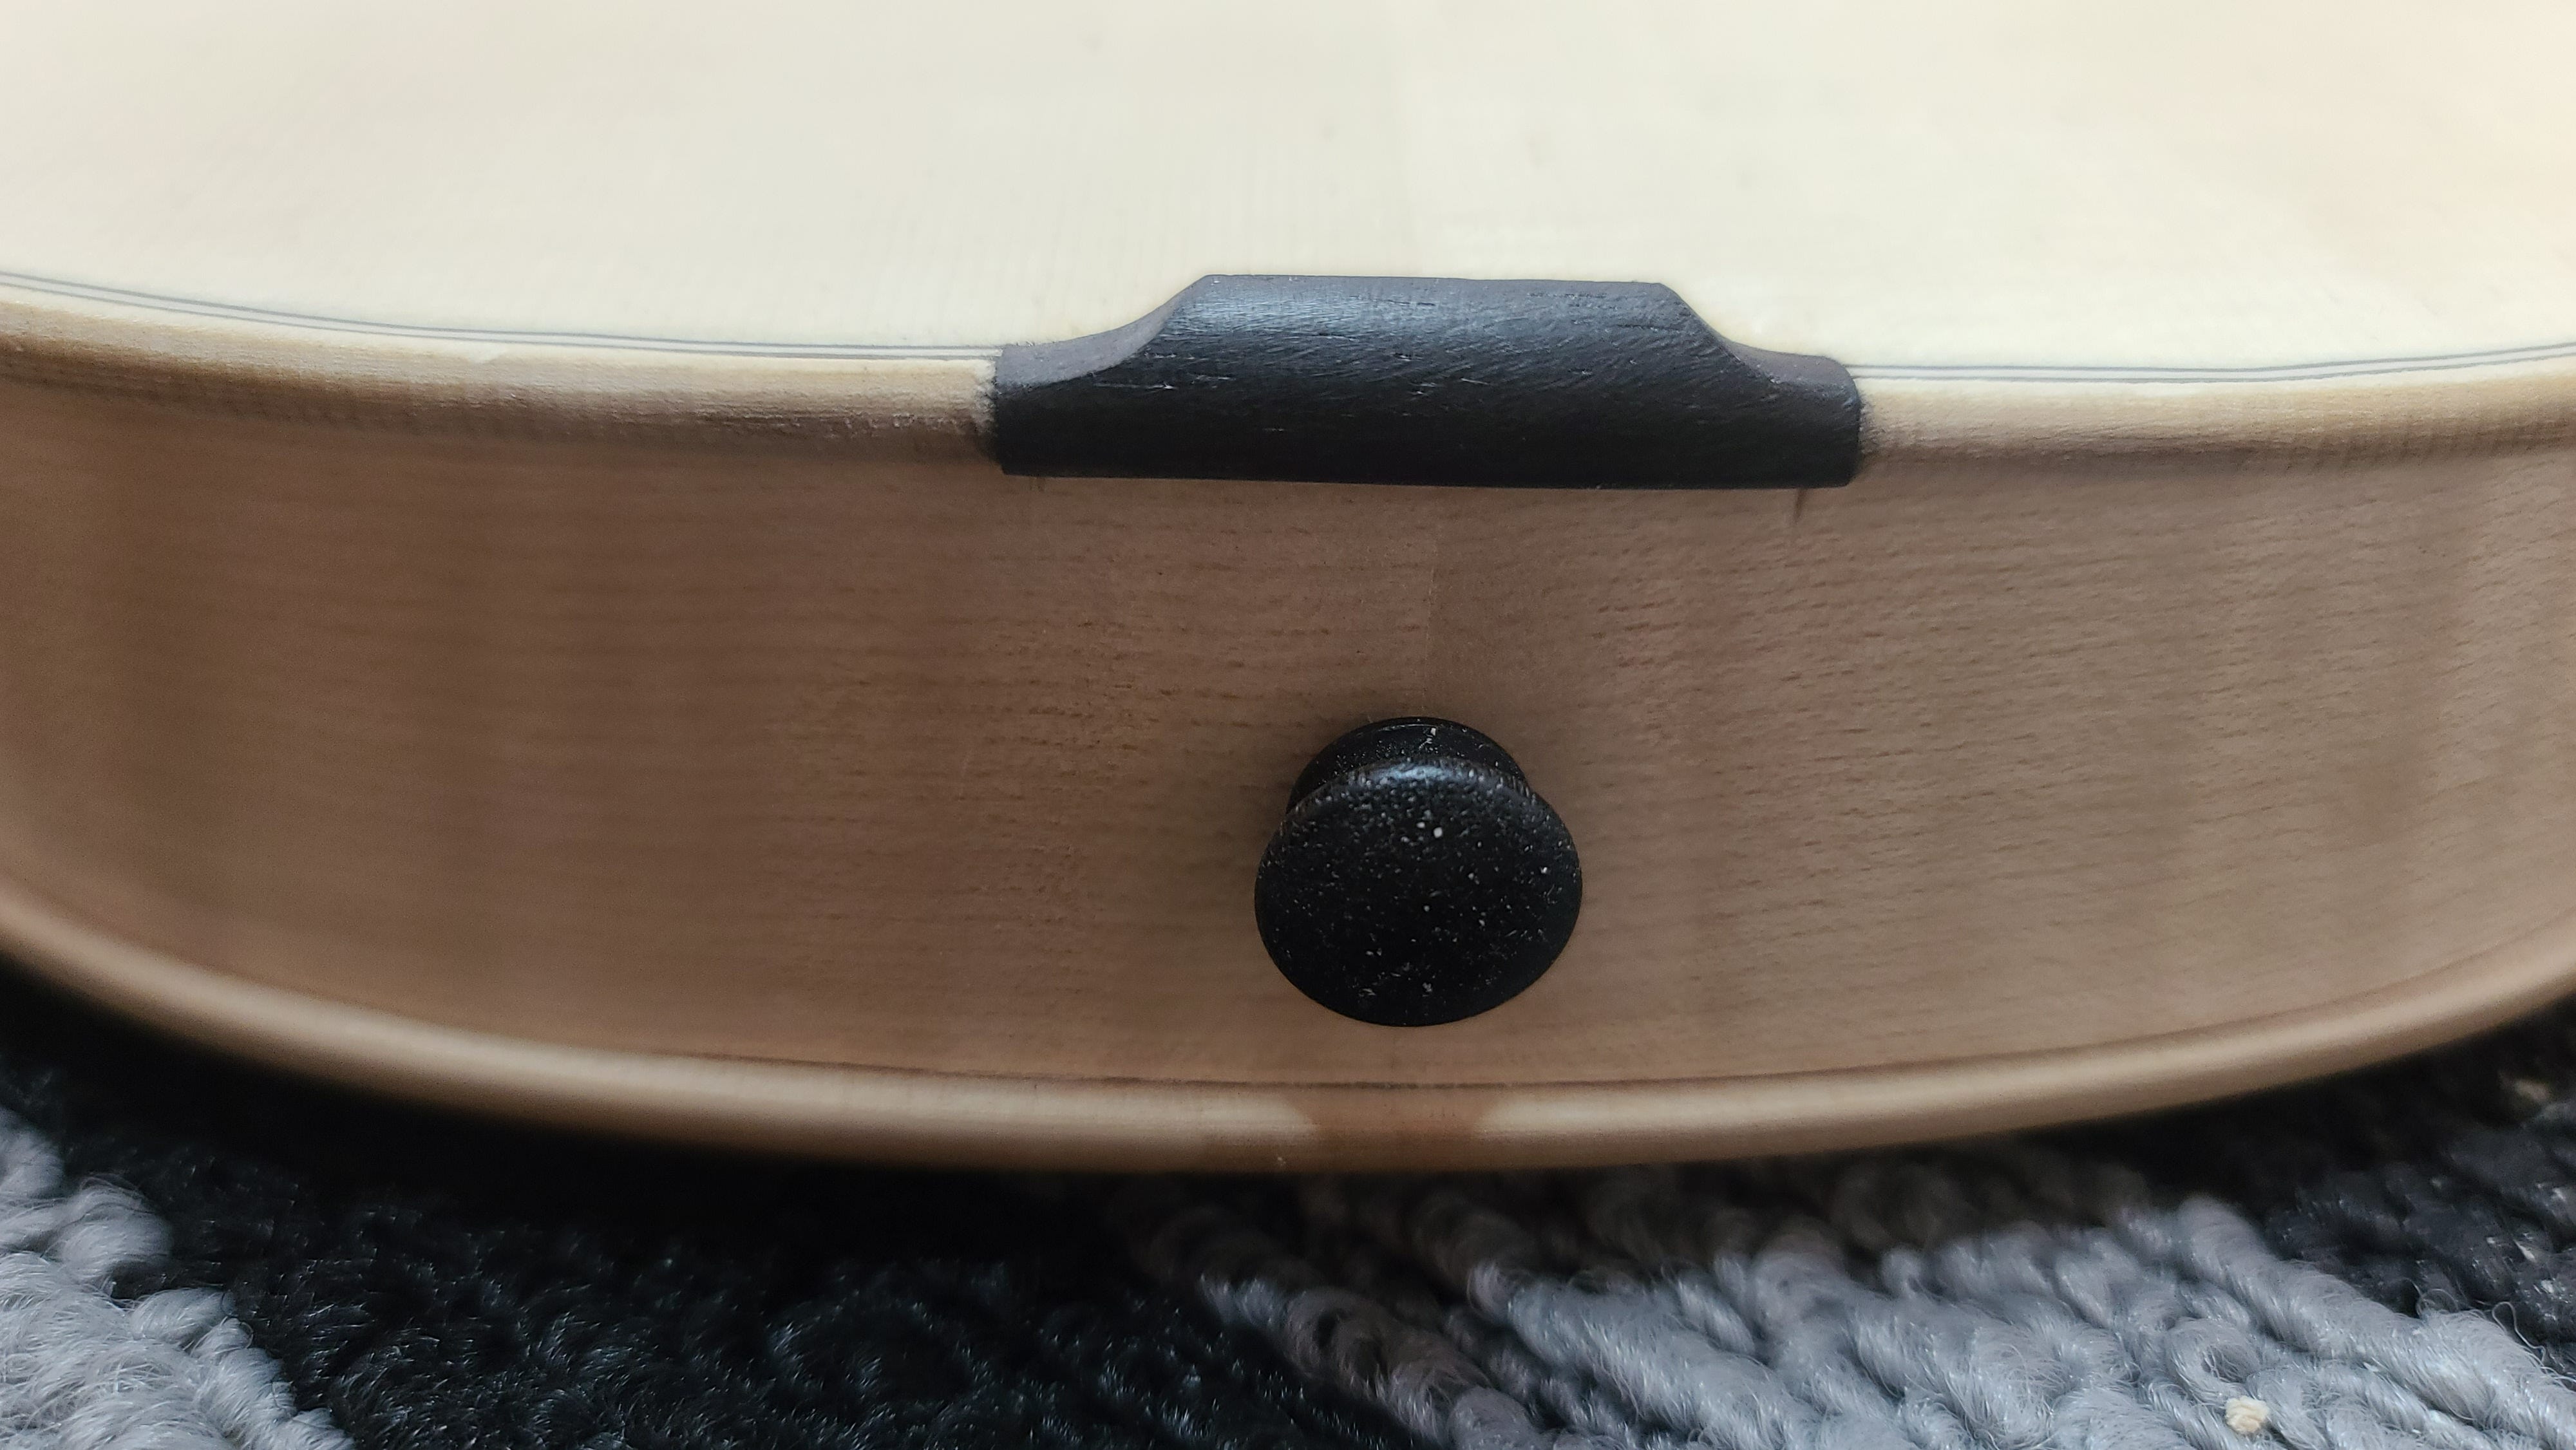
And here it is after shaping.
I then drilled a hole for my end button or peg.
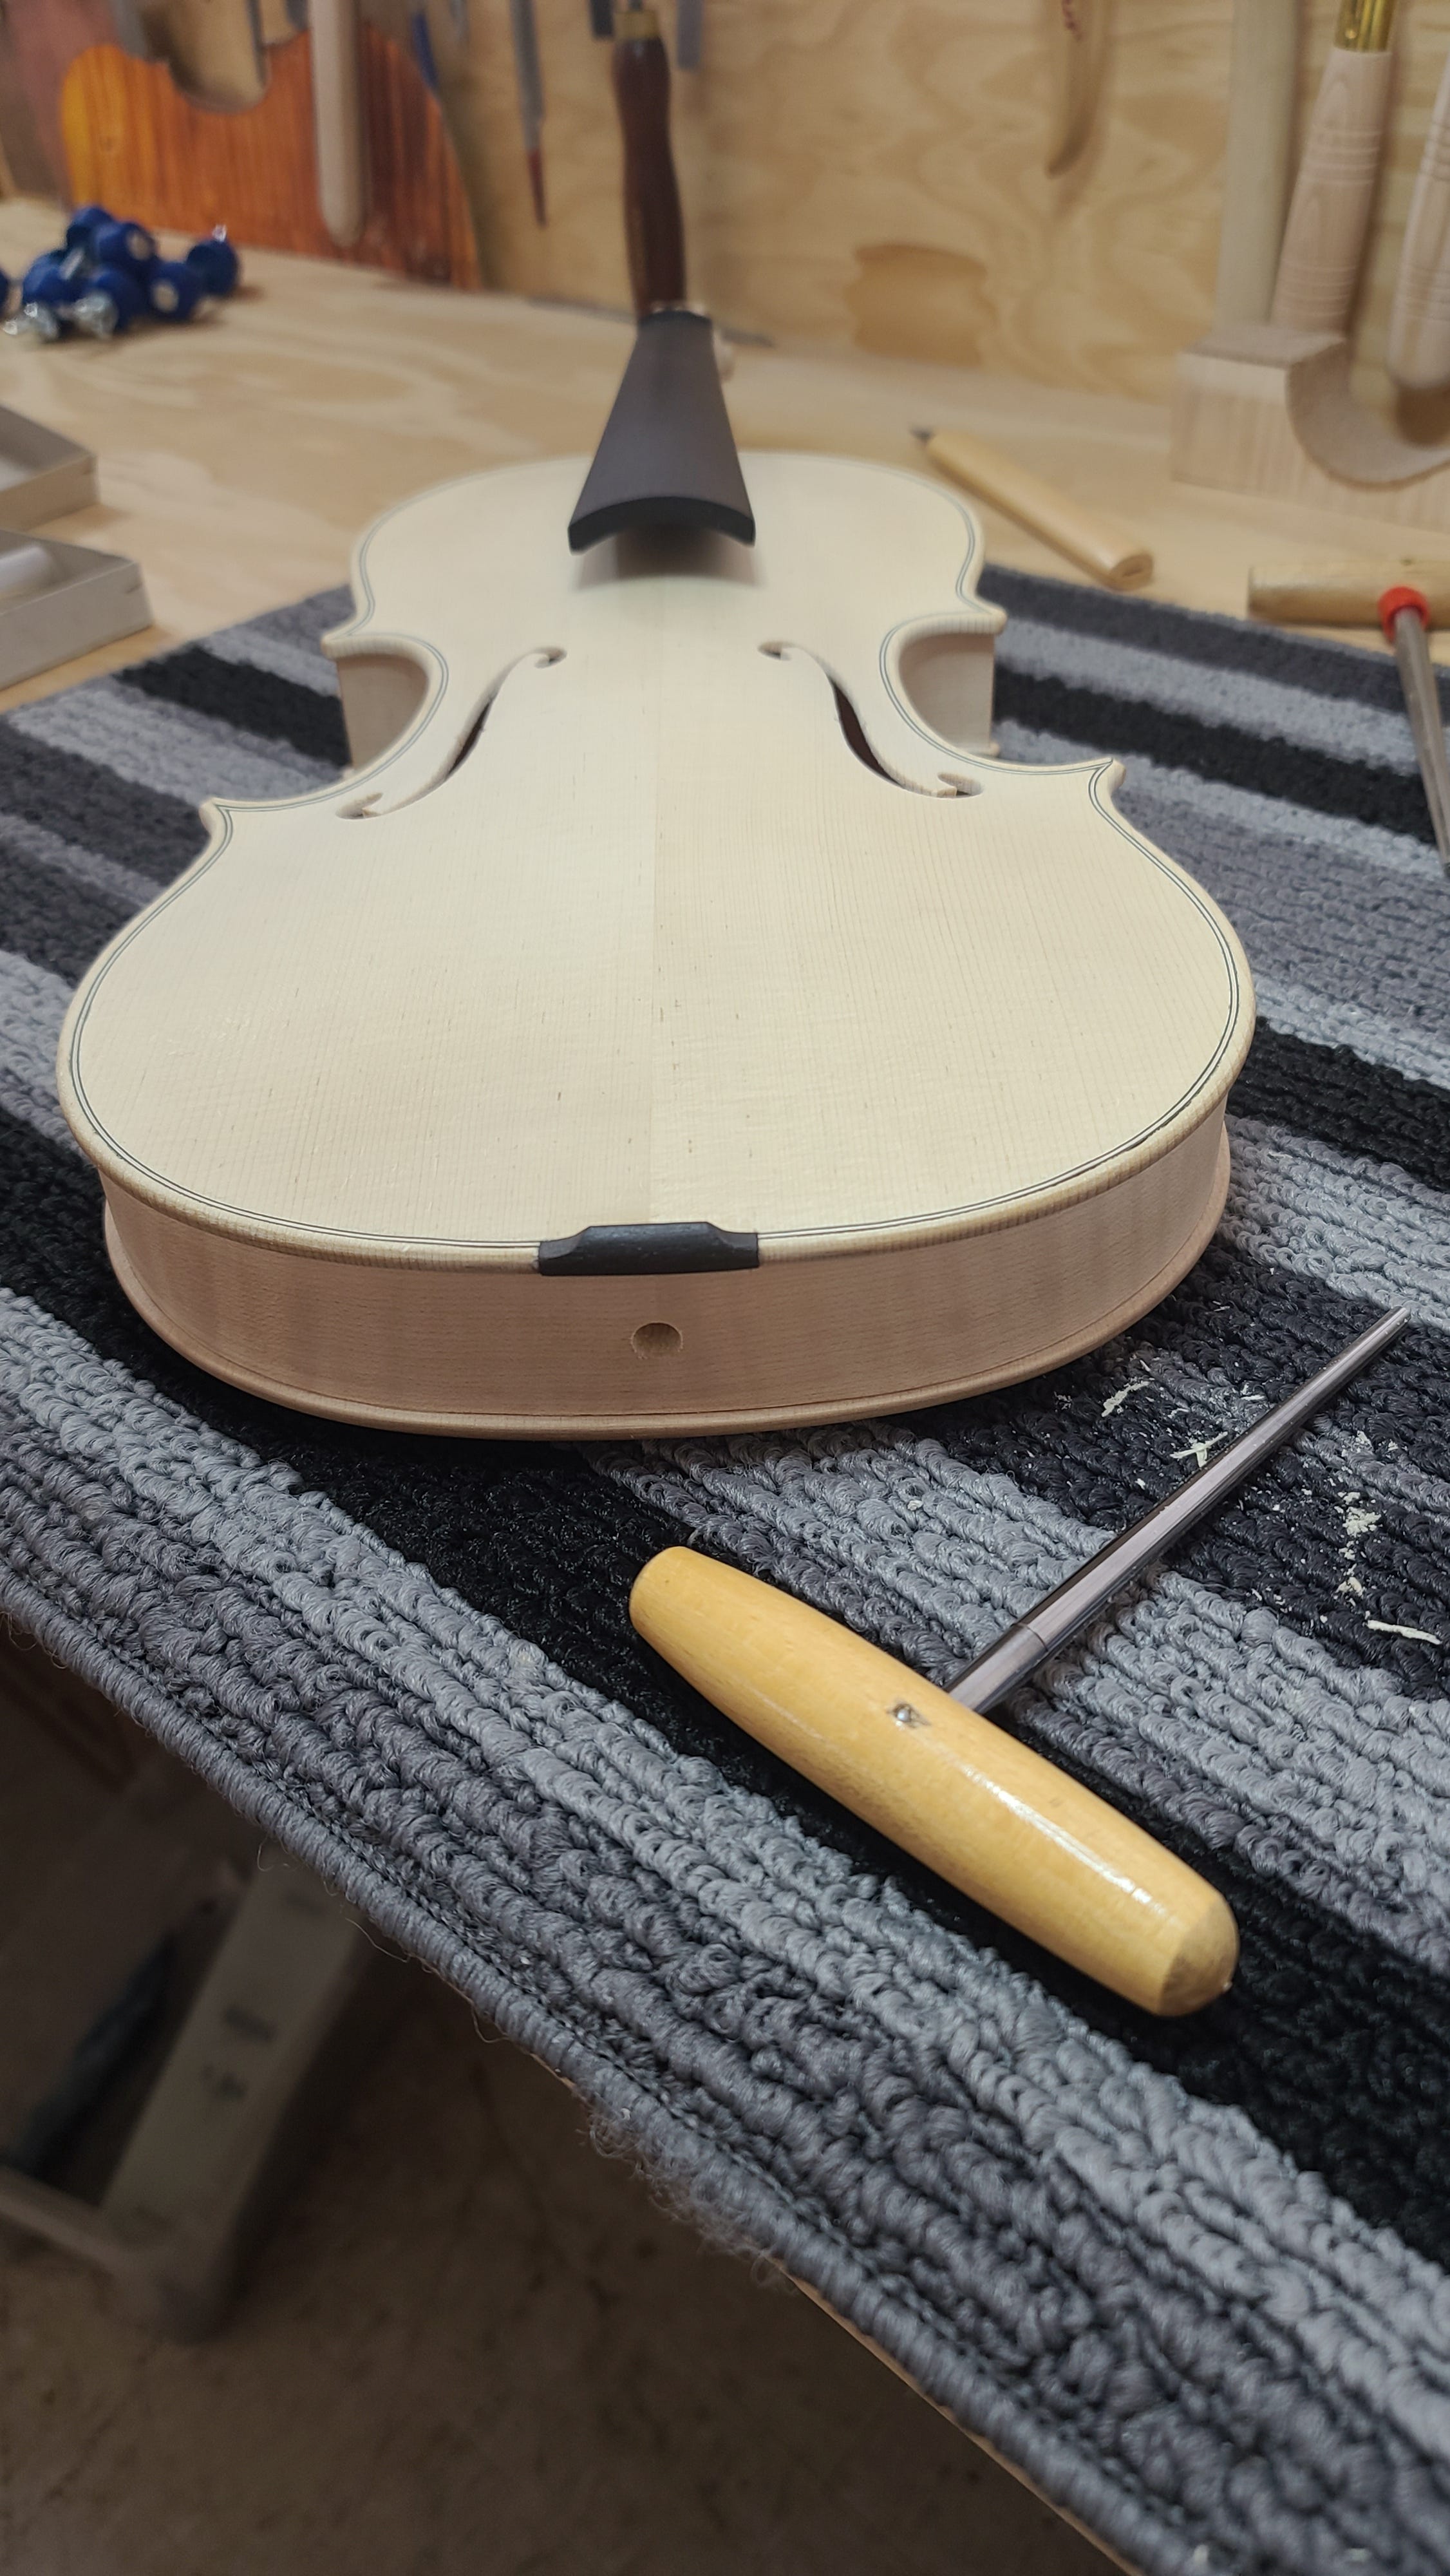
The peg is bought, already pre-shaped and sized. It fits snugly into the drilled hole.
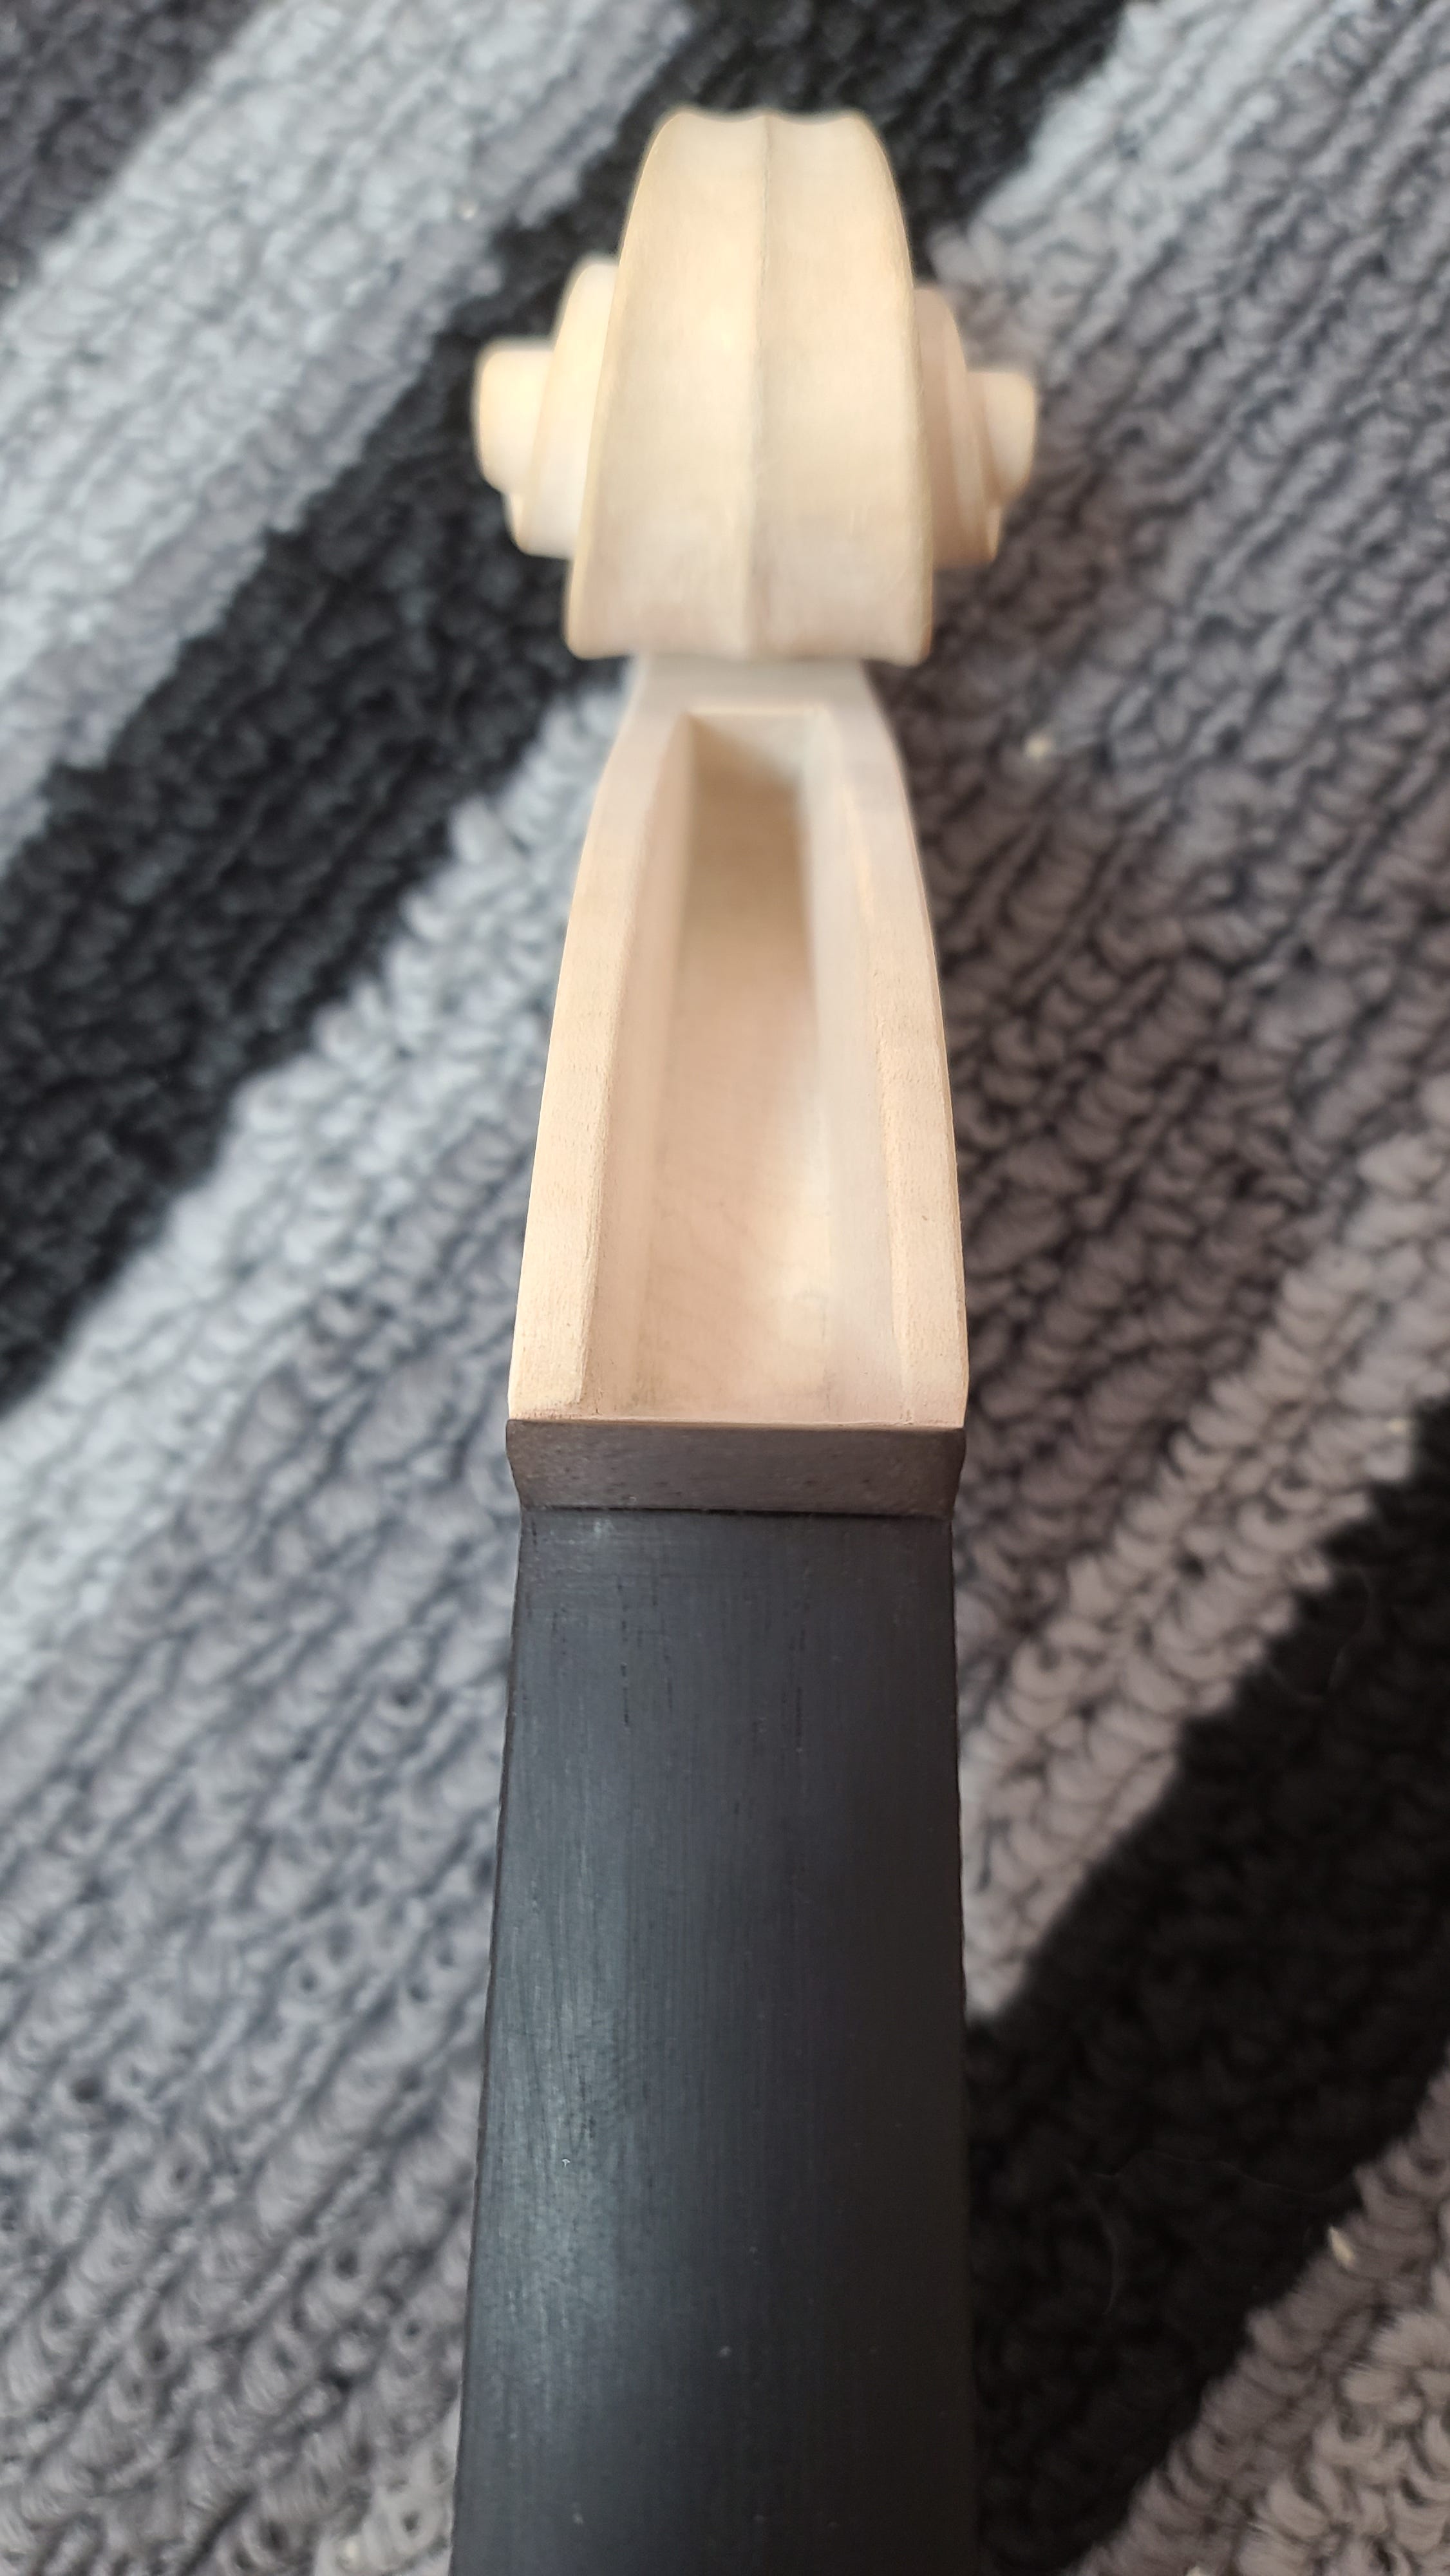
The last bit I worked on this week was finishing the shaping of the nut. It still needs the four grooves that the strings will pass through on their way to the pegs. That is coming next week.
Michael Duschenes is a student at the Canadian Violin Making Institute.
Looks like a very full week of precise work.