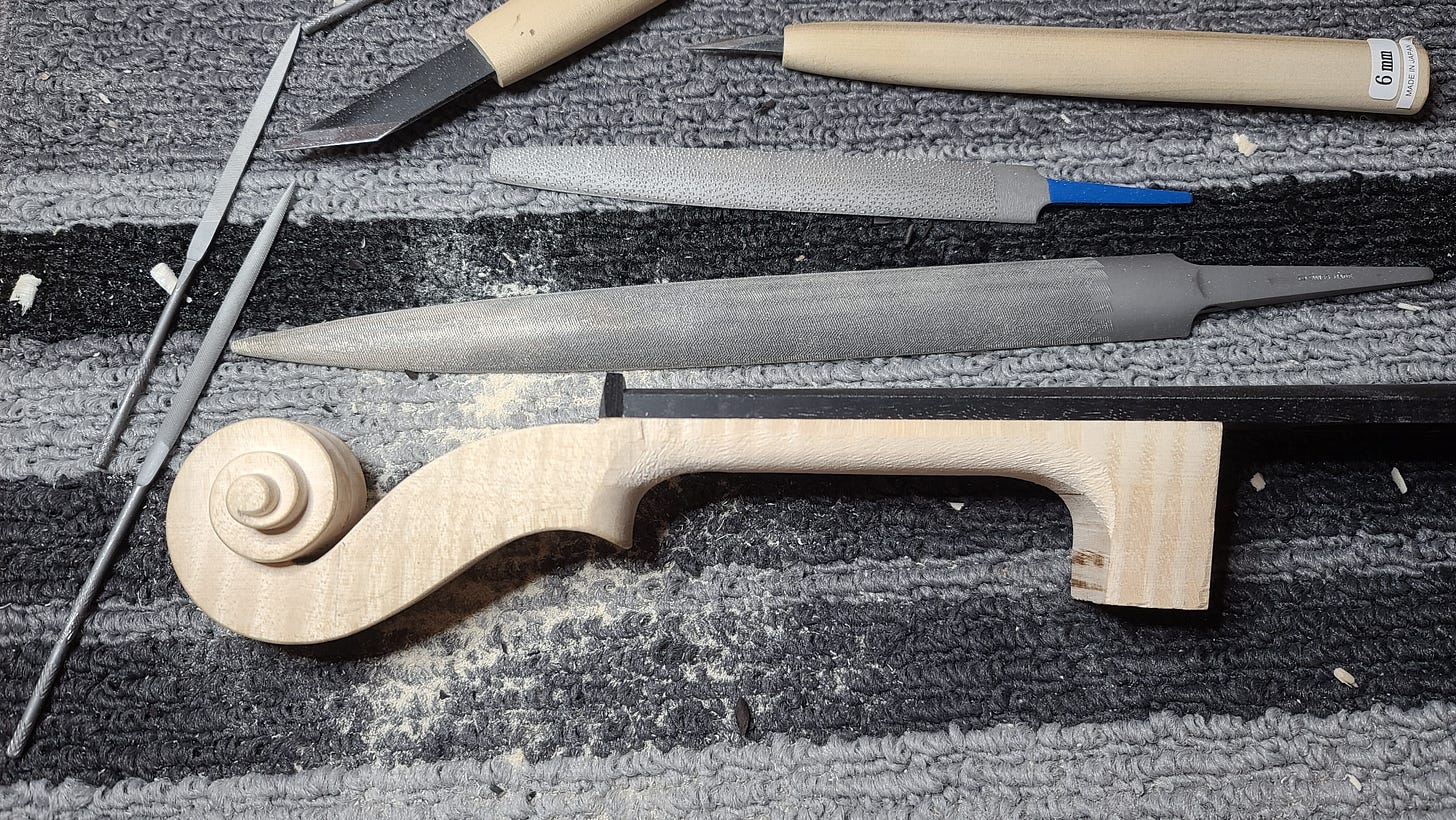
It was a busy, interesting and fun week. Most of them are!
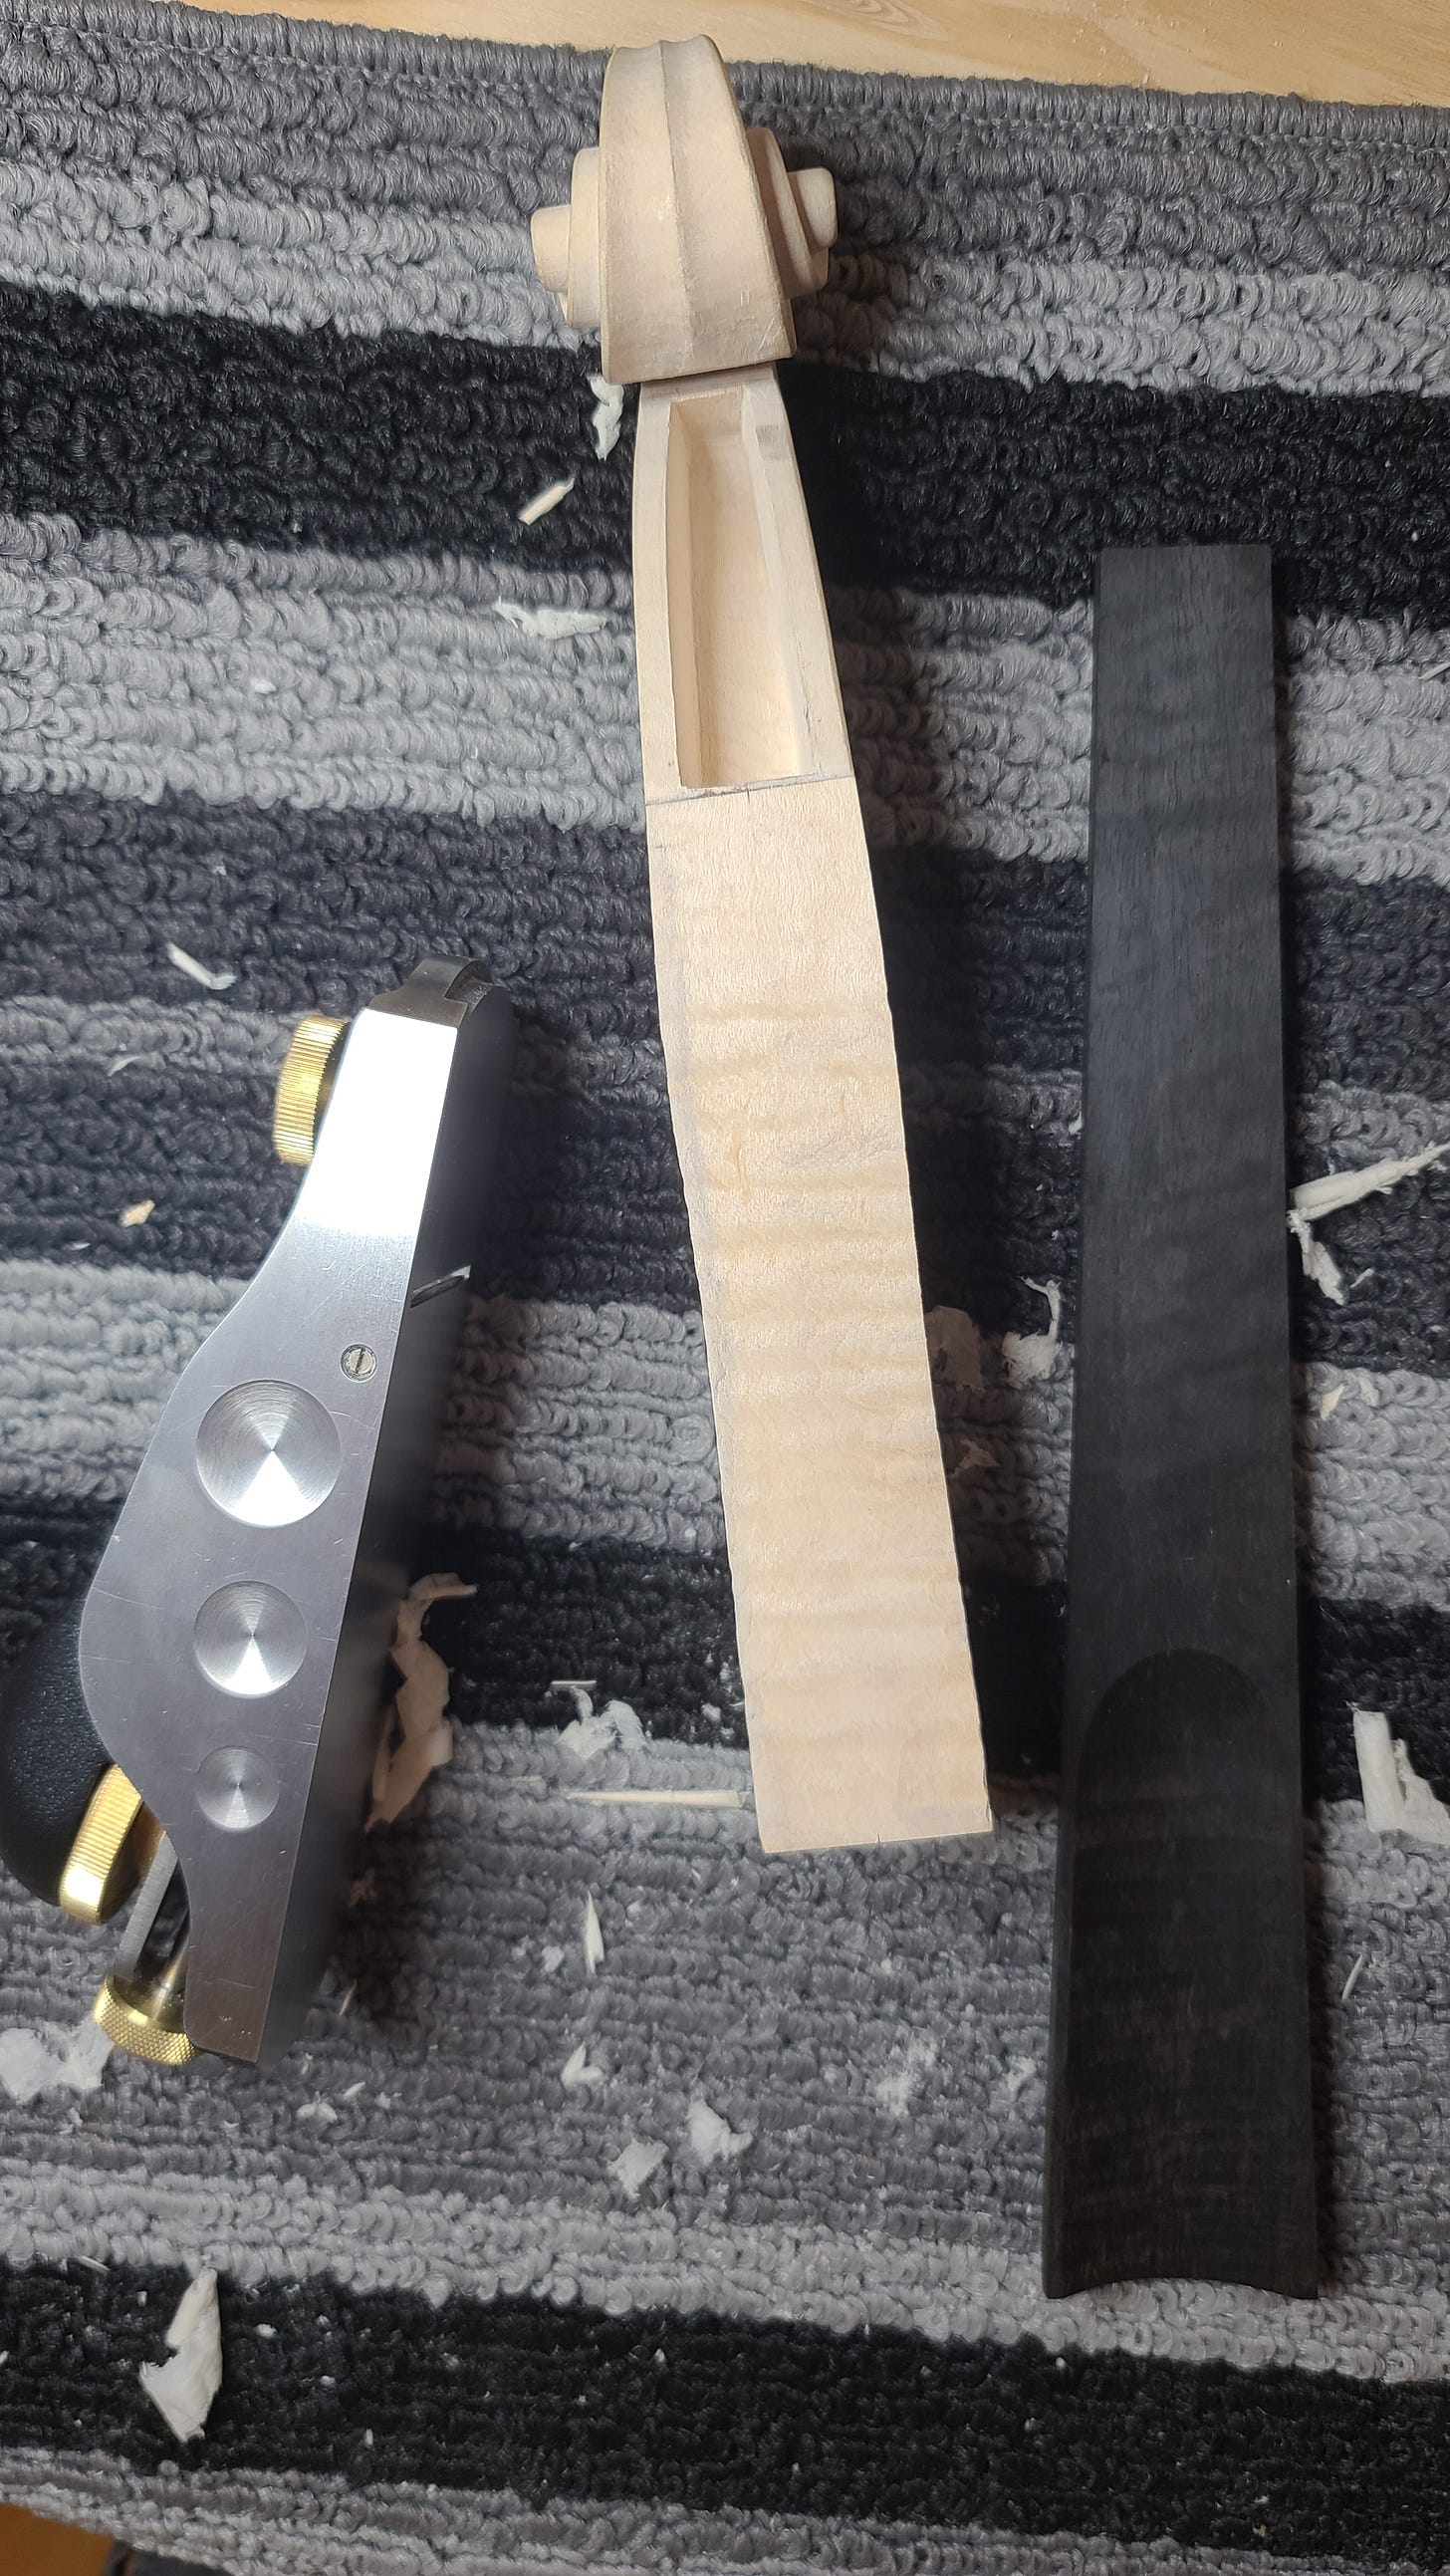
I started by planing the back of the finger board and the top of the neck to make a perfectly flat surface where the two will be glued together.
The fingerboard is made of ebony, often purchased in a rough cut form. The basic shape is there and the hollow at the back is pre-carved, but it needs to be planed and scraped to the right width with a slight taper in the middle; taken to the right thickness and rounded to form. These are all standard measurements for violins.
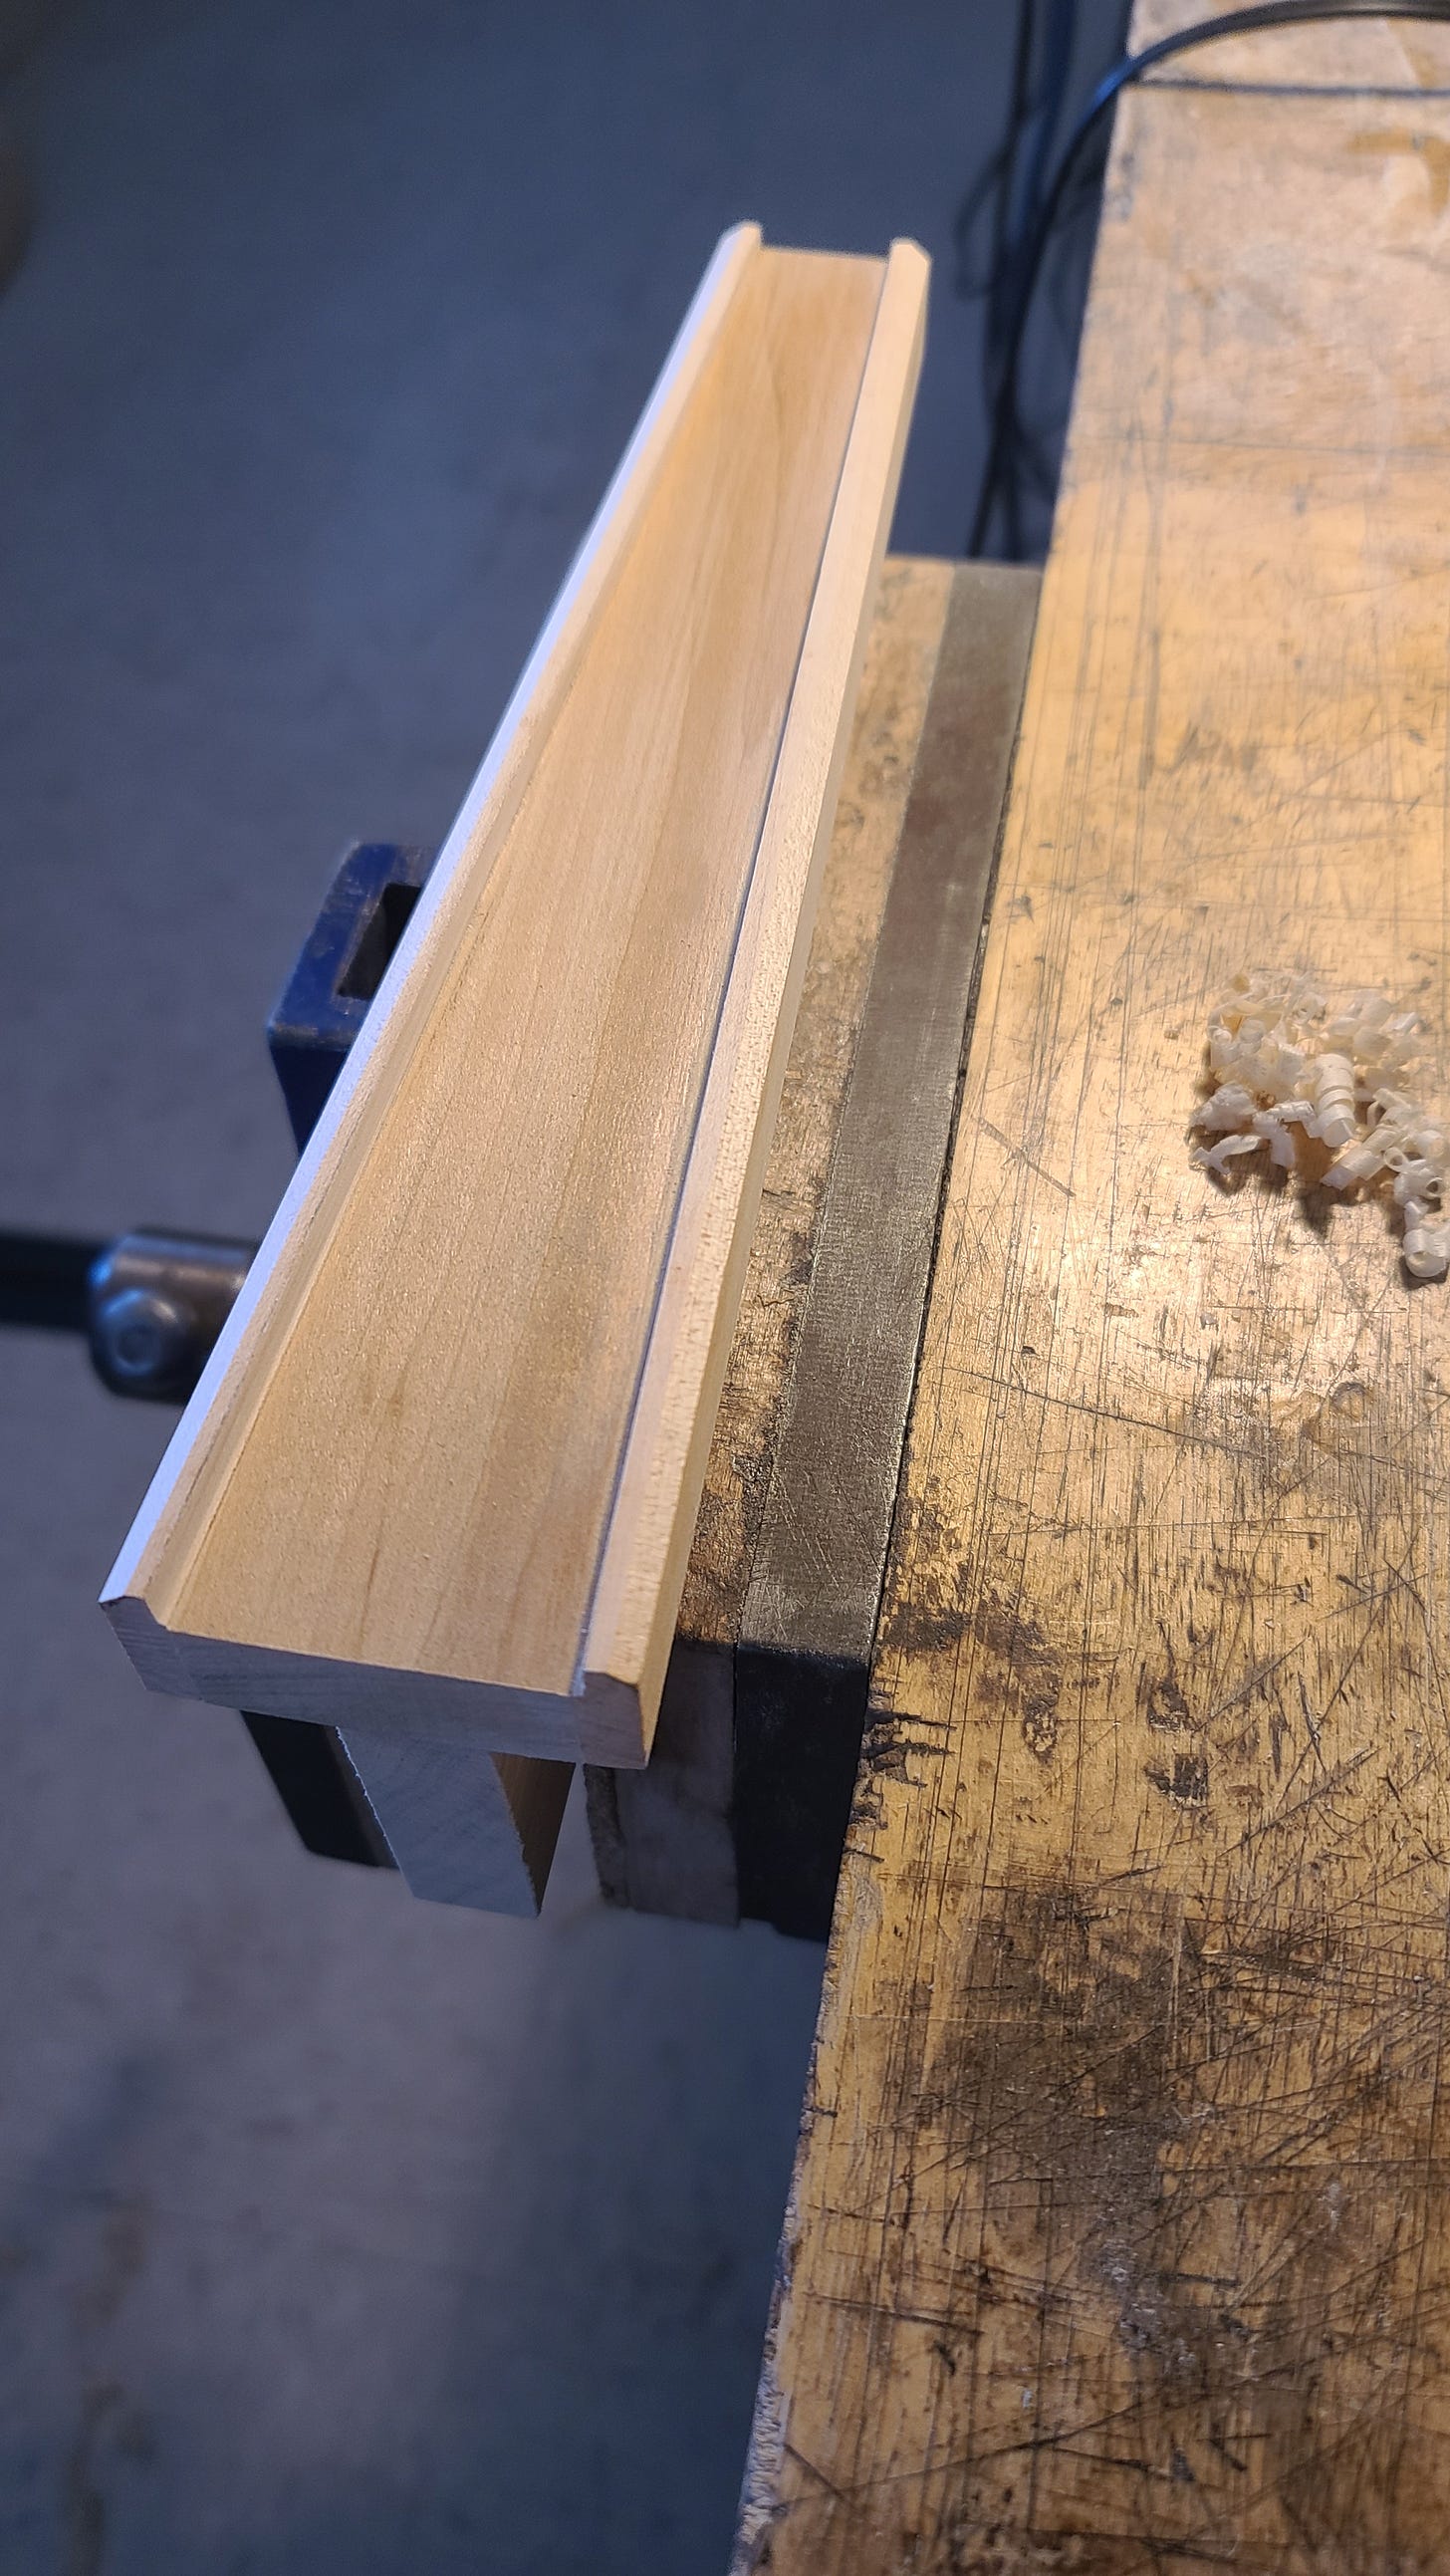
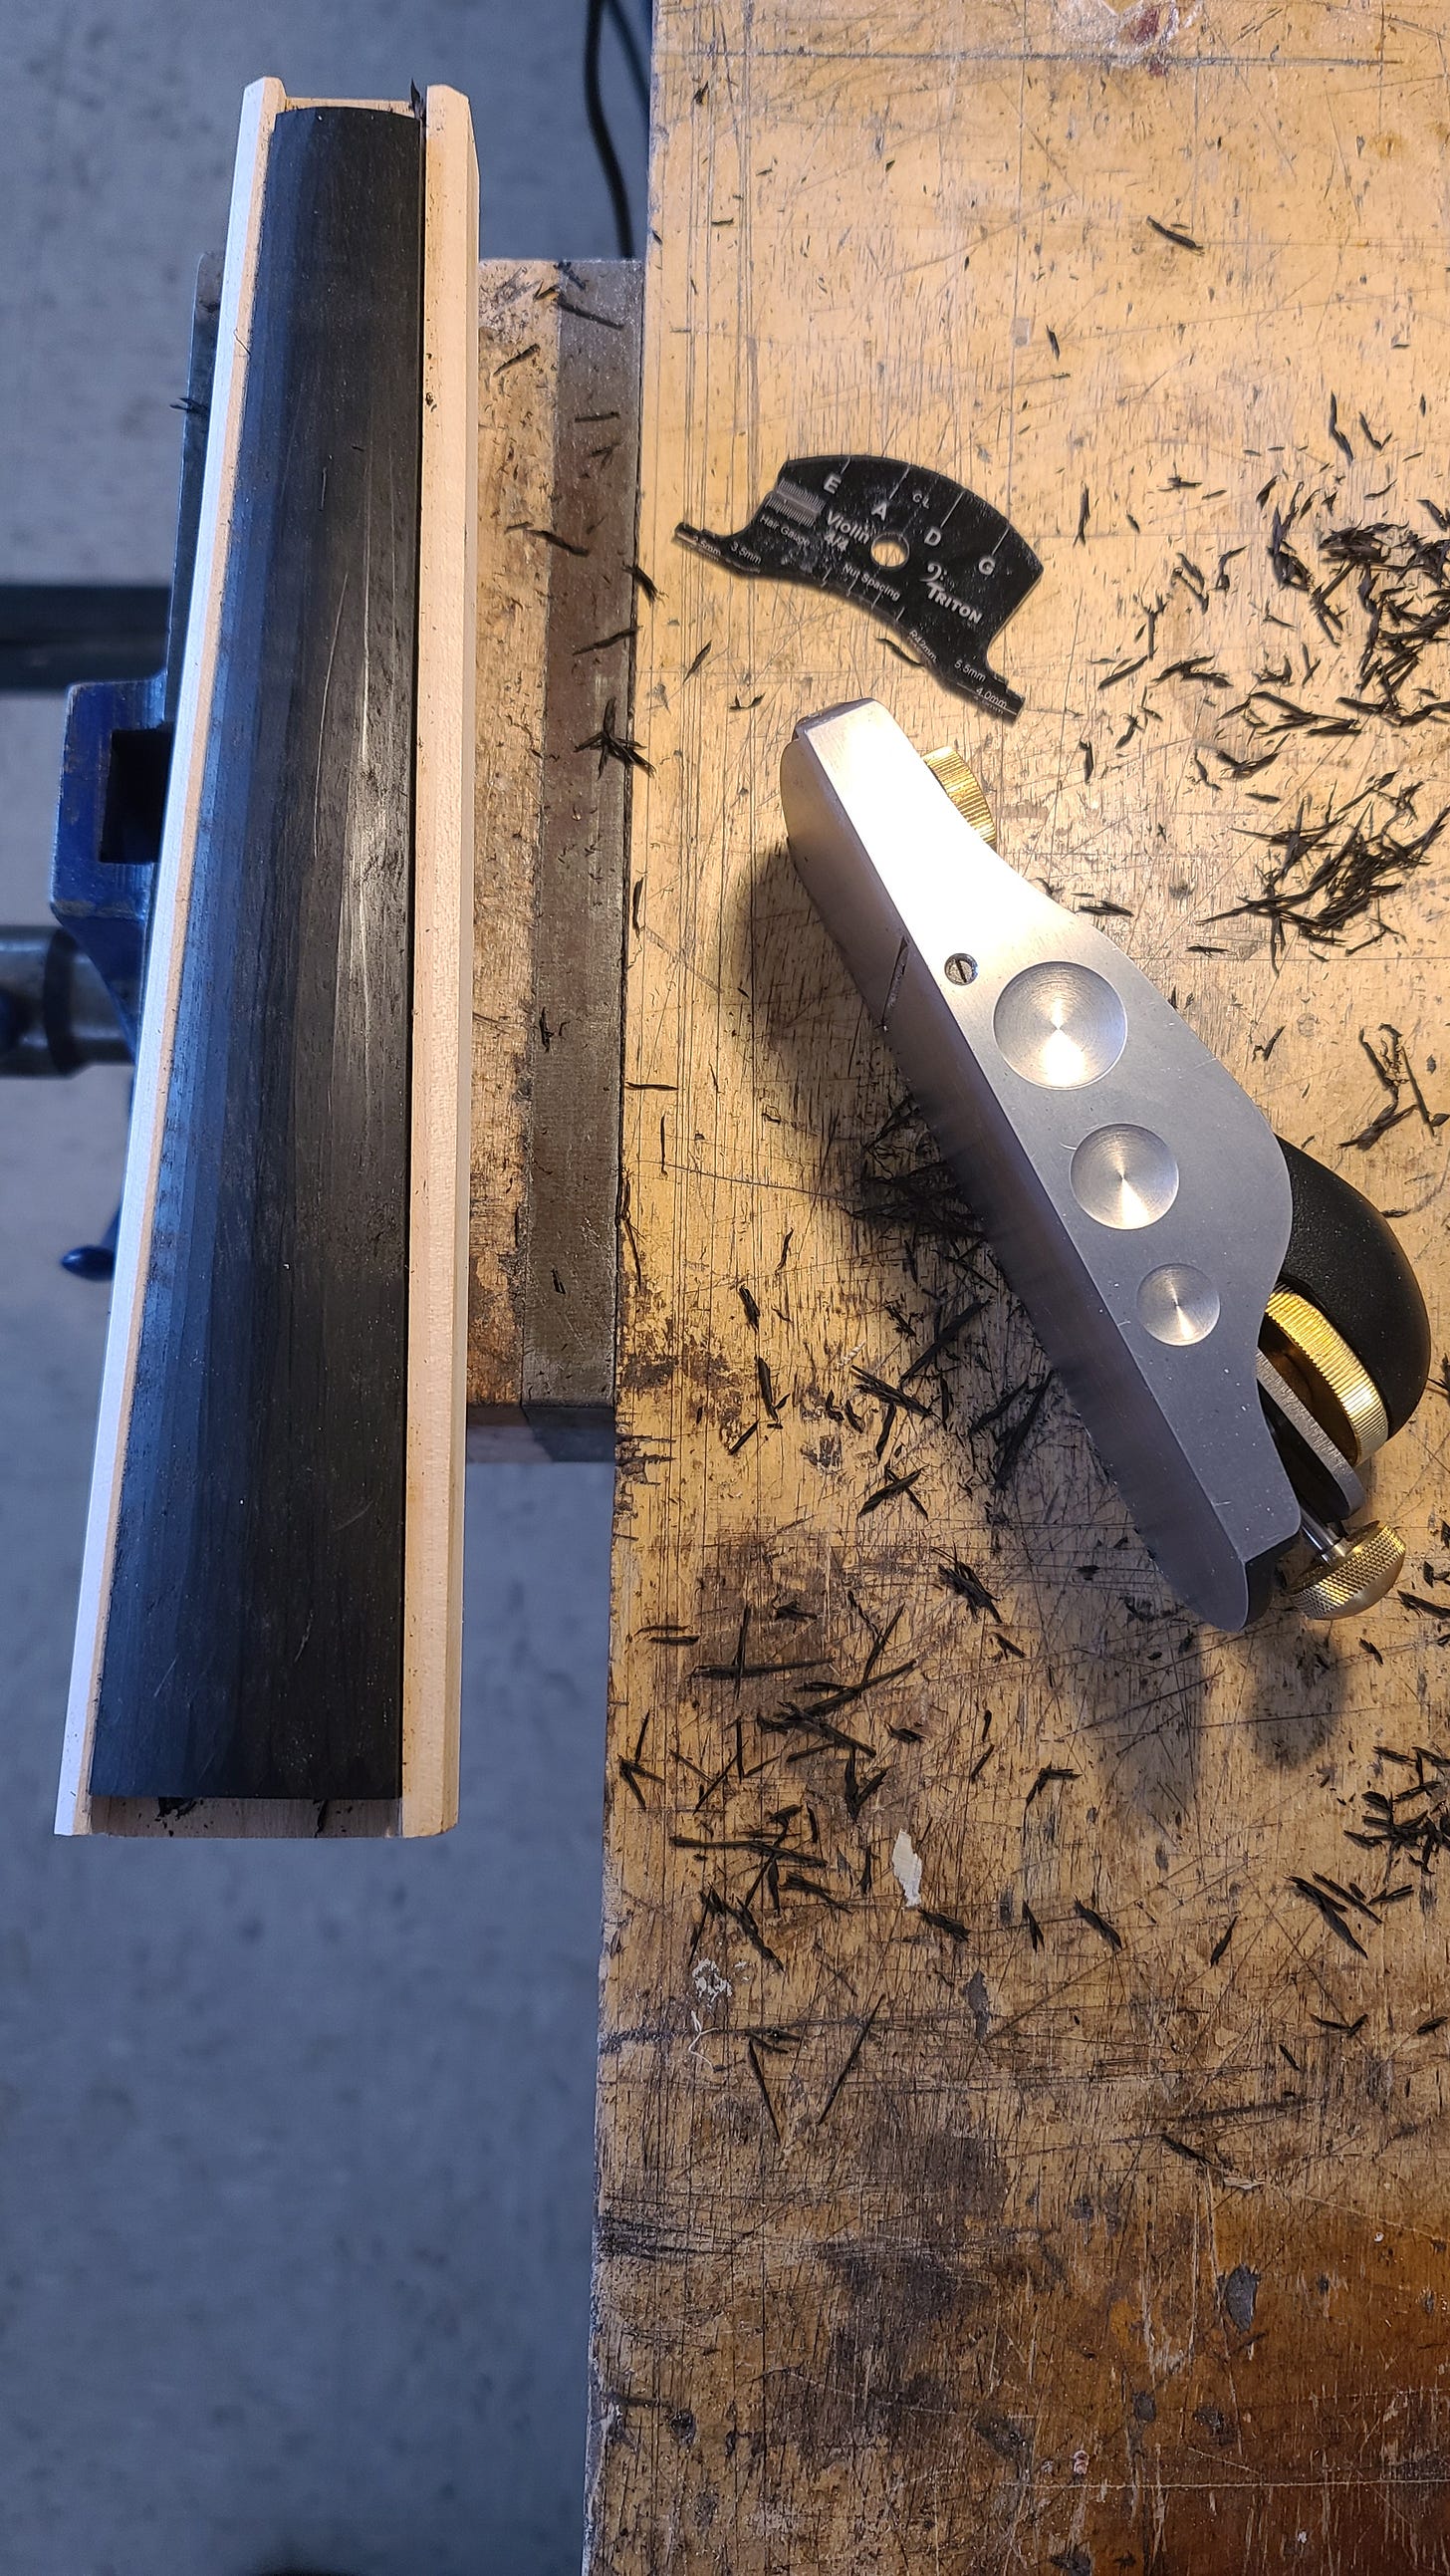
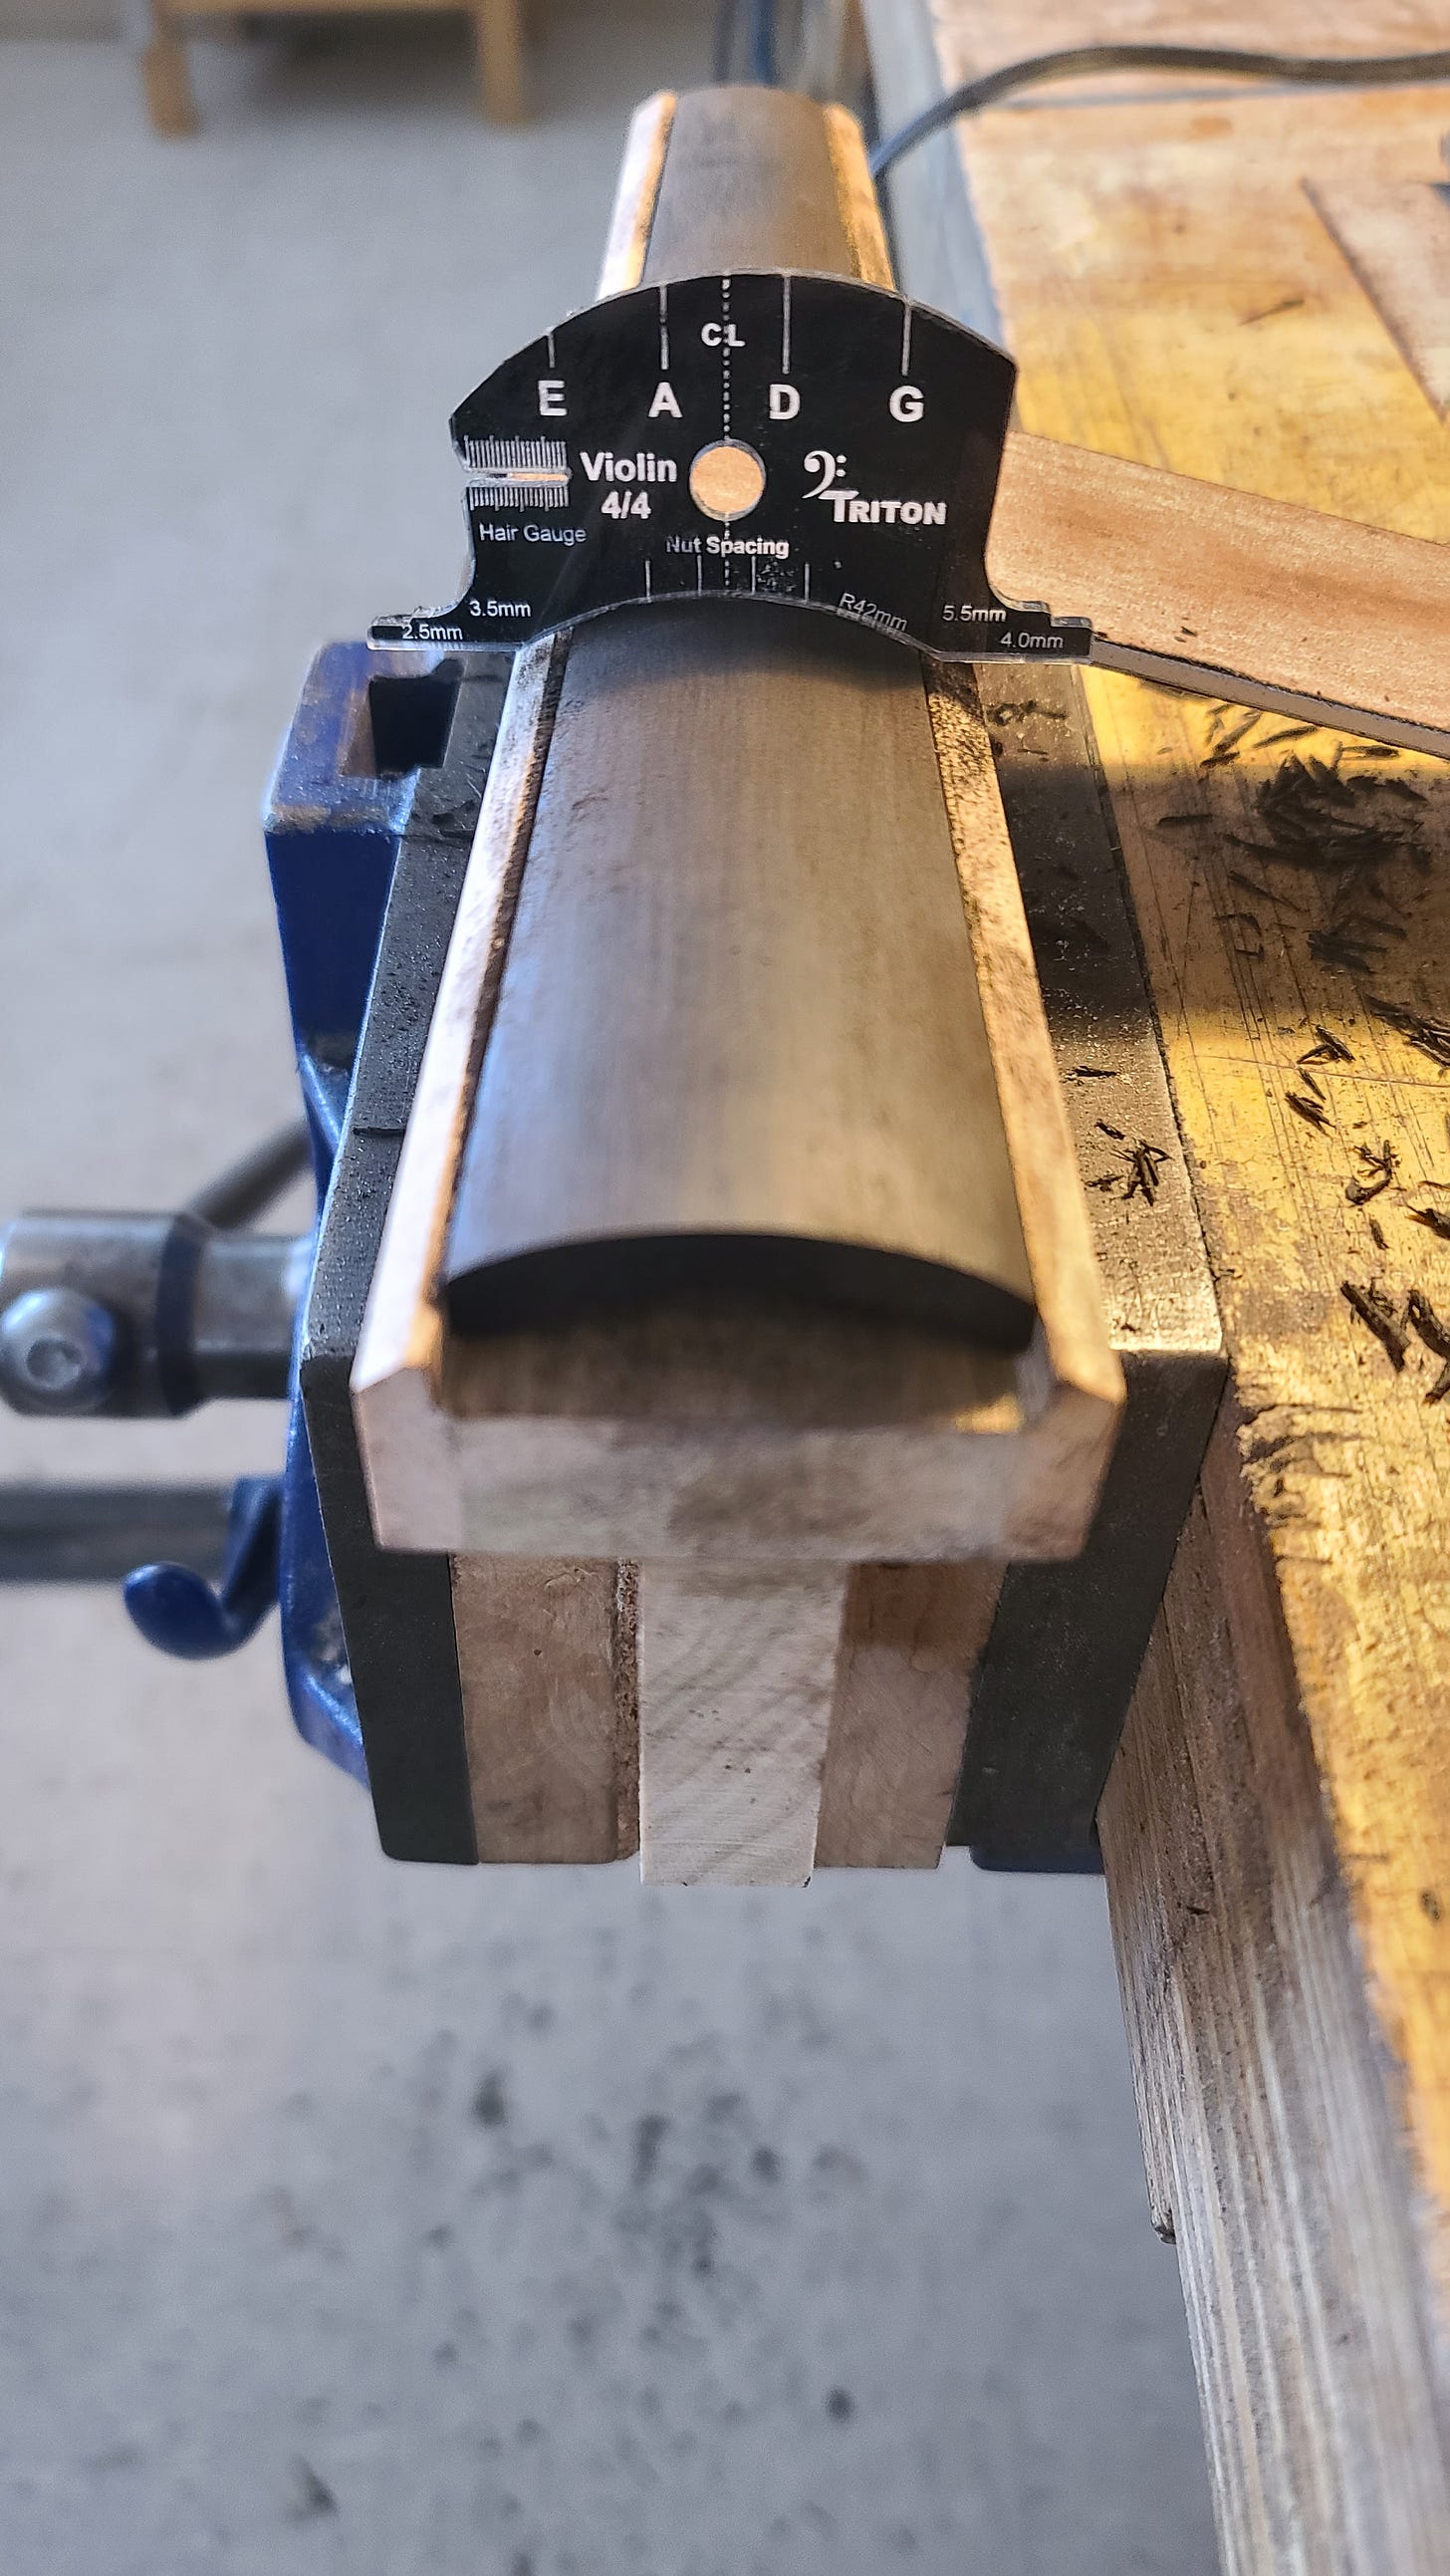
For the rounding, it’s very helpful to have a jig to hold the fingerboard while you are planing so I made one.
The fingerboard is held firmly when inserted and planned until it reaches the desired shape all the way along the length, which you constantly check with a template. It takes a while to get it exactly right.
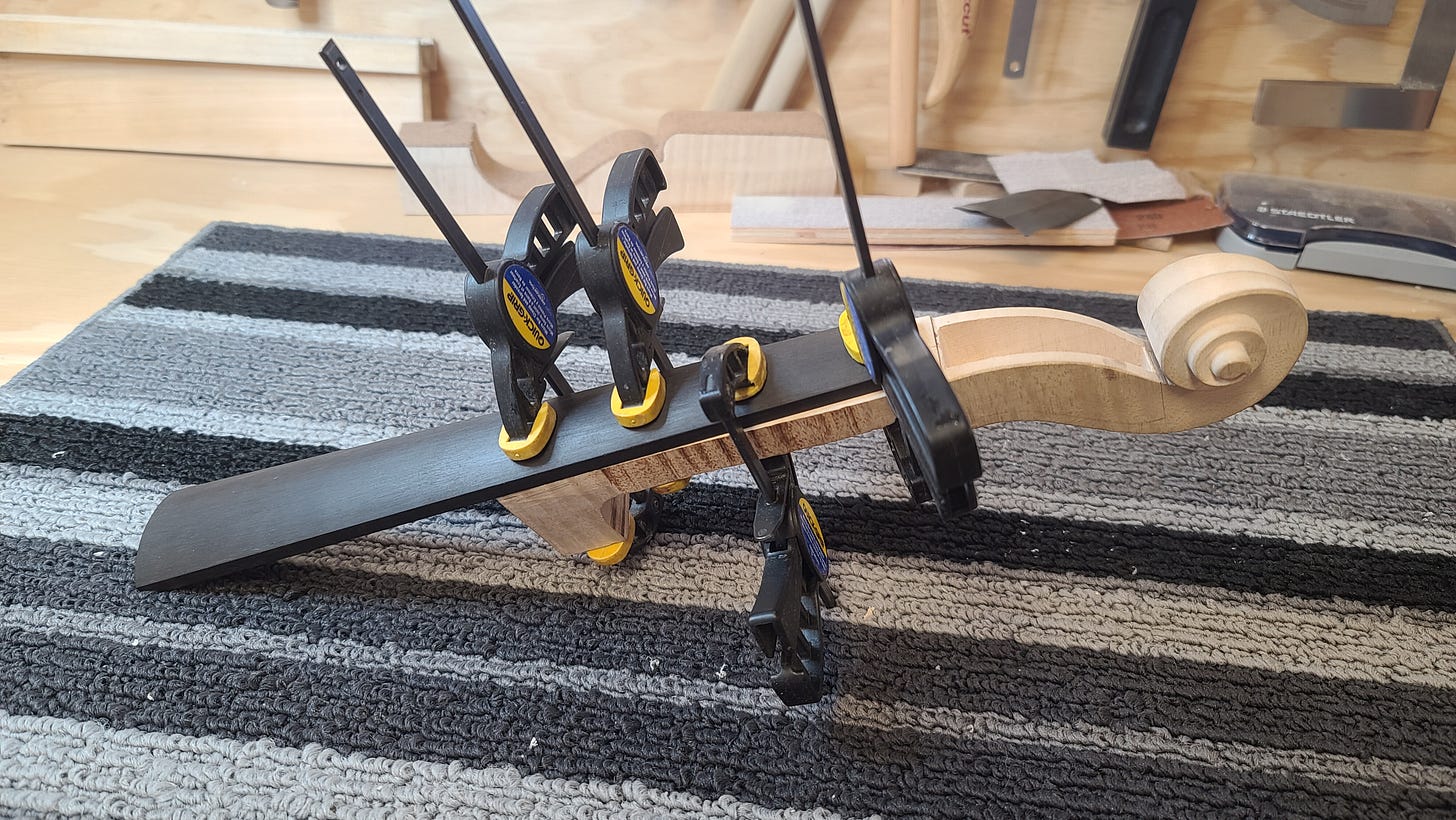
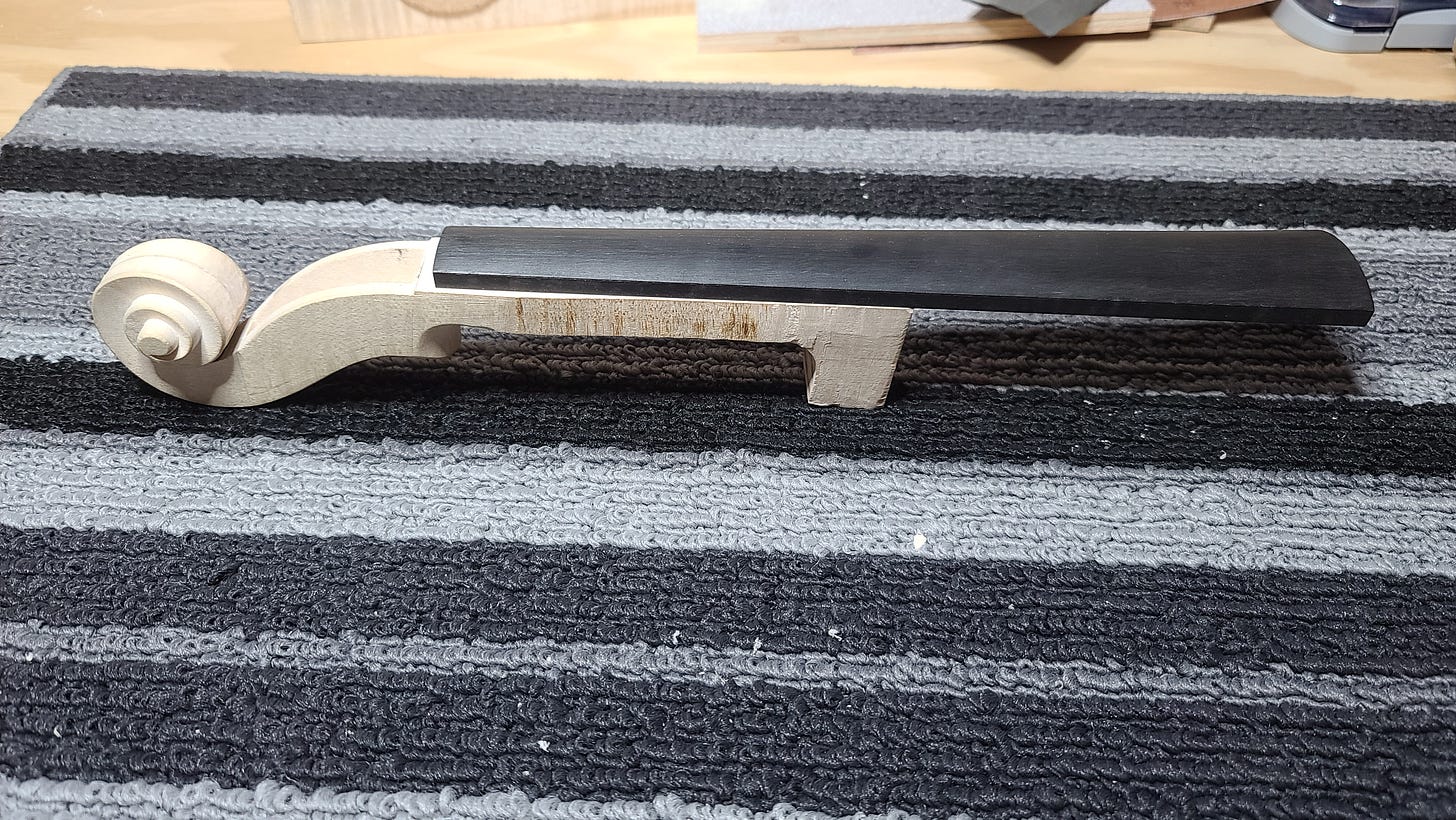
Once all of that is done, the fingerboard is tacked to the neck, making sure it is lined up perfectly down the centre. It is glued temporarily so that it can later be removed during the varnishing process. At this point, there is still much work to be done to make the neck match the shape of the fingerboard.
Next, the nut (against which the strings will sit as they come out of the peg box on their way to the bridge) is roughly shaped, with a focus on the 90 degree angle that will allow it to fit perfectly against both the top of the fingerboard and the end of the neck. I glued my nut permanently to the neck, it will stay on when the fingerboard is removed for varnishing. There is still much shaping of the nut to be done at this point.
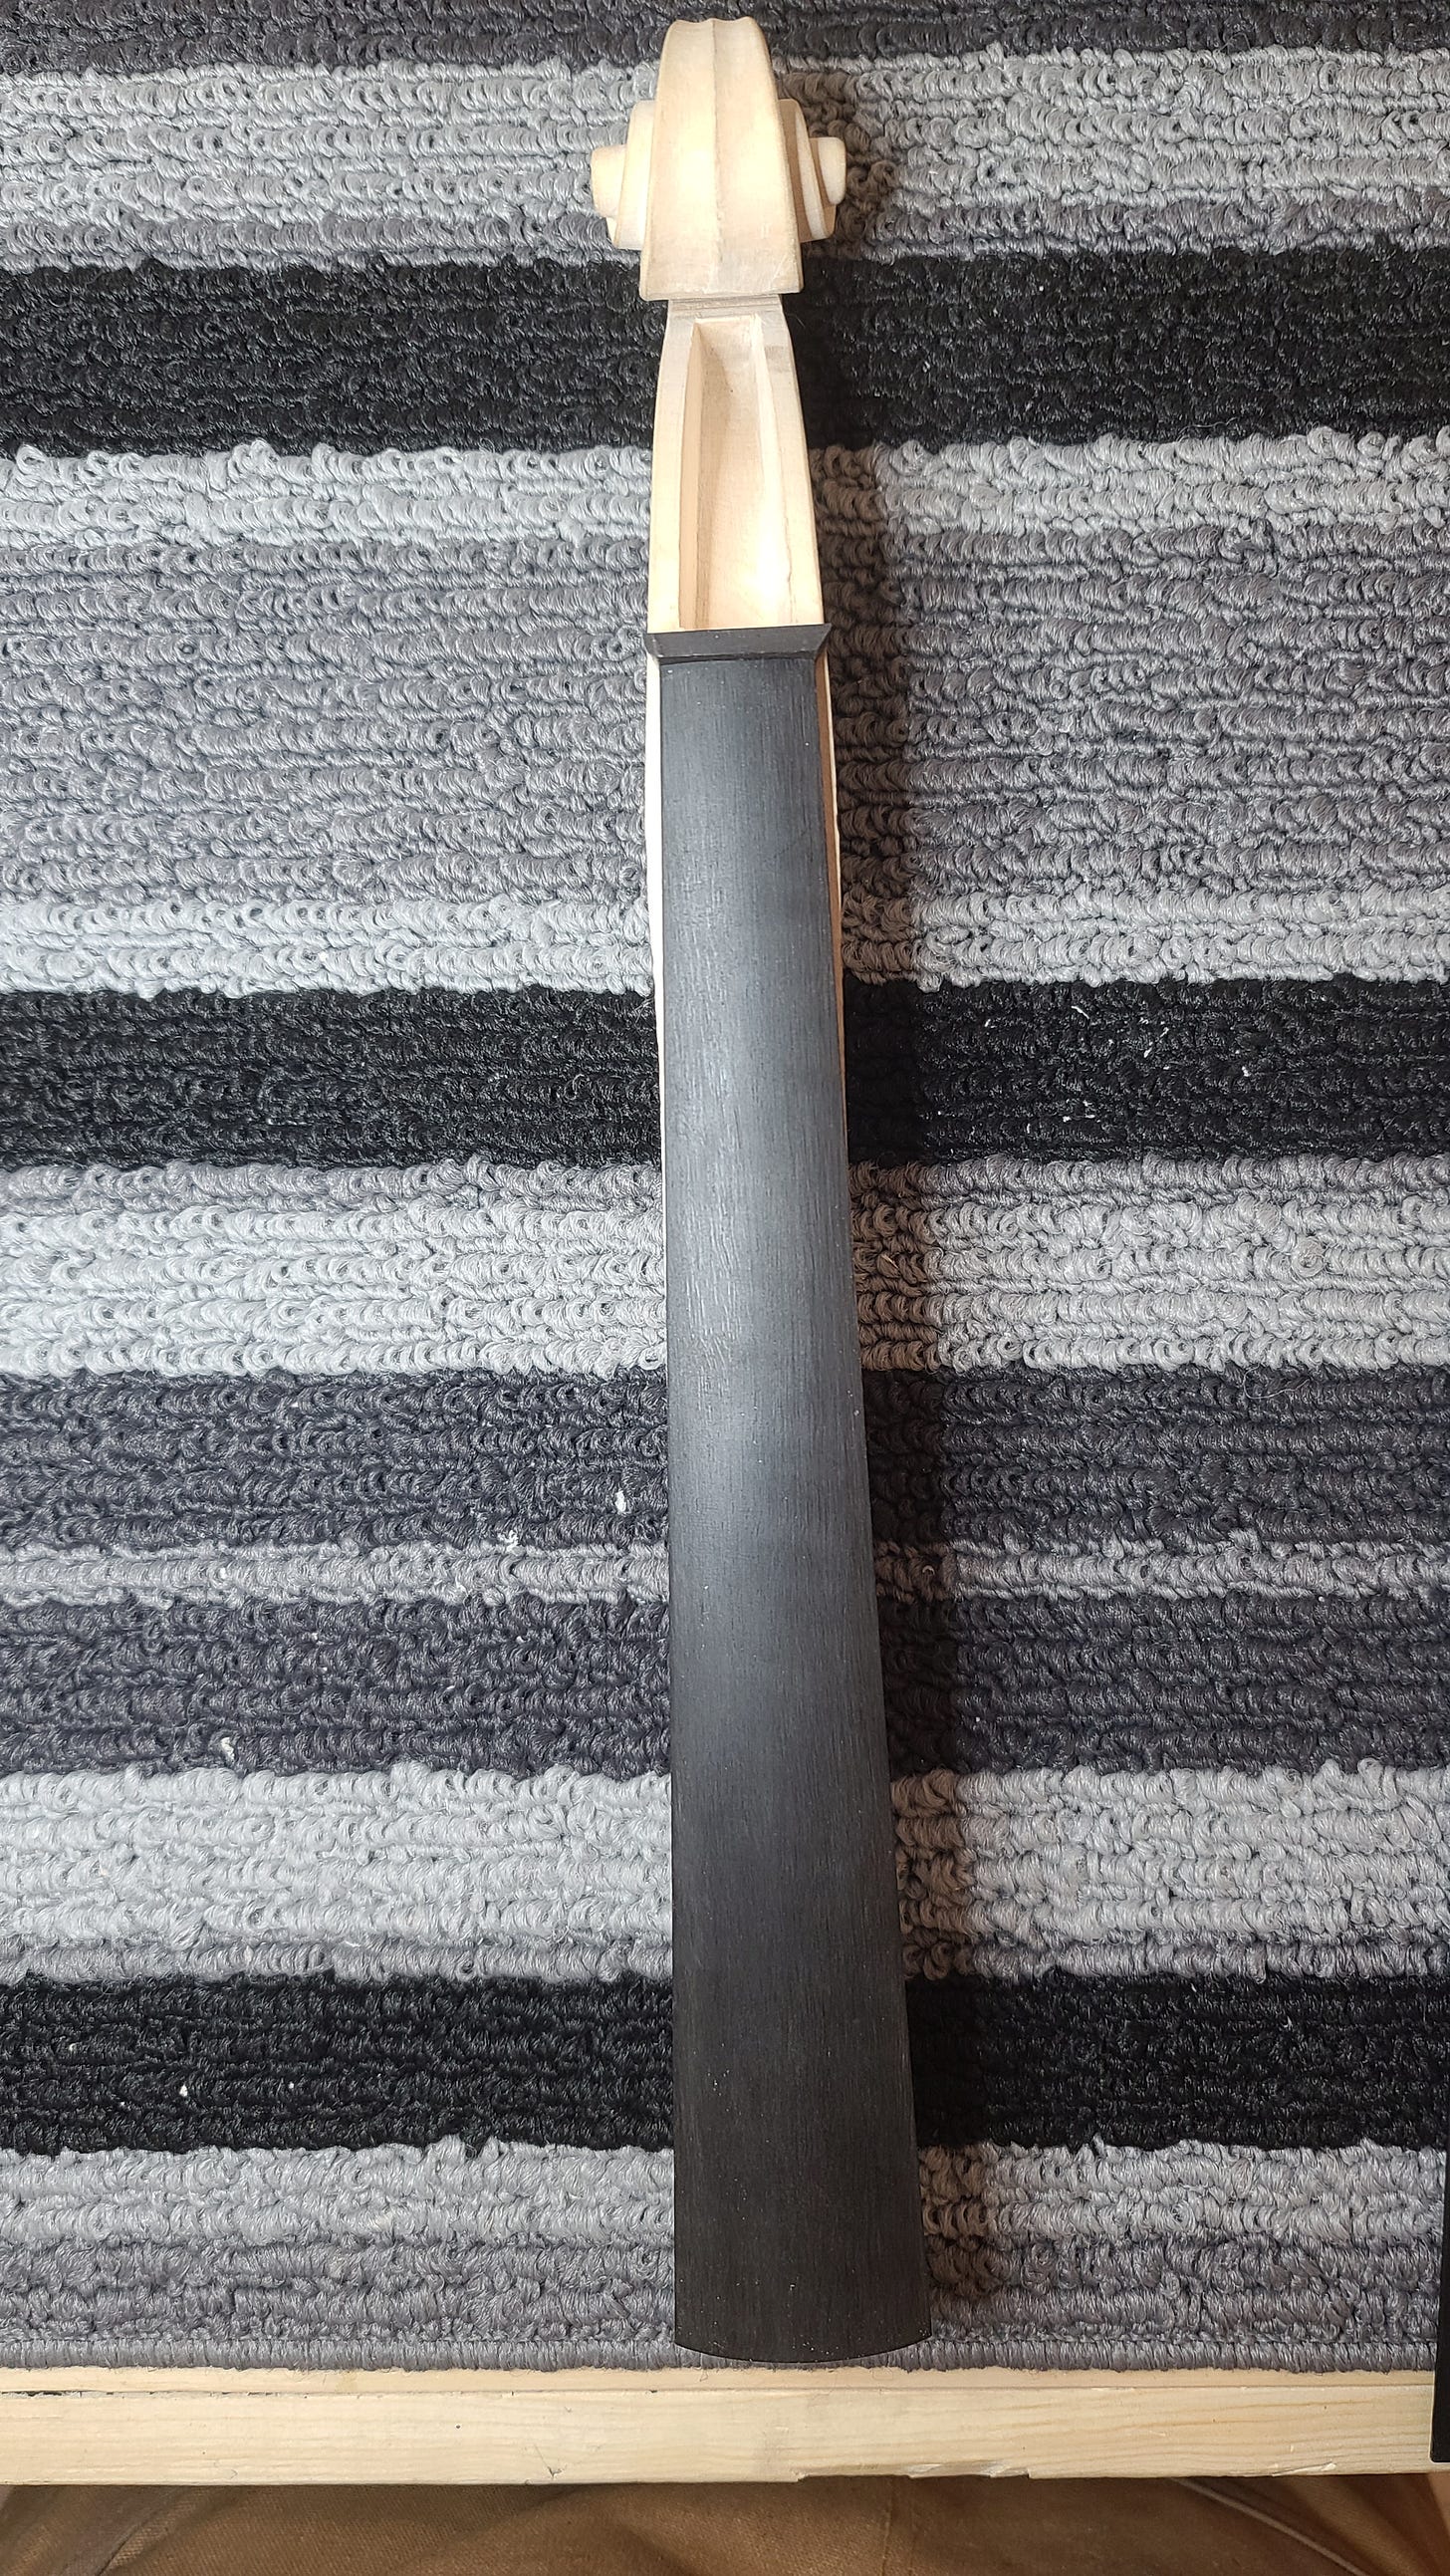
Next comes the beginning of the process to shape the fingerboard and neck into one unit. The sides of the neck are carved with a chisel to match the width of the fingerboard, then the neck is rough filed and starts to take it’s eventual rounded shape.
Further rounding is done with a knife and various files. This is how far I got by the end of the week.
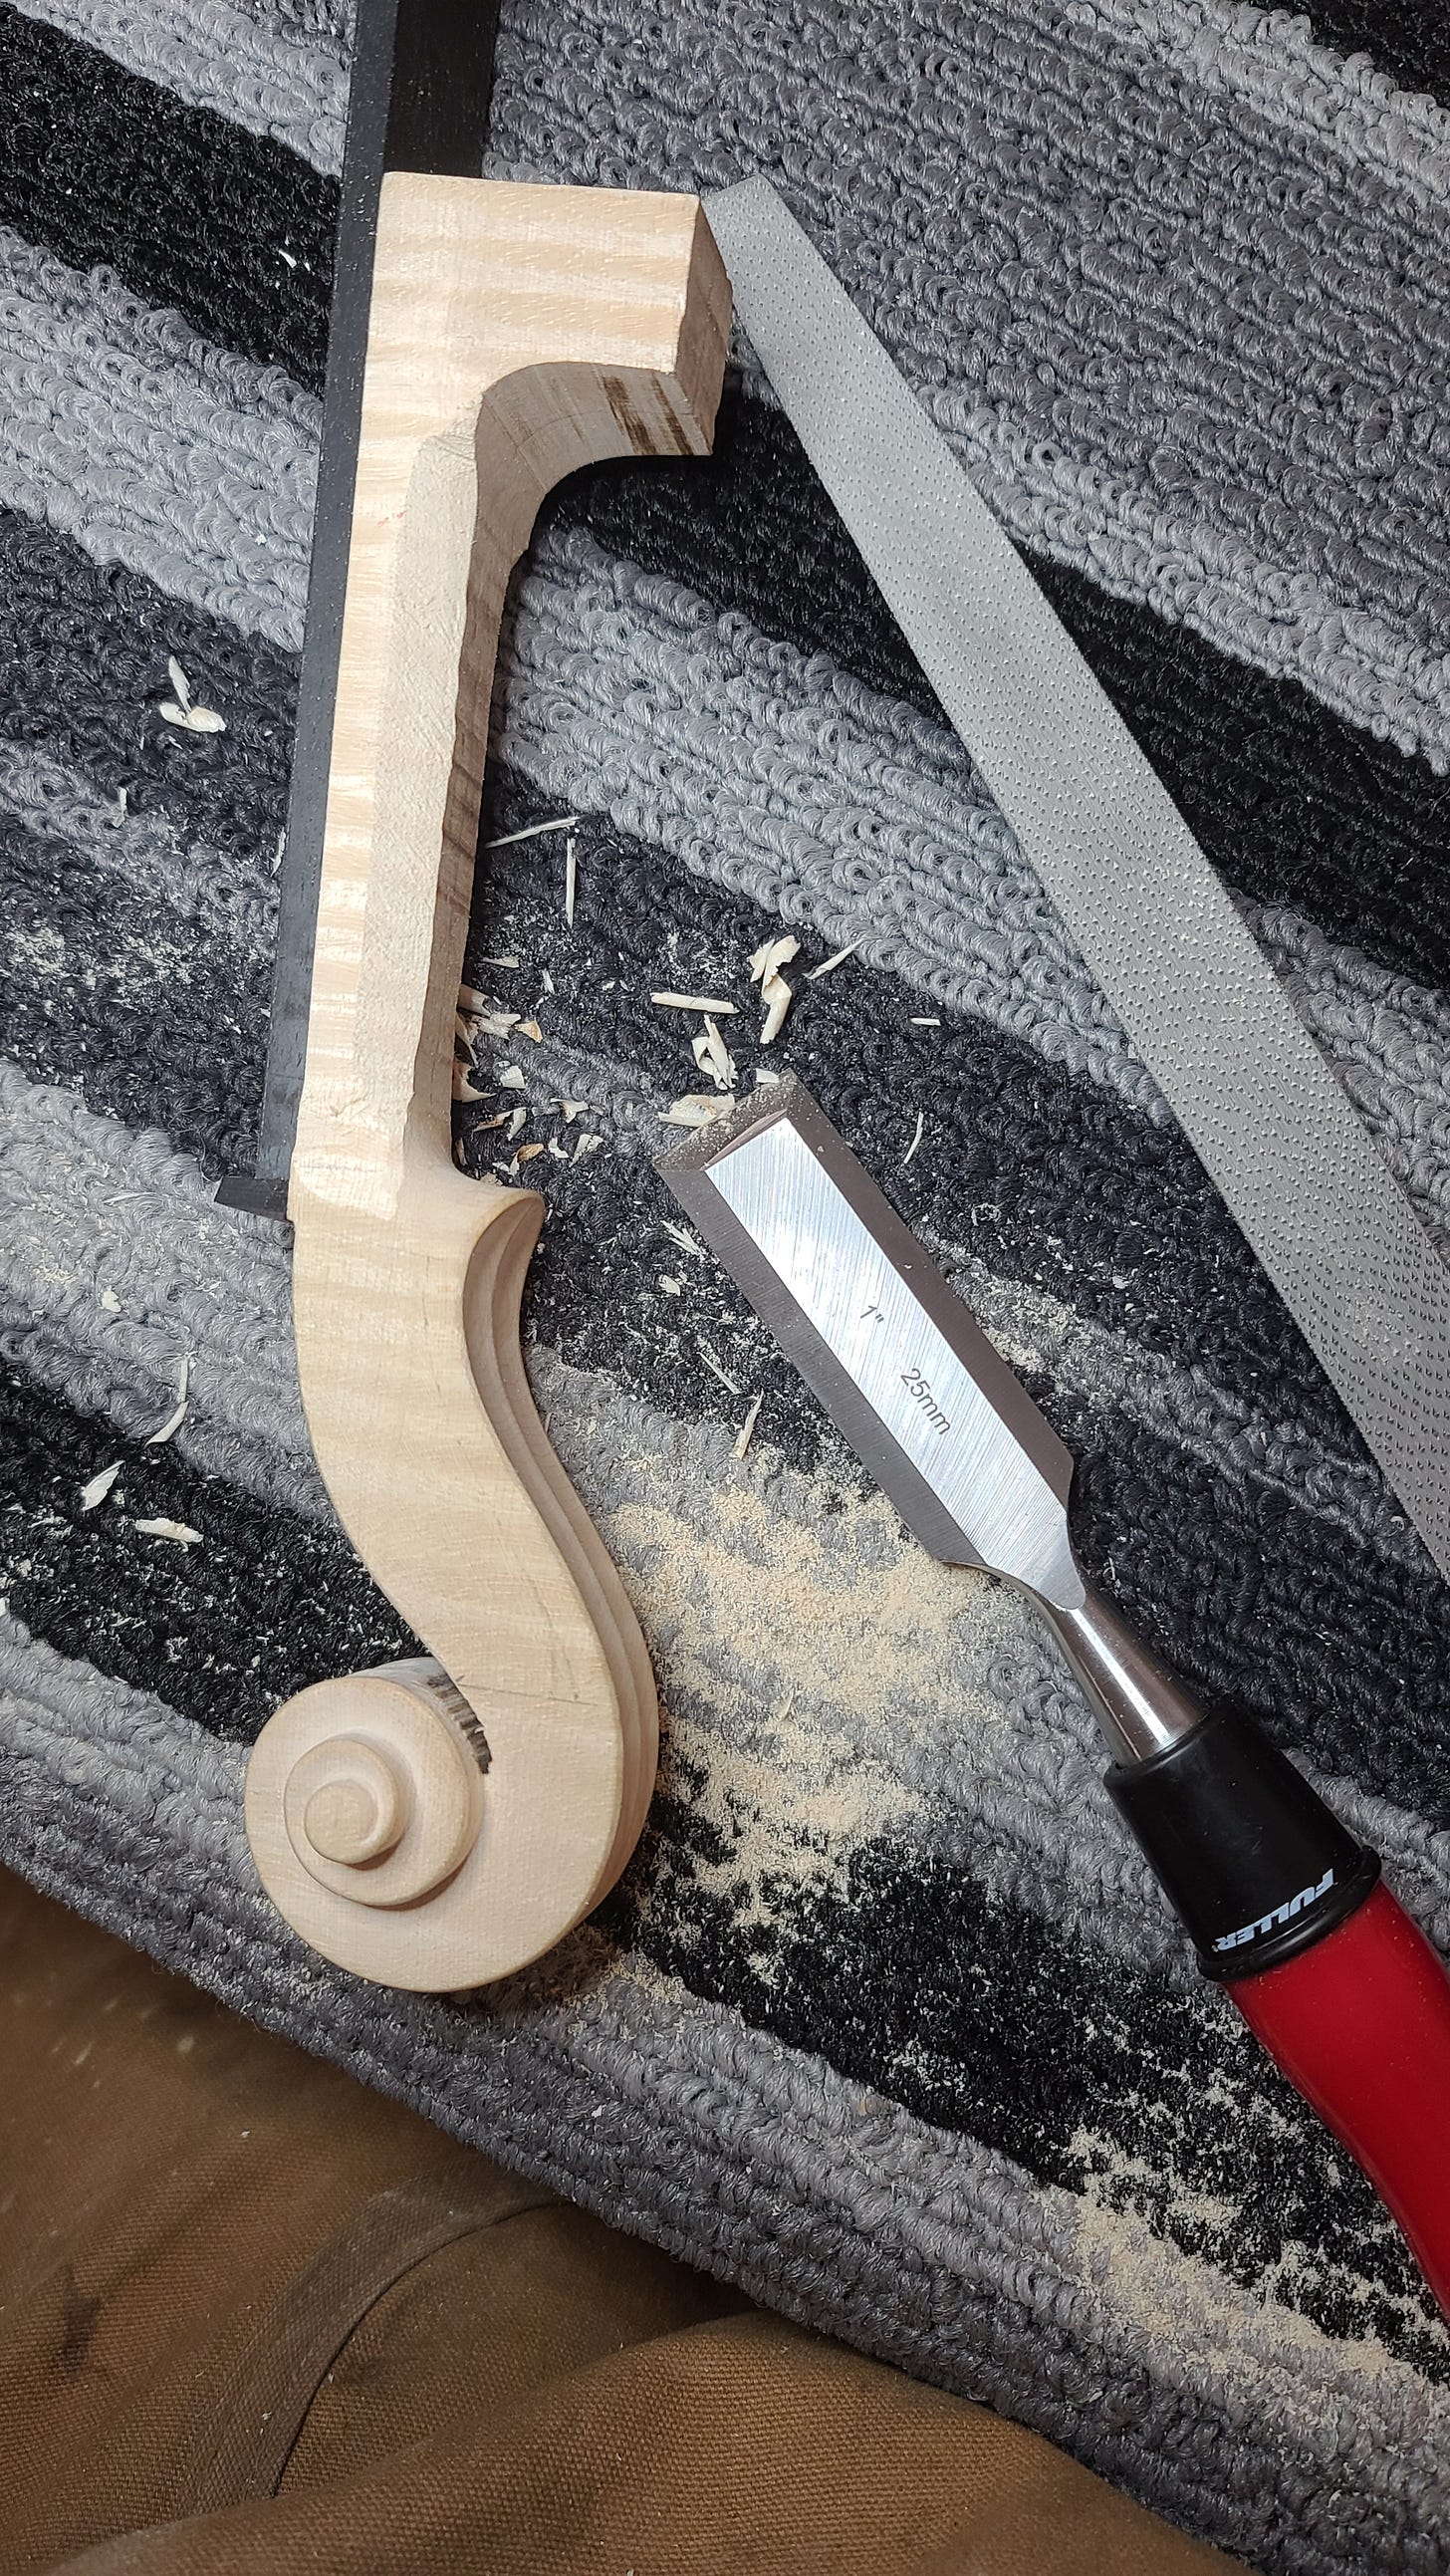
I also spent some time this week doing some finishing work on my scroll. The area of the spiral that curls underneath is very hard to reach. It needs to have the same flow and pattern as the more visible area. I used a knife with a long slender blade to work on this.
Next week, more work on the neck and nut in preparation for attaching it to the body.
Michael Duschenes is a student at the Canadian Violin Making Institute.

