Happy New Year!
It’s great to have a new student at the Canadian Violin Making Institute. Welcome, Drew!
After the holiday break, I was anxious to get back at it. My first task of the new year was to complete the inside of my violin top with a bit more finger planing and some scraping to get it to final thickness. Next step: f holes.
F holes allow the body of the violin to vibrate more freely and let the vibrating air inside the instrument travel outside the instrument.
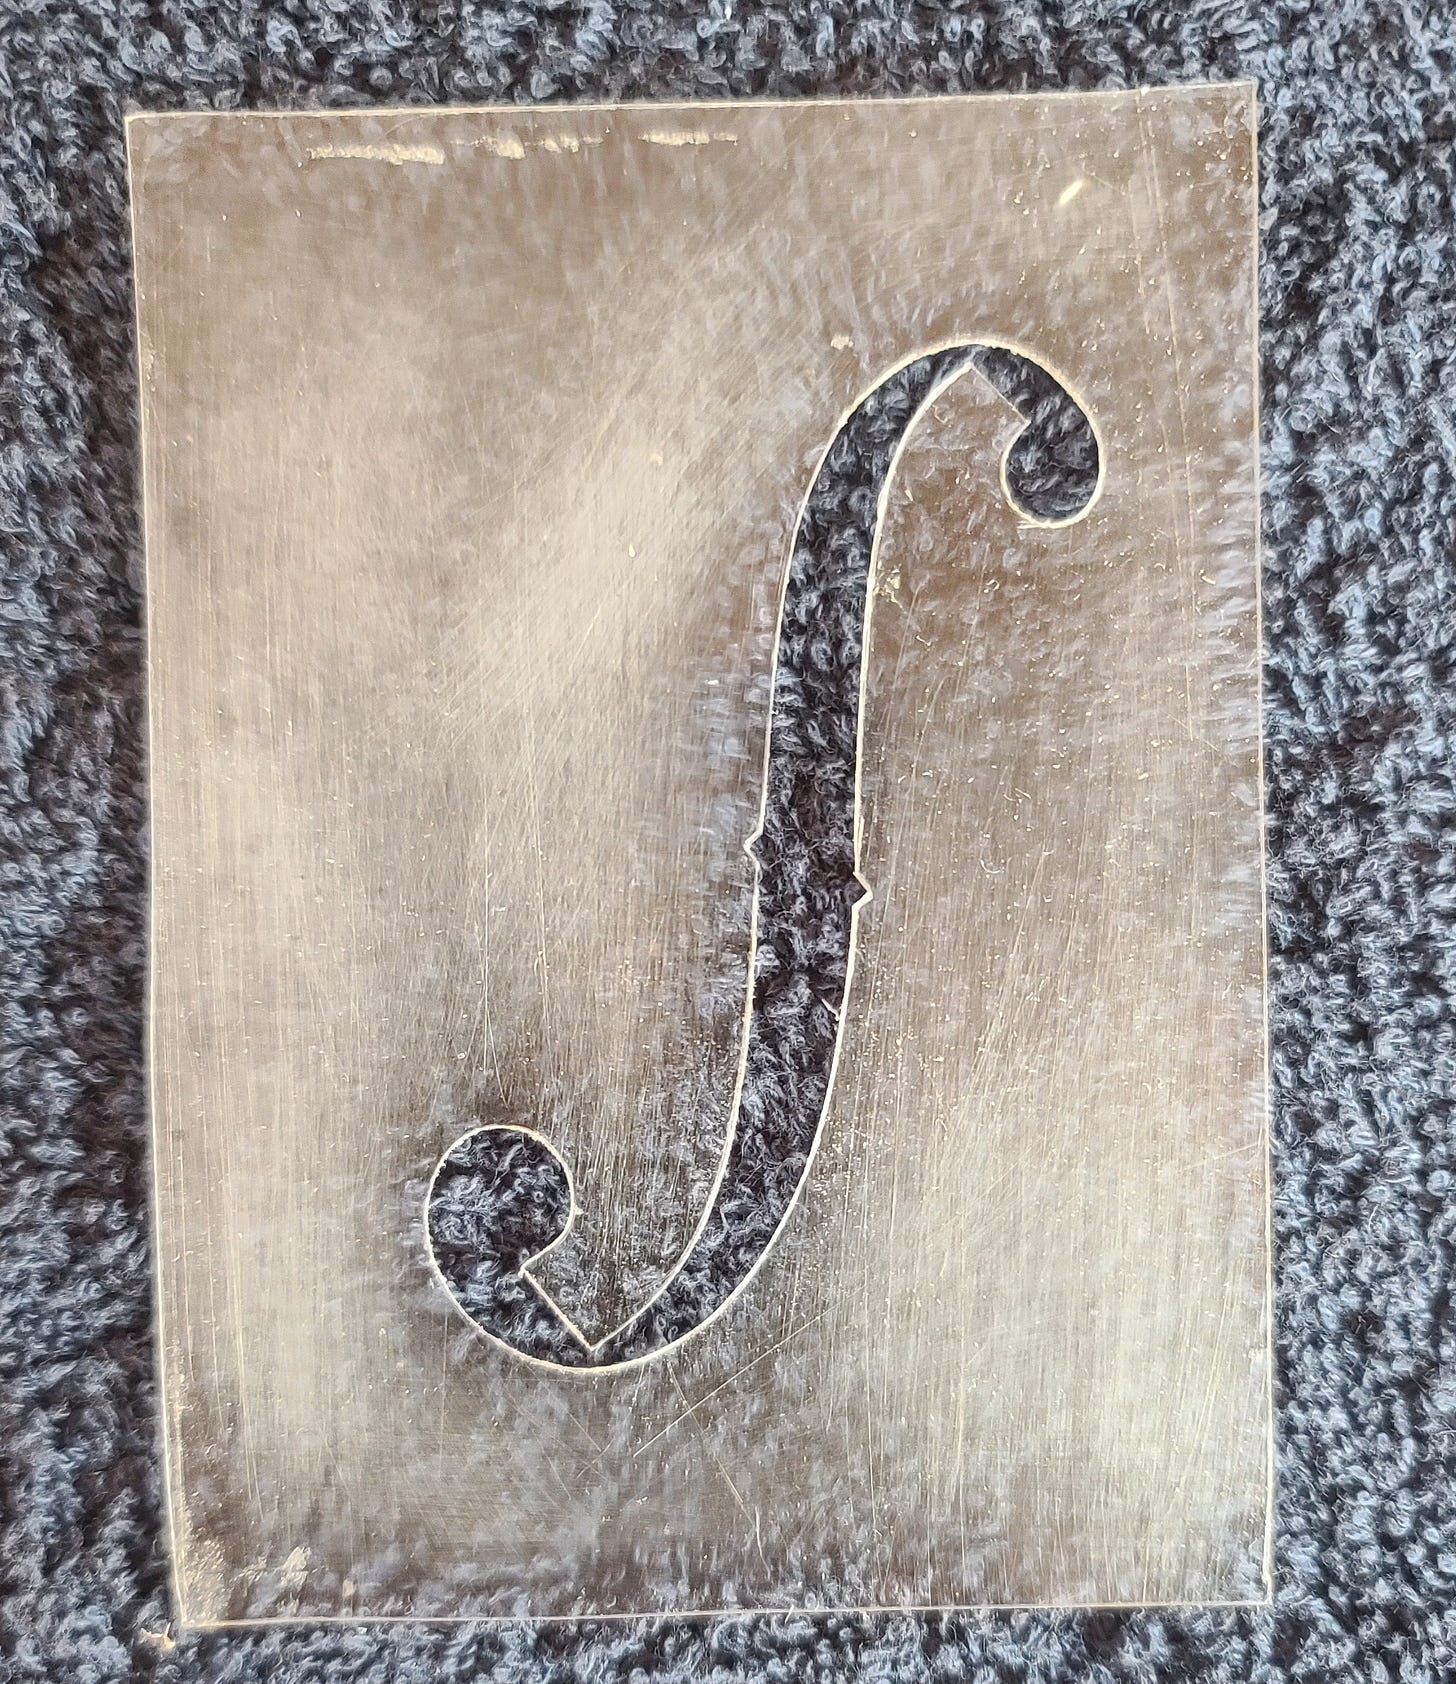
I first made a template of a Stradivarius f hole, using one of Chris’ to make my own. It’s made out of a simple piece of pliable plastic that will bend a bit to make tracing on curved surfaces possible.
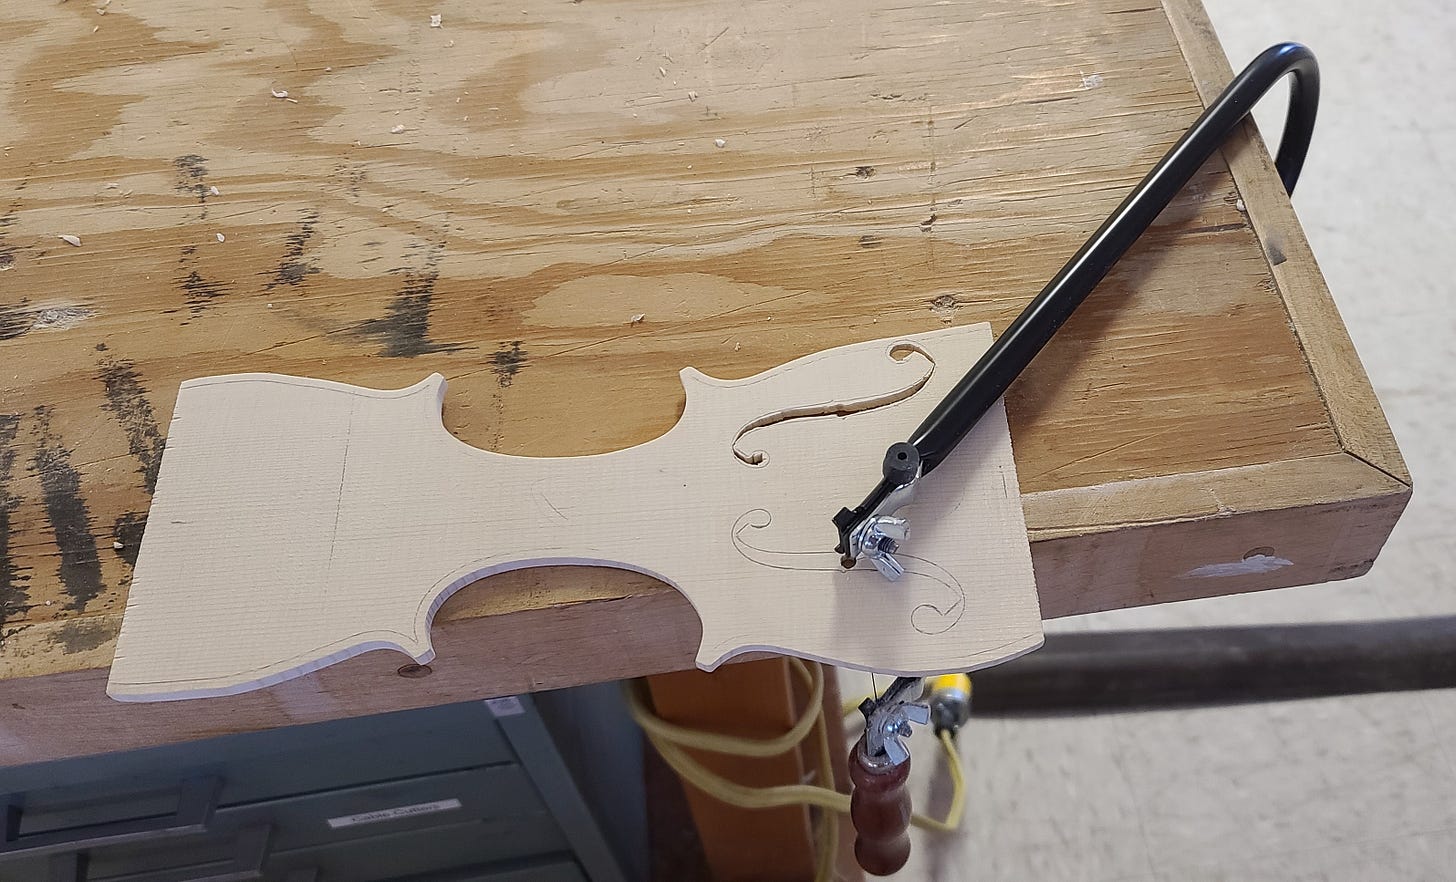
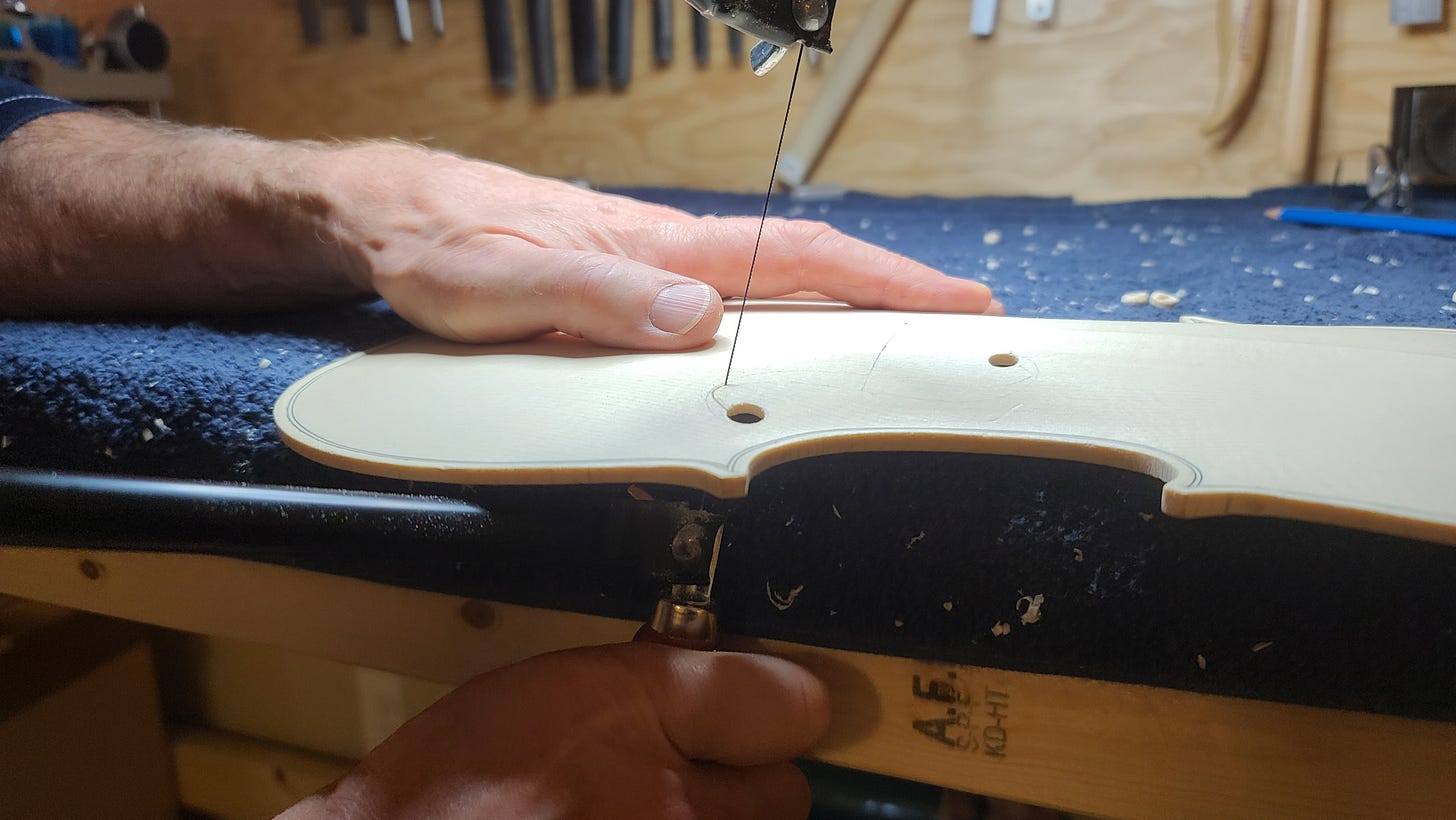
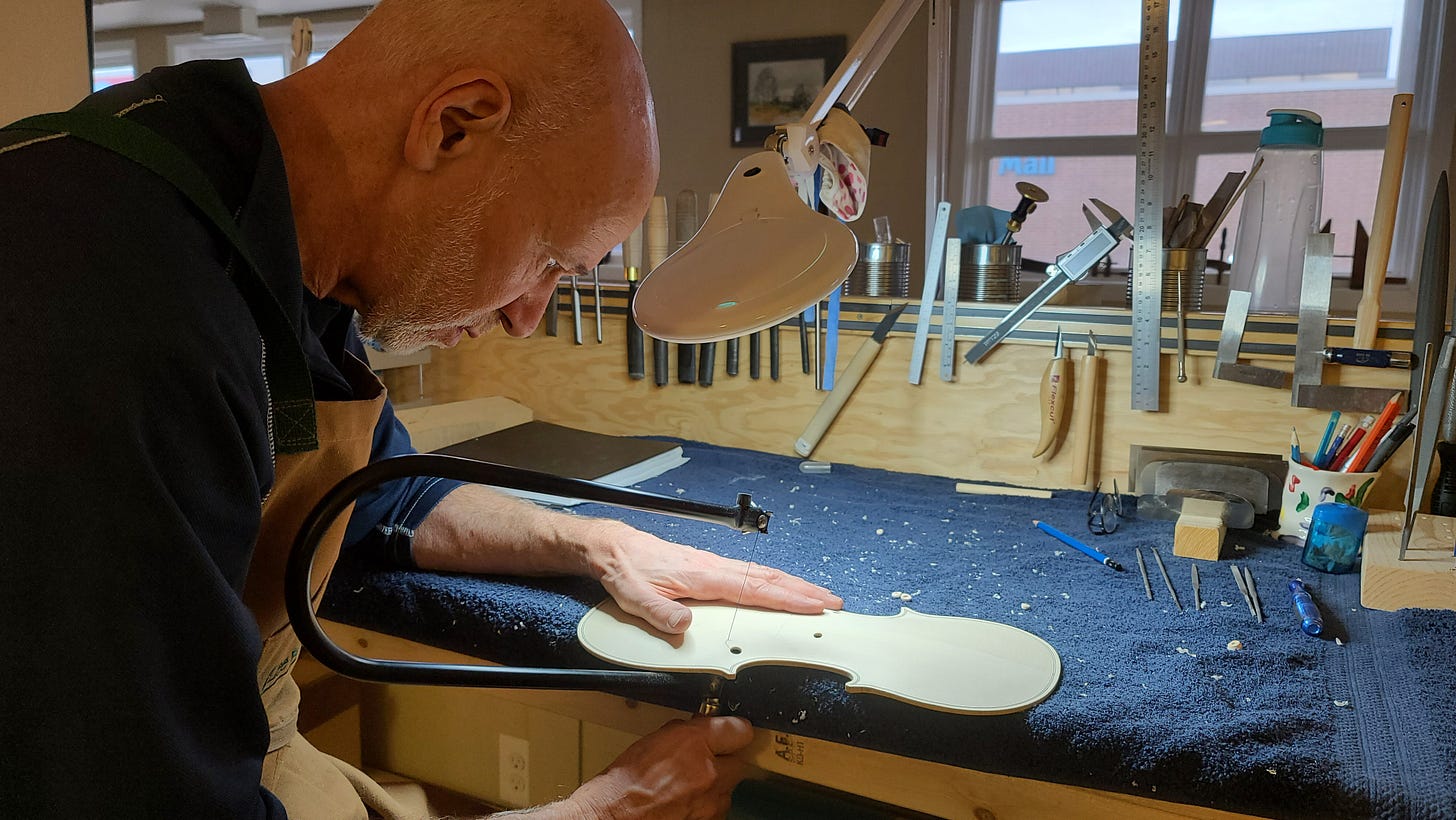
I started on a practice piece of wood before moving on to my actual violin. The f holes are drilled, cut (the coping saw is pictured below), carved and filed.
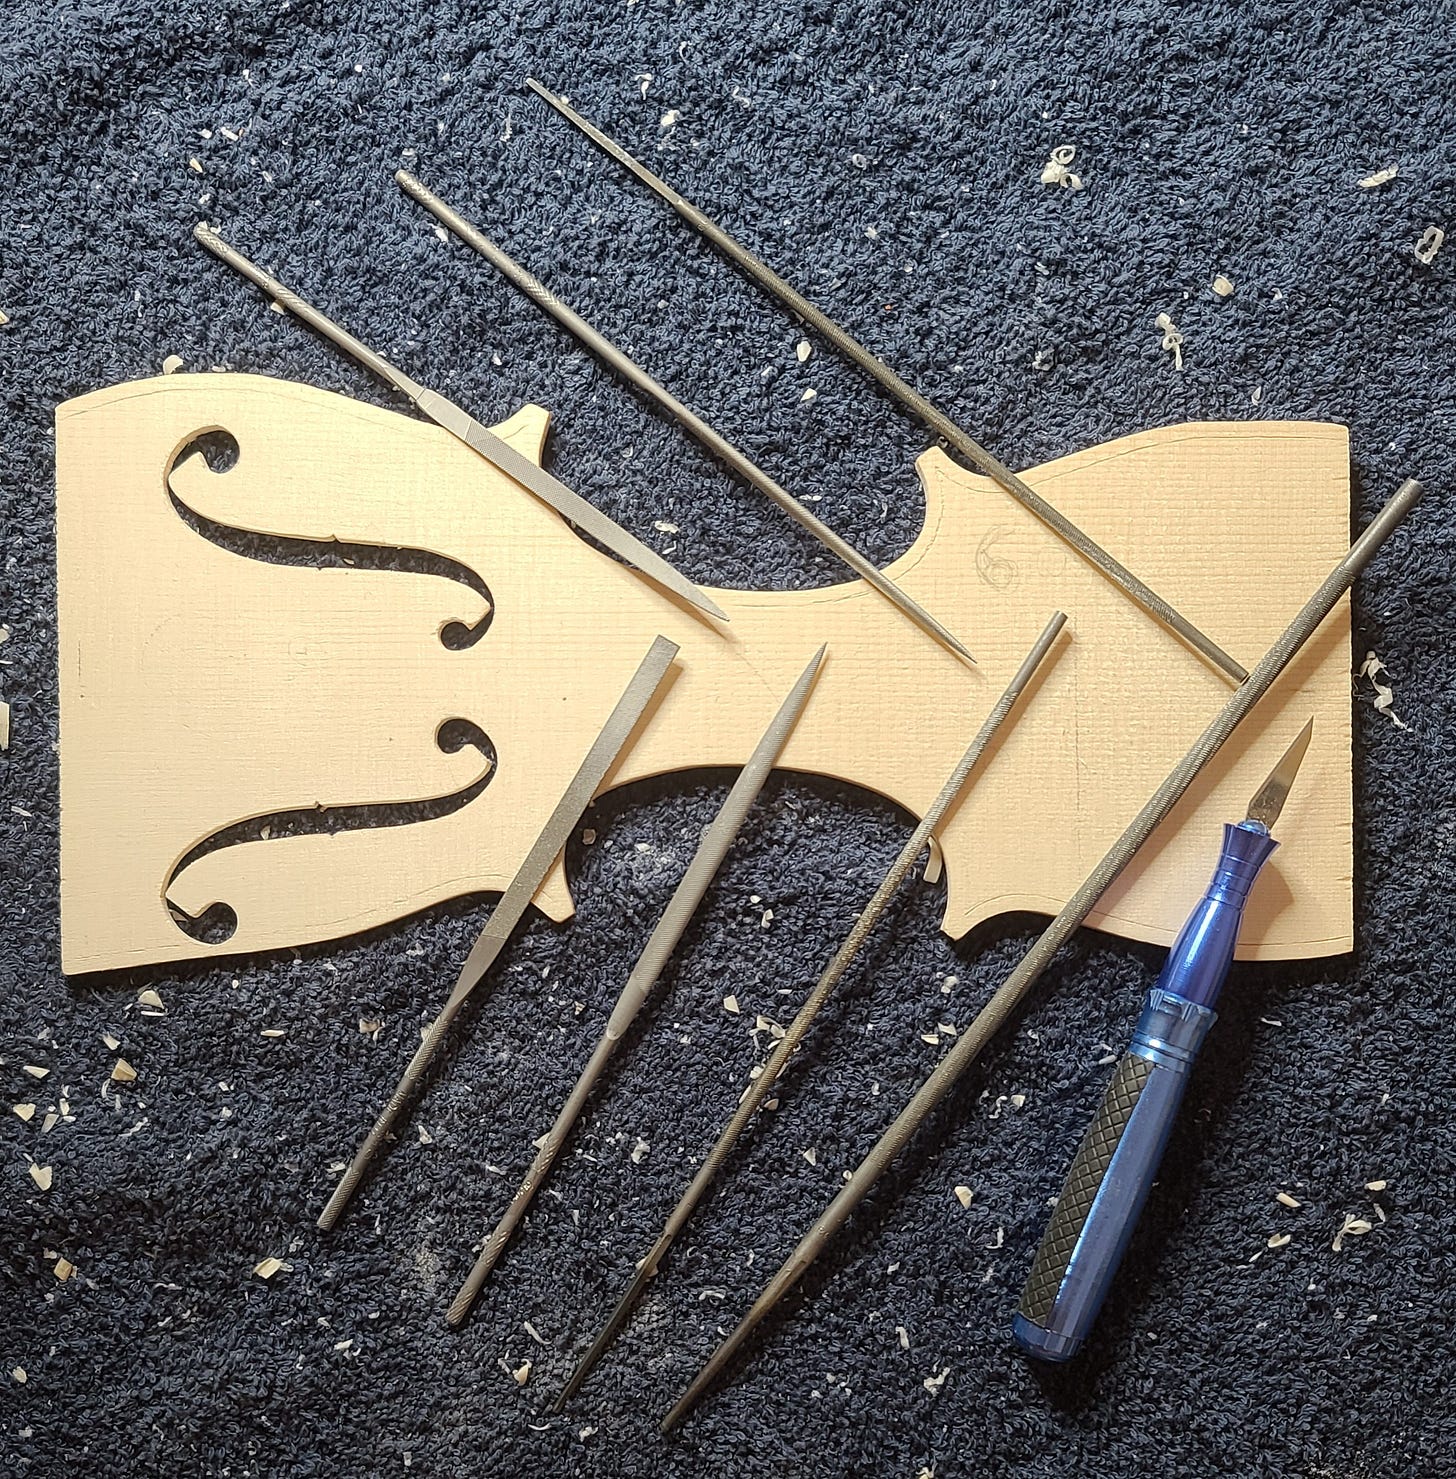
Here’s my final practice piece, with some files and a knife that I used.
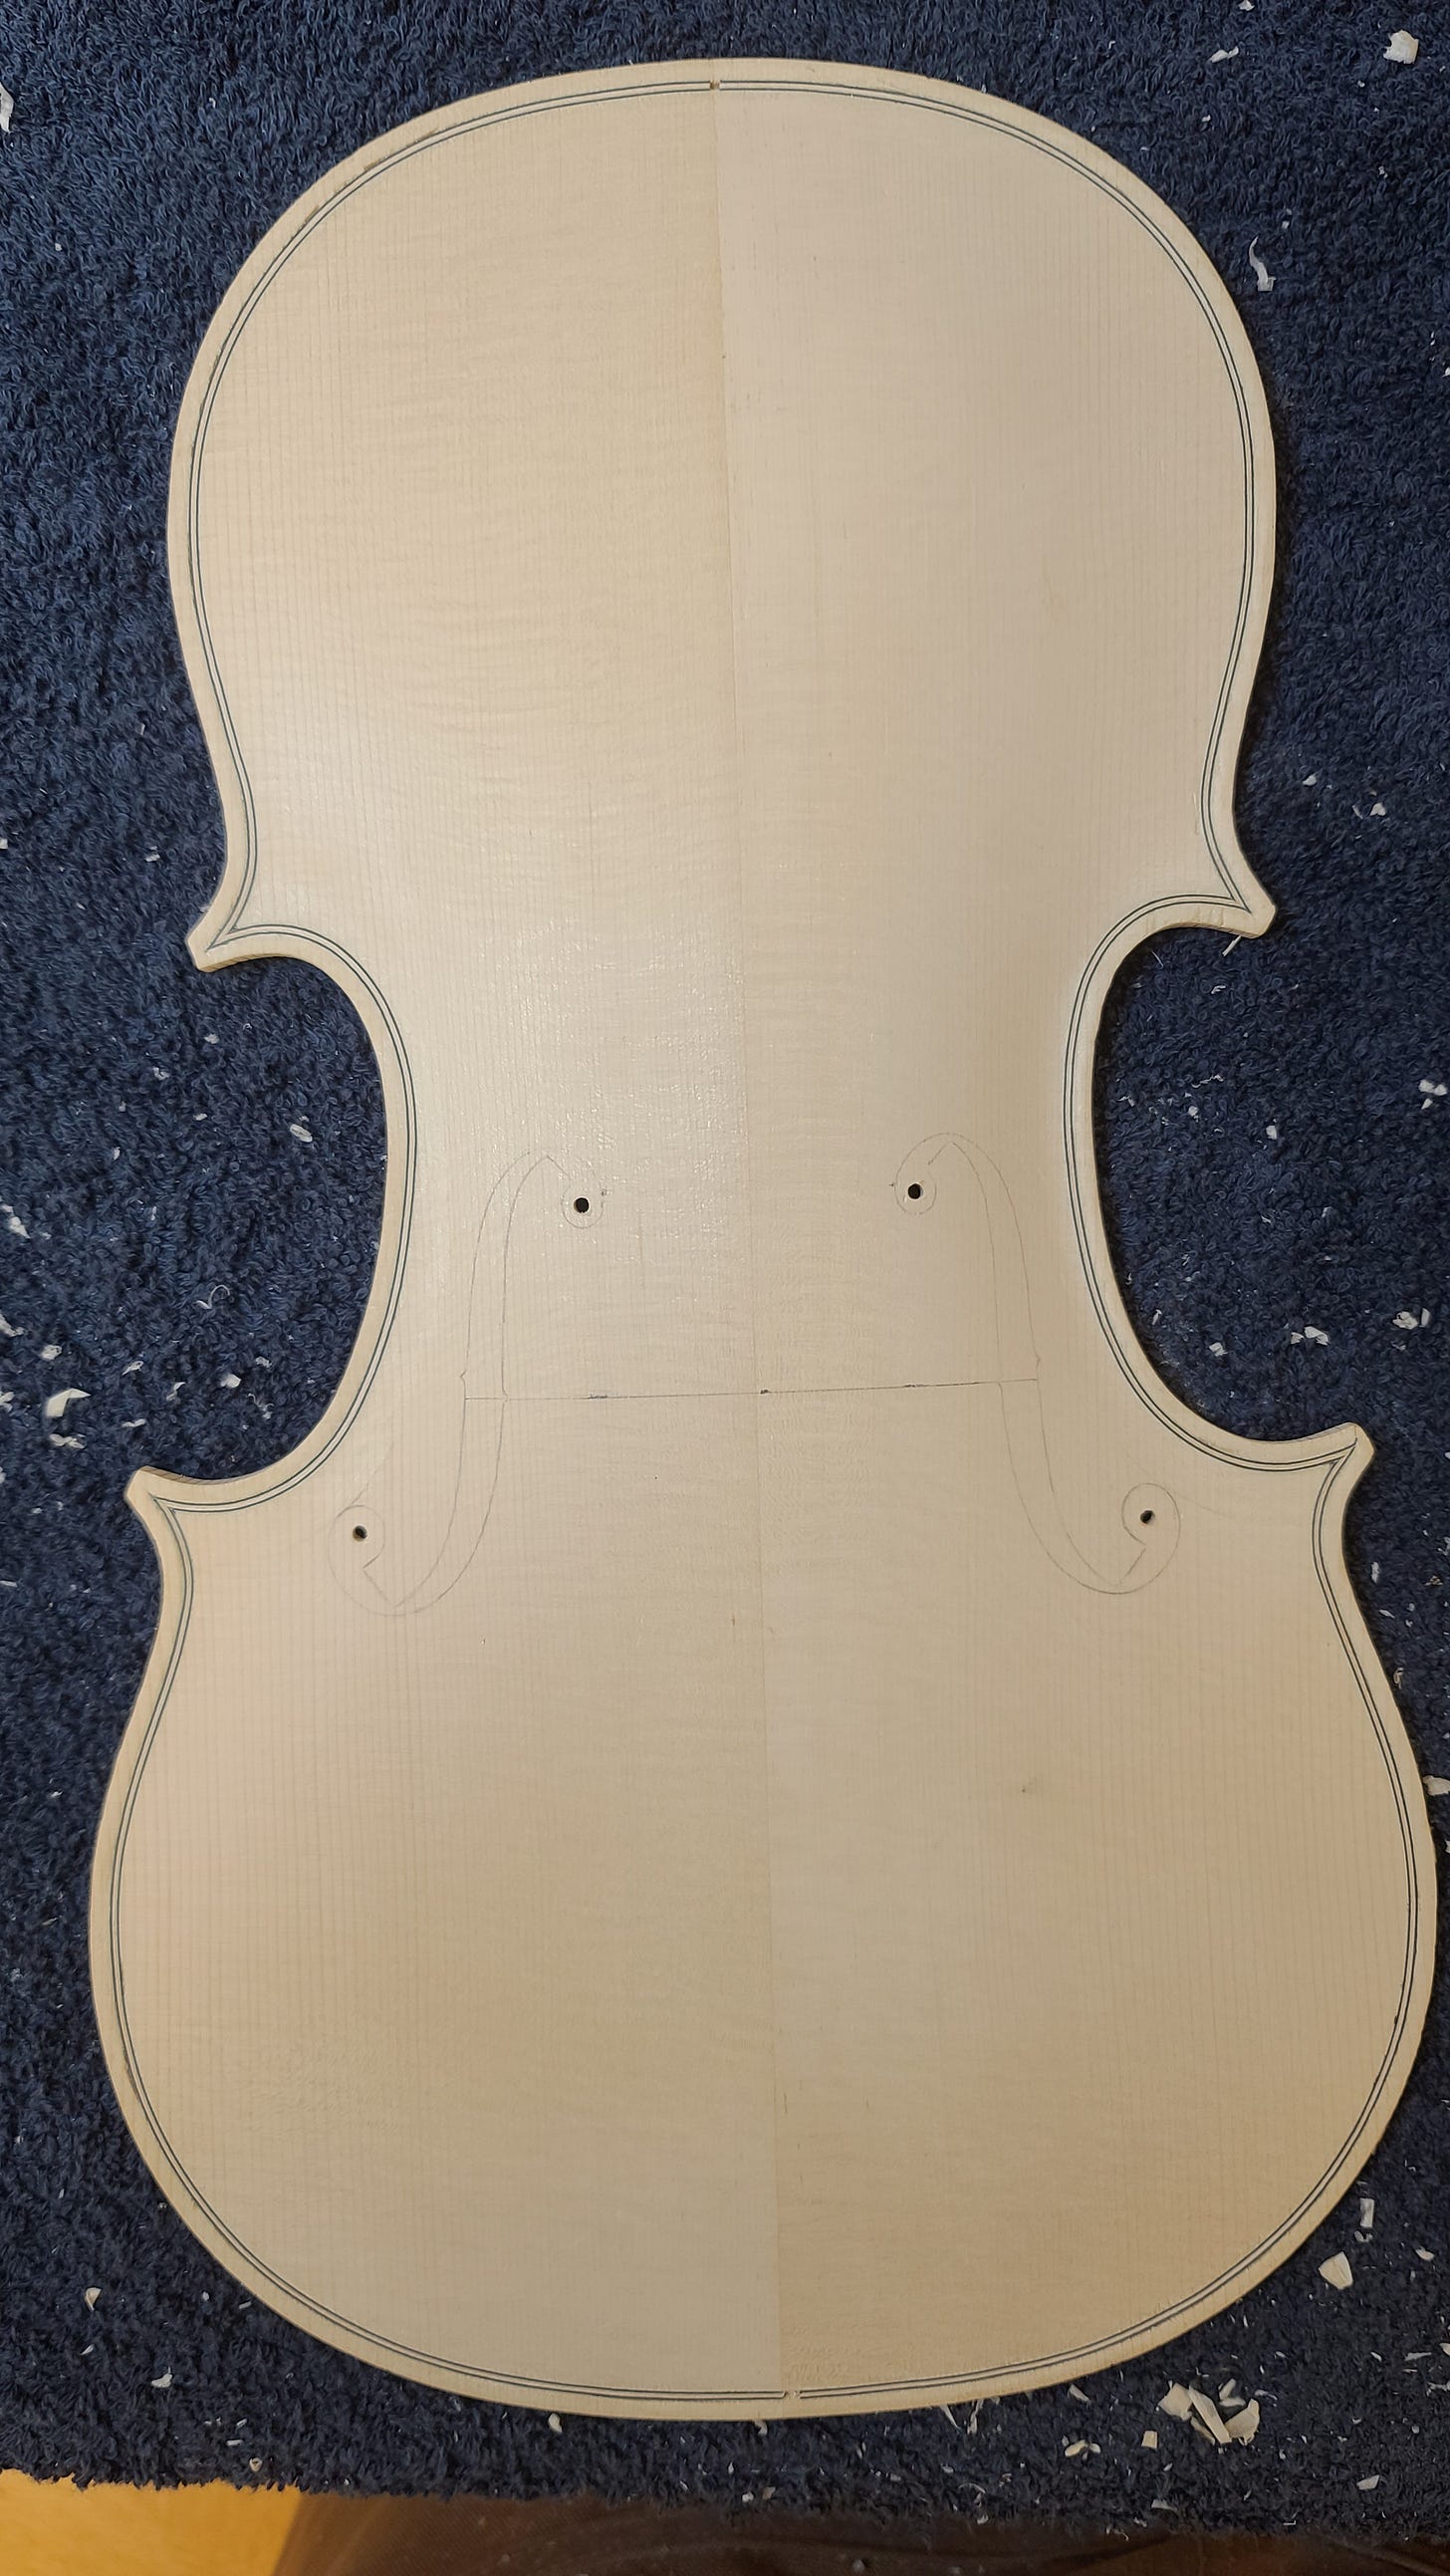
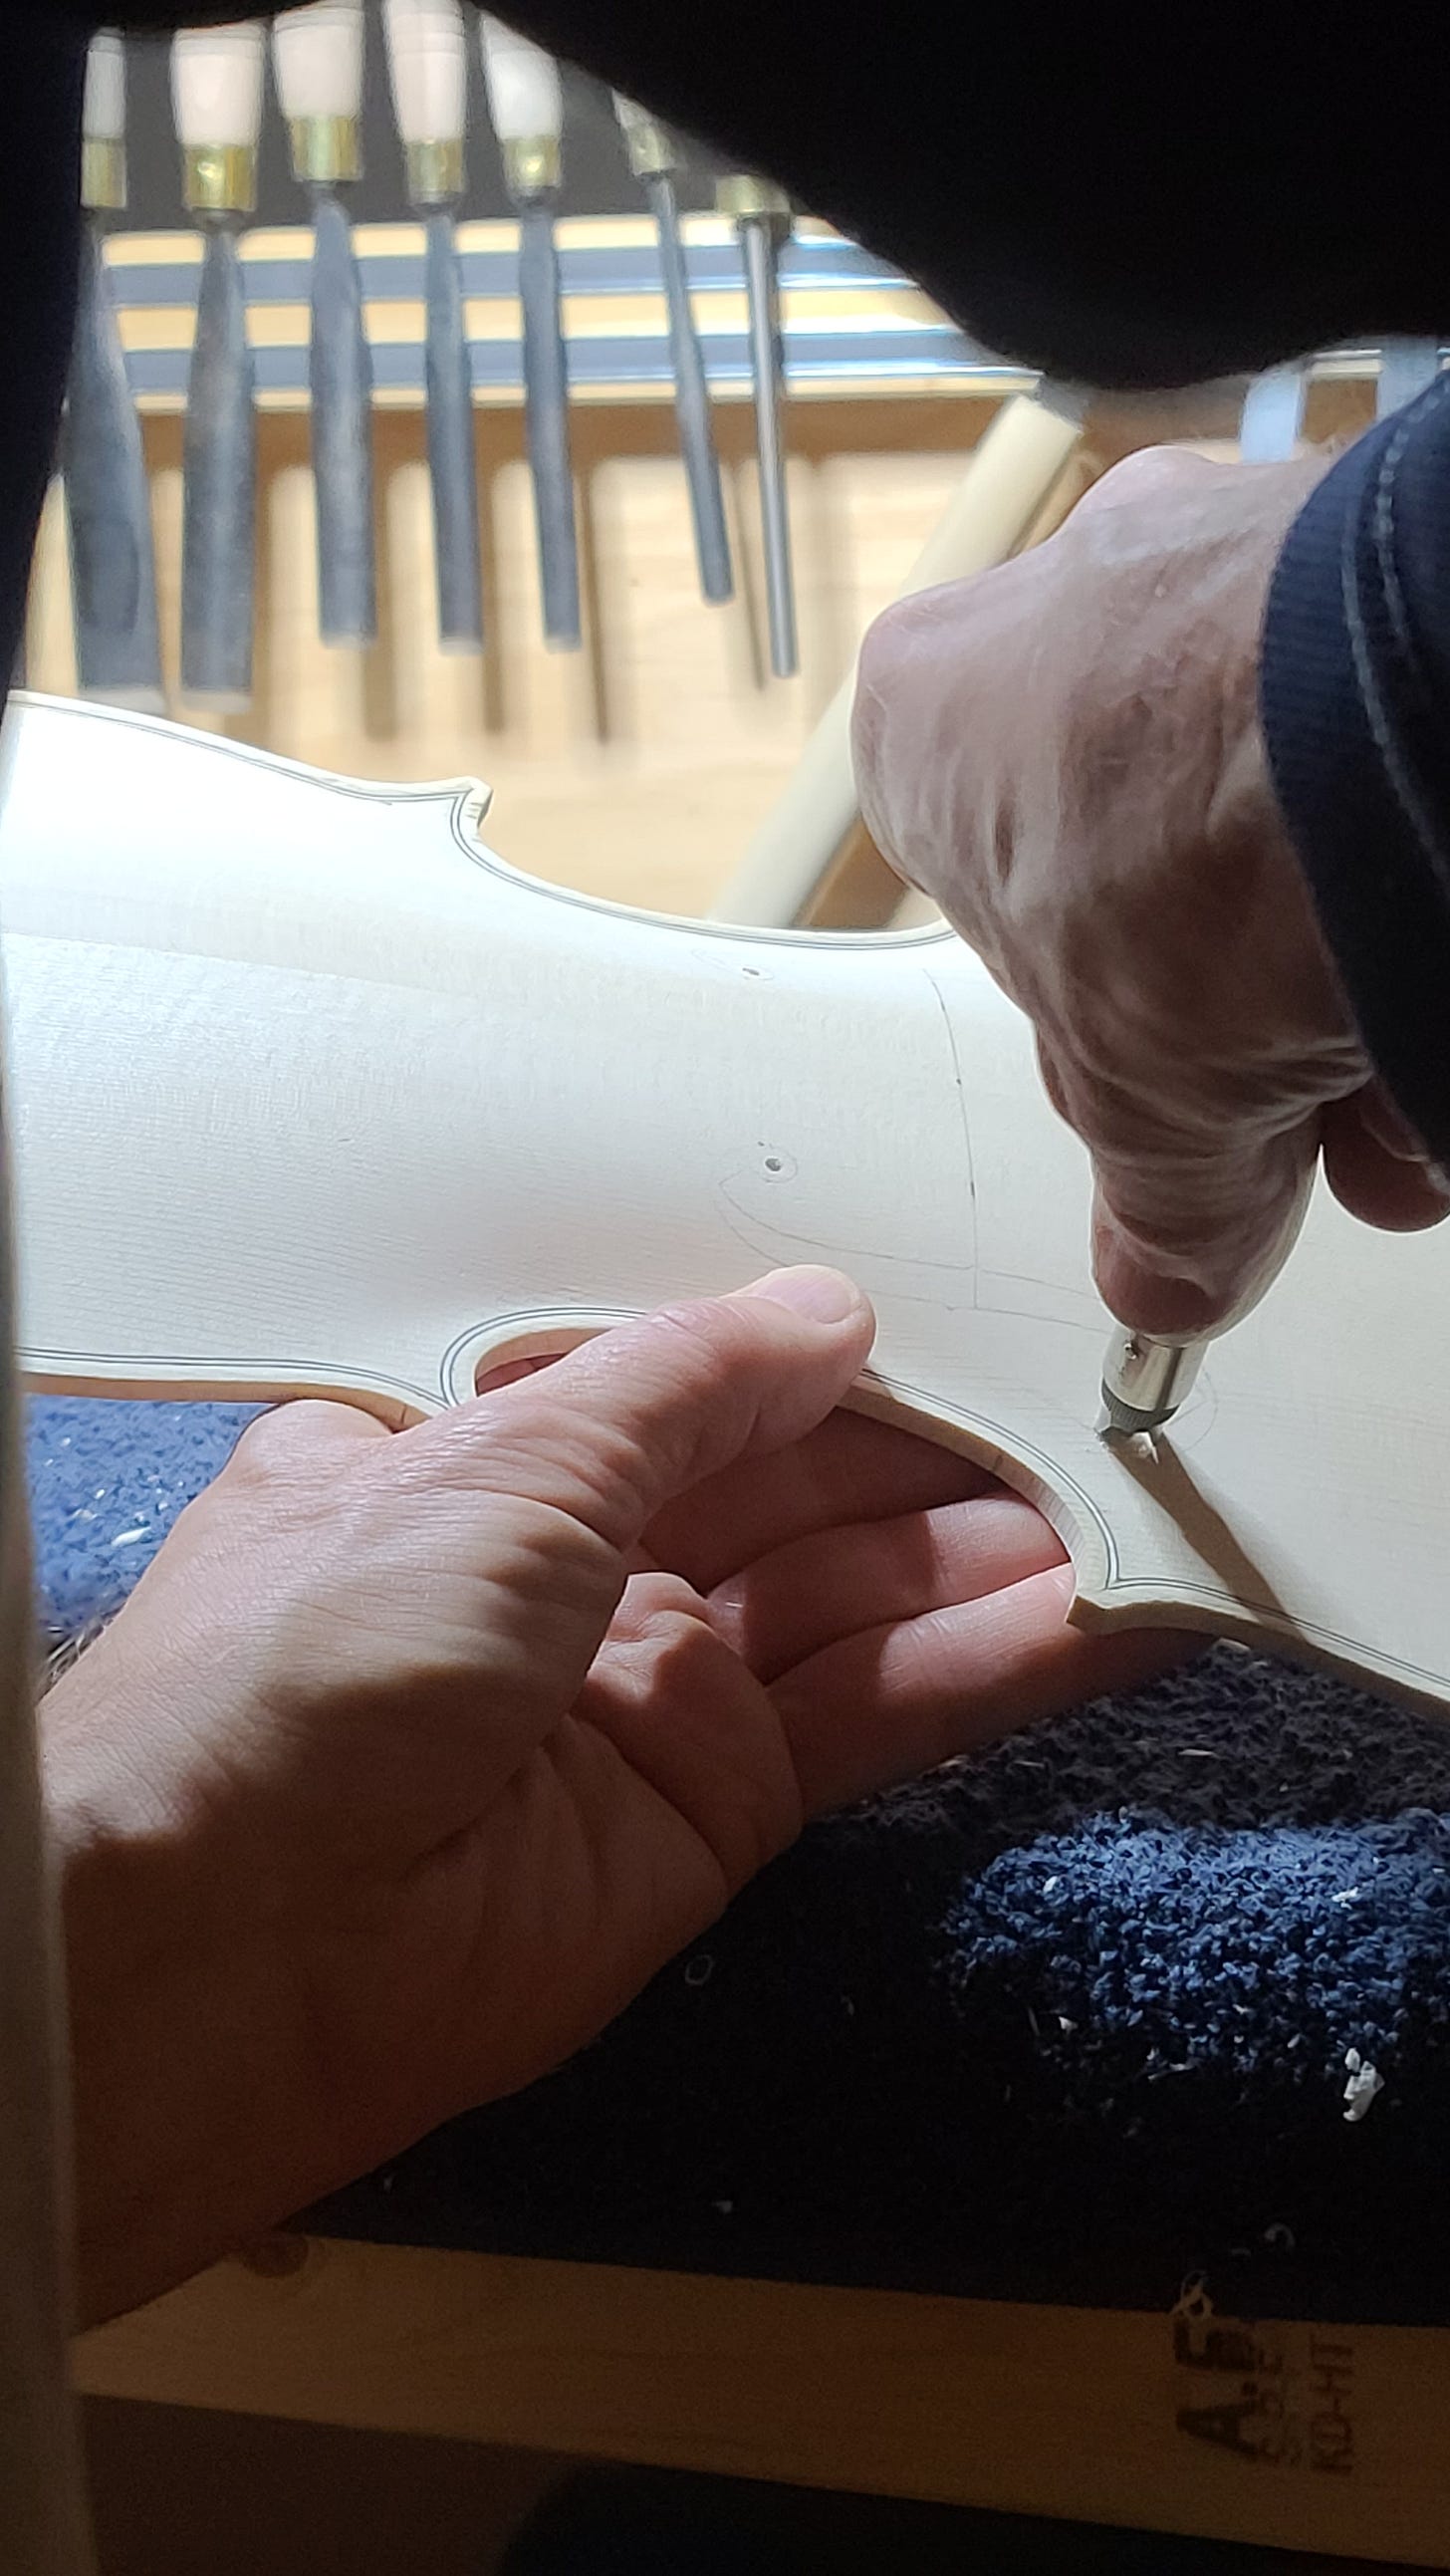
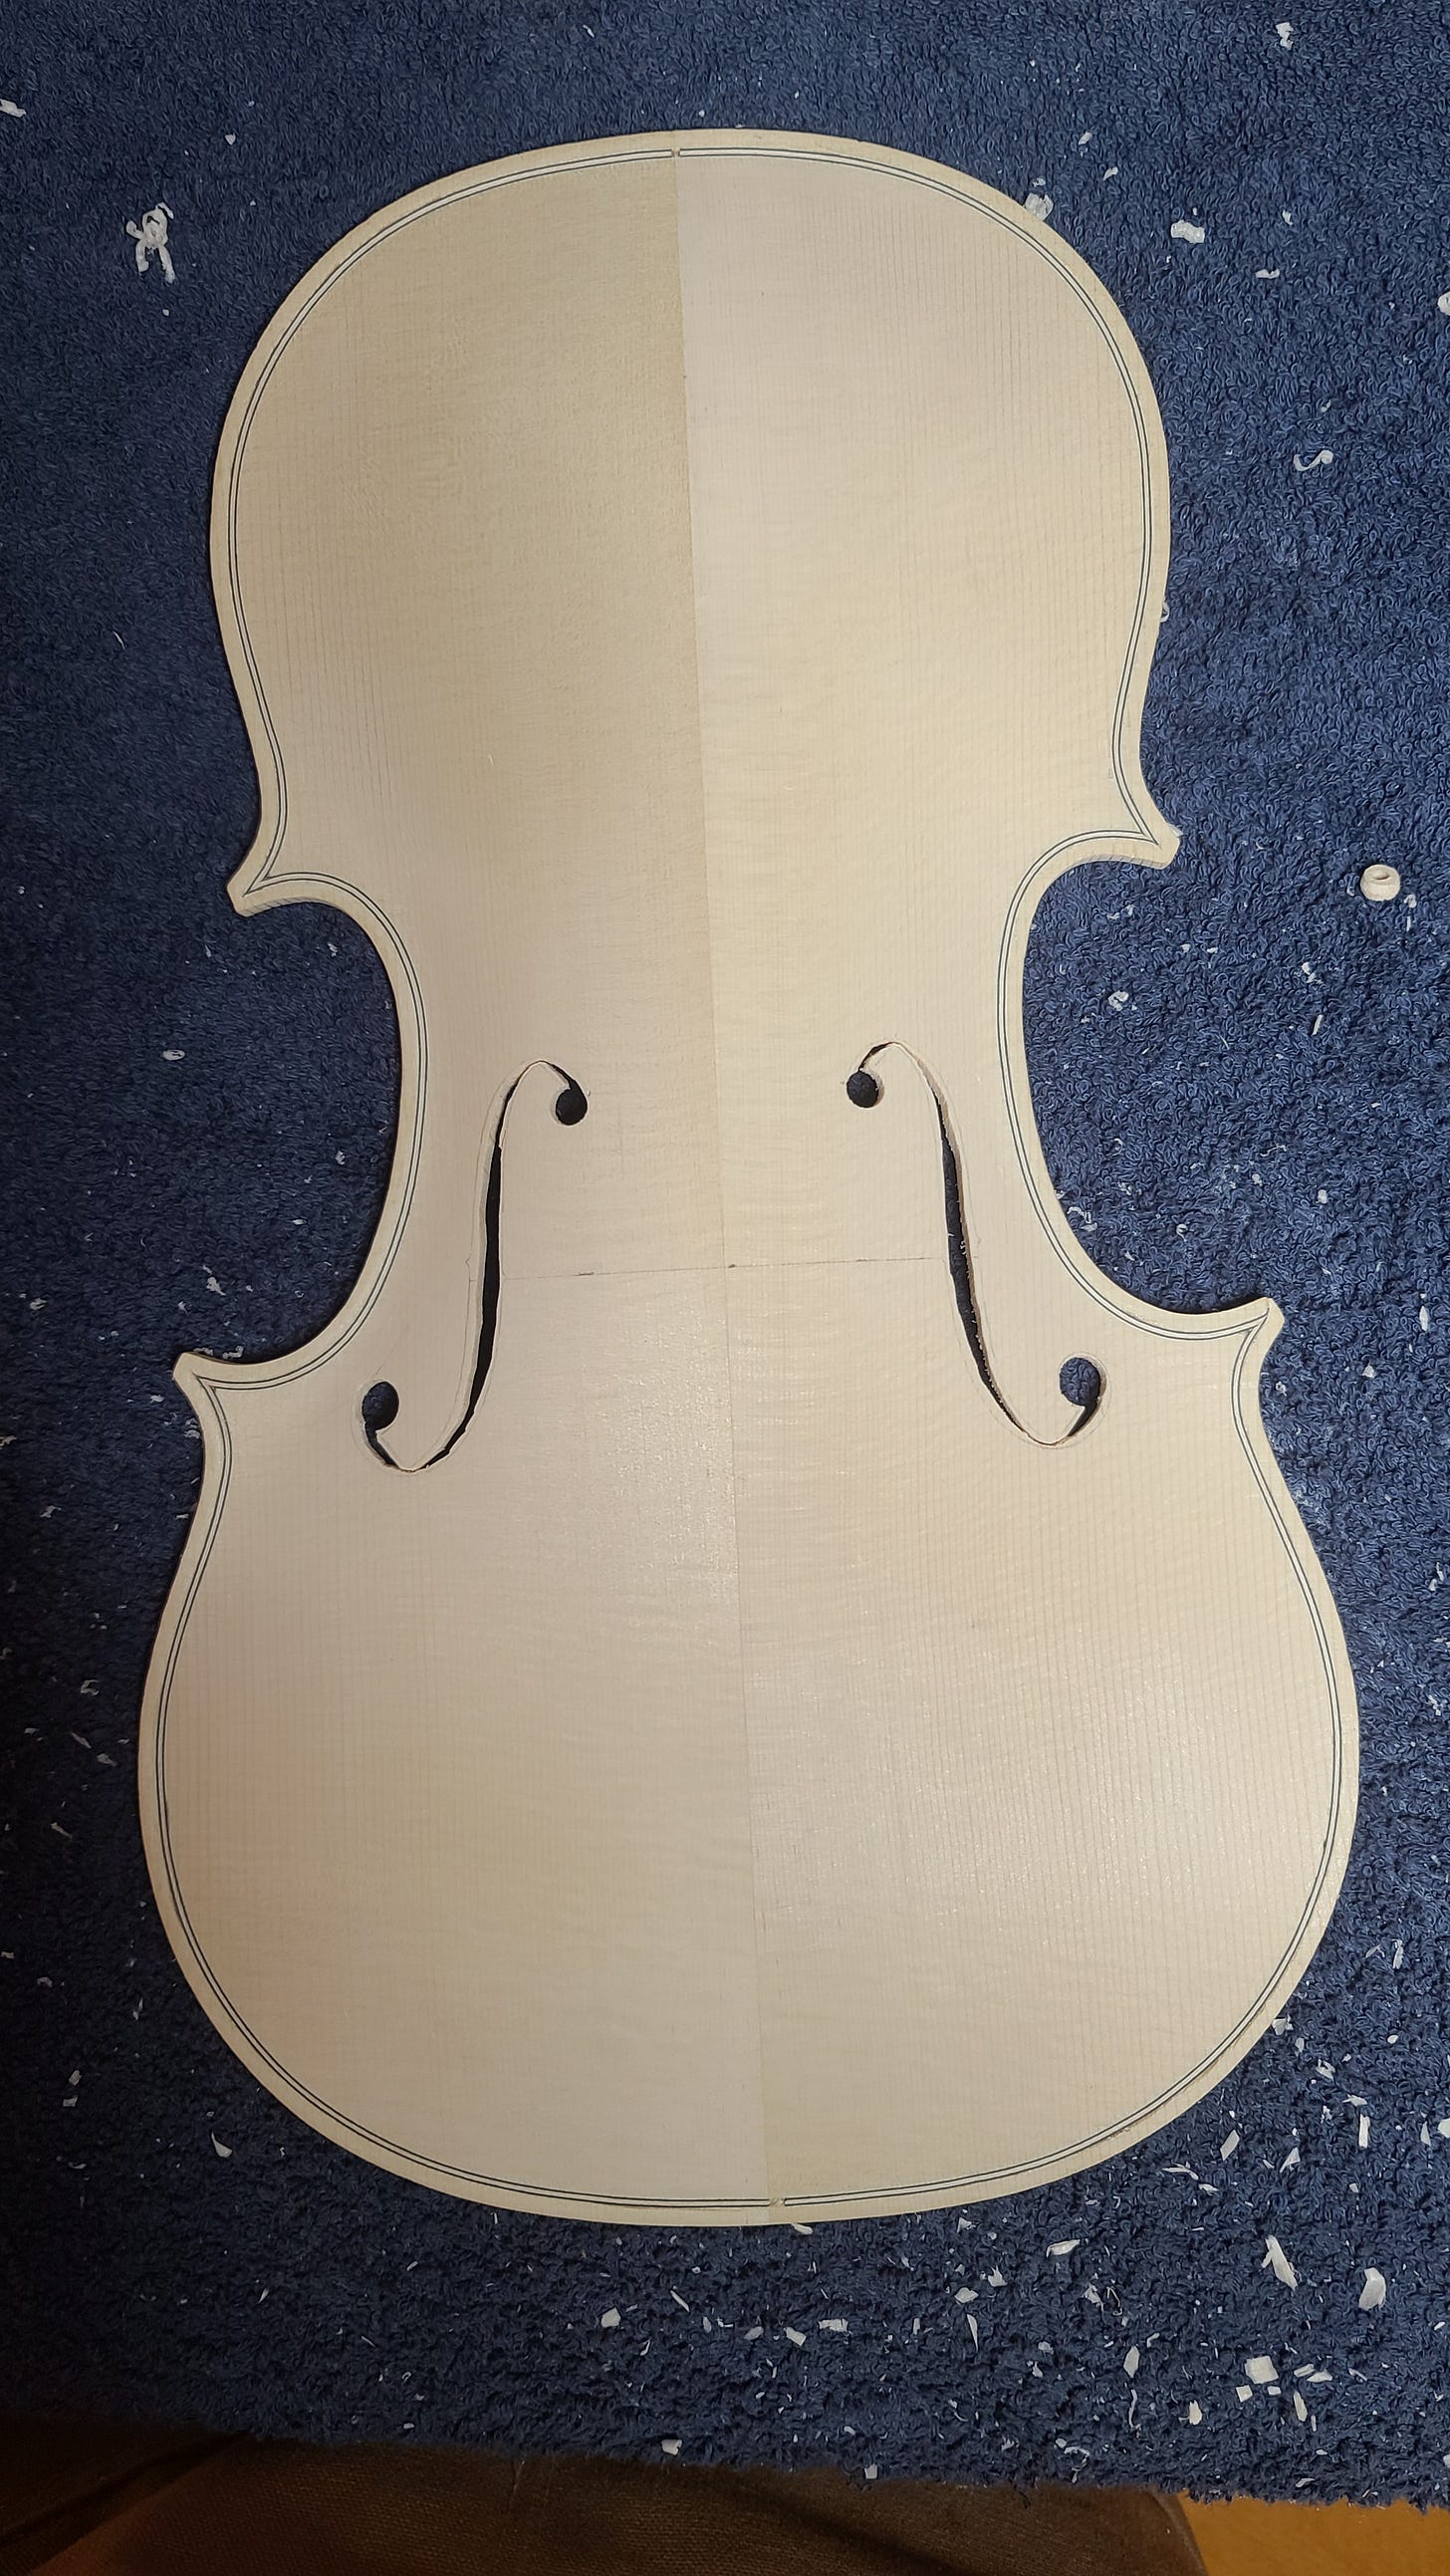
I was then ready for the real thing. There are specific measurements used to position the f holes correctly. I made the measurements for a Stradivarius f hole, scribed the outline and made small holes to guide my f hole cutter, which is a small hand drill.
Next, a coping saw is used to cut fairly close to the outline. I was very conservative, leaving lots of wood to be carved and filed.
Here is my rough cut.
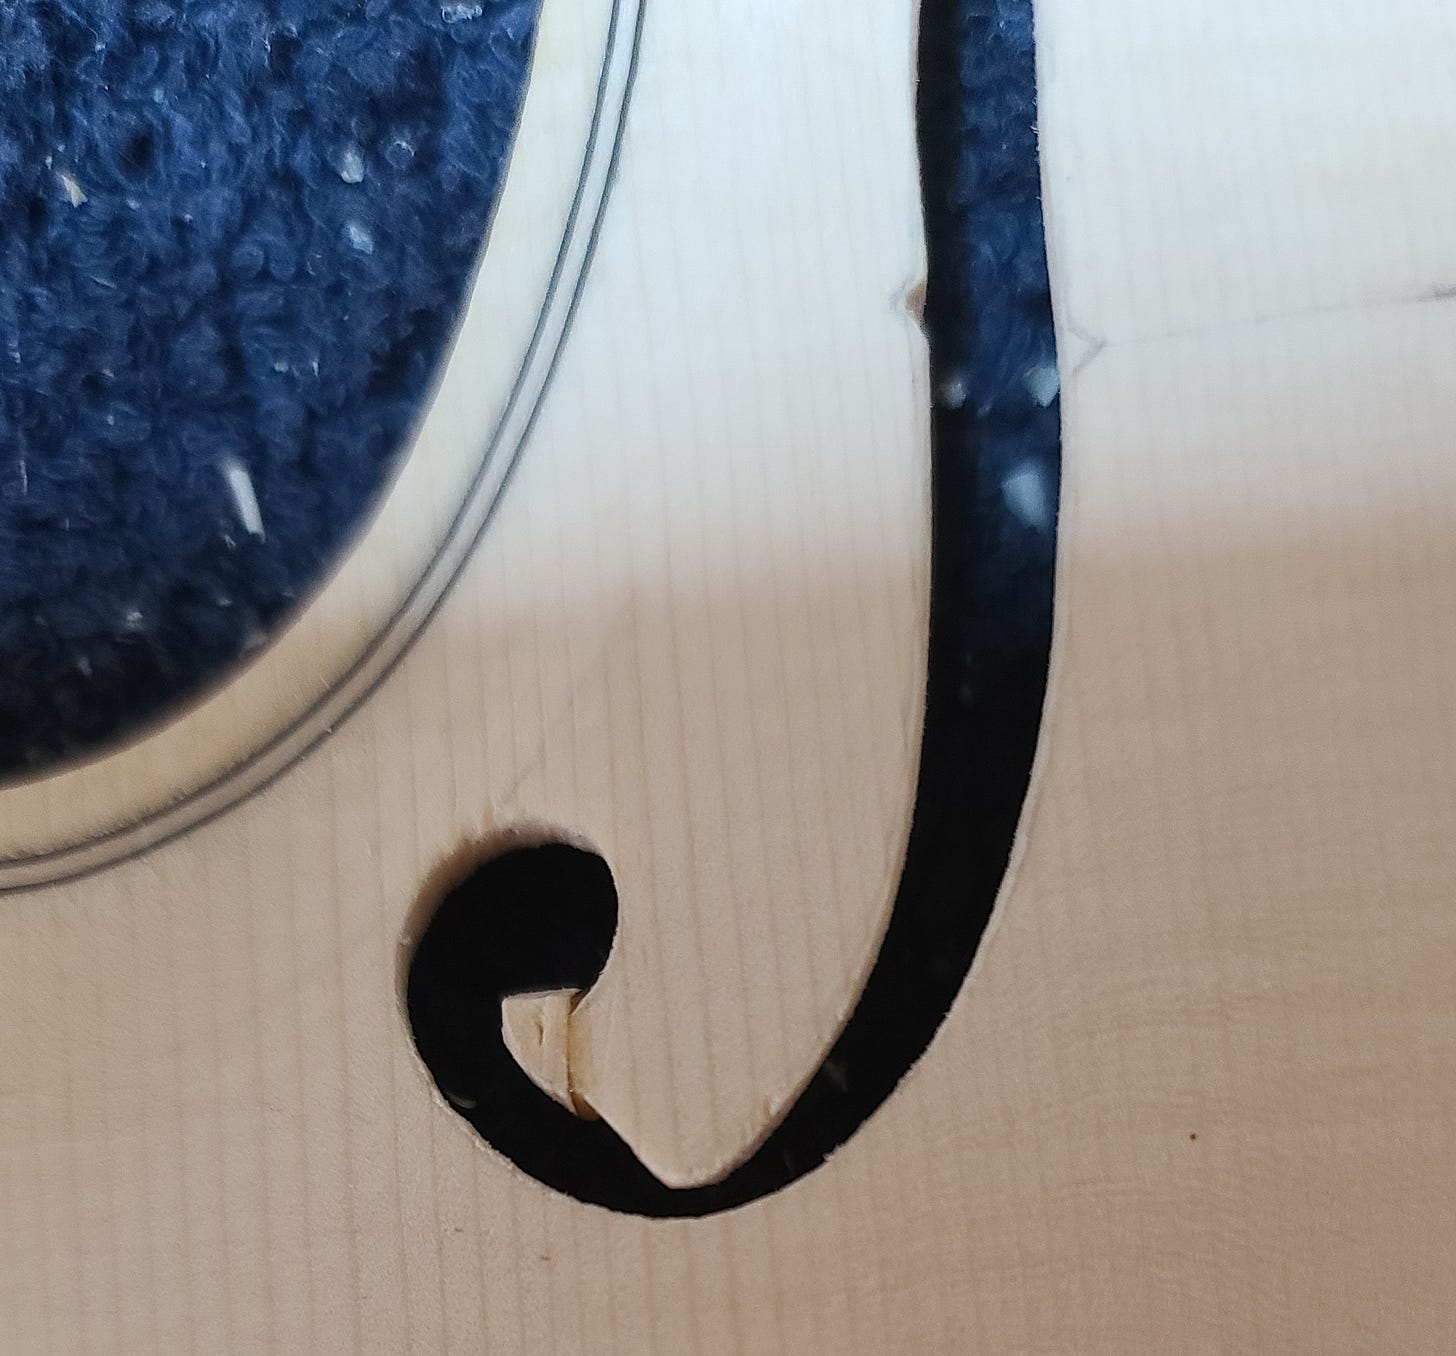
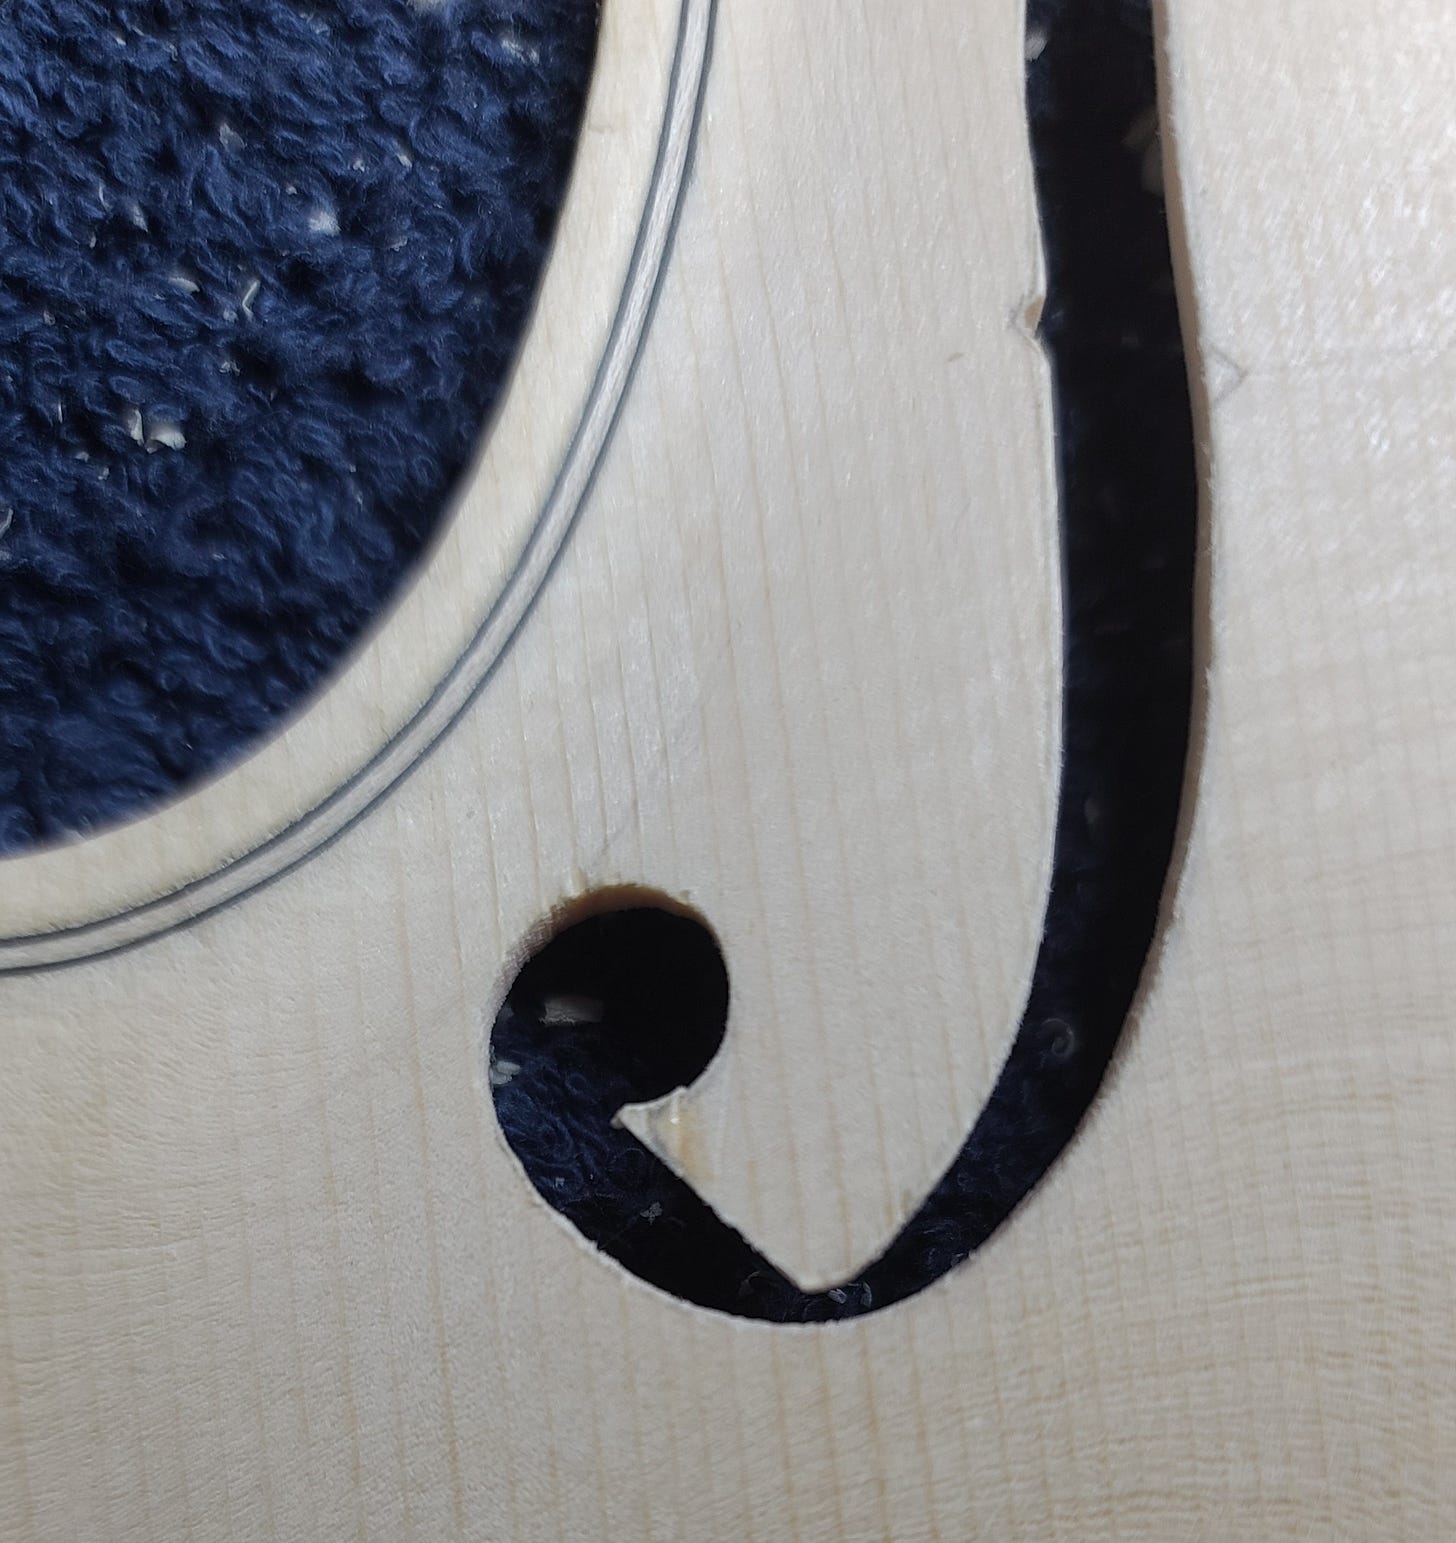
Next, I used a knife to get closer to the outline, followed by some filing. Unintentionally, I was presented with some good repair experience. I knocked a small corner off the left f hole and and had to glue on a small repair piece which was then trimmed to size.
Above is the first pass at shaping it. The repair was barely visible when I was completely done and won’t show at all after final finishing and varnishing.
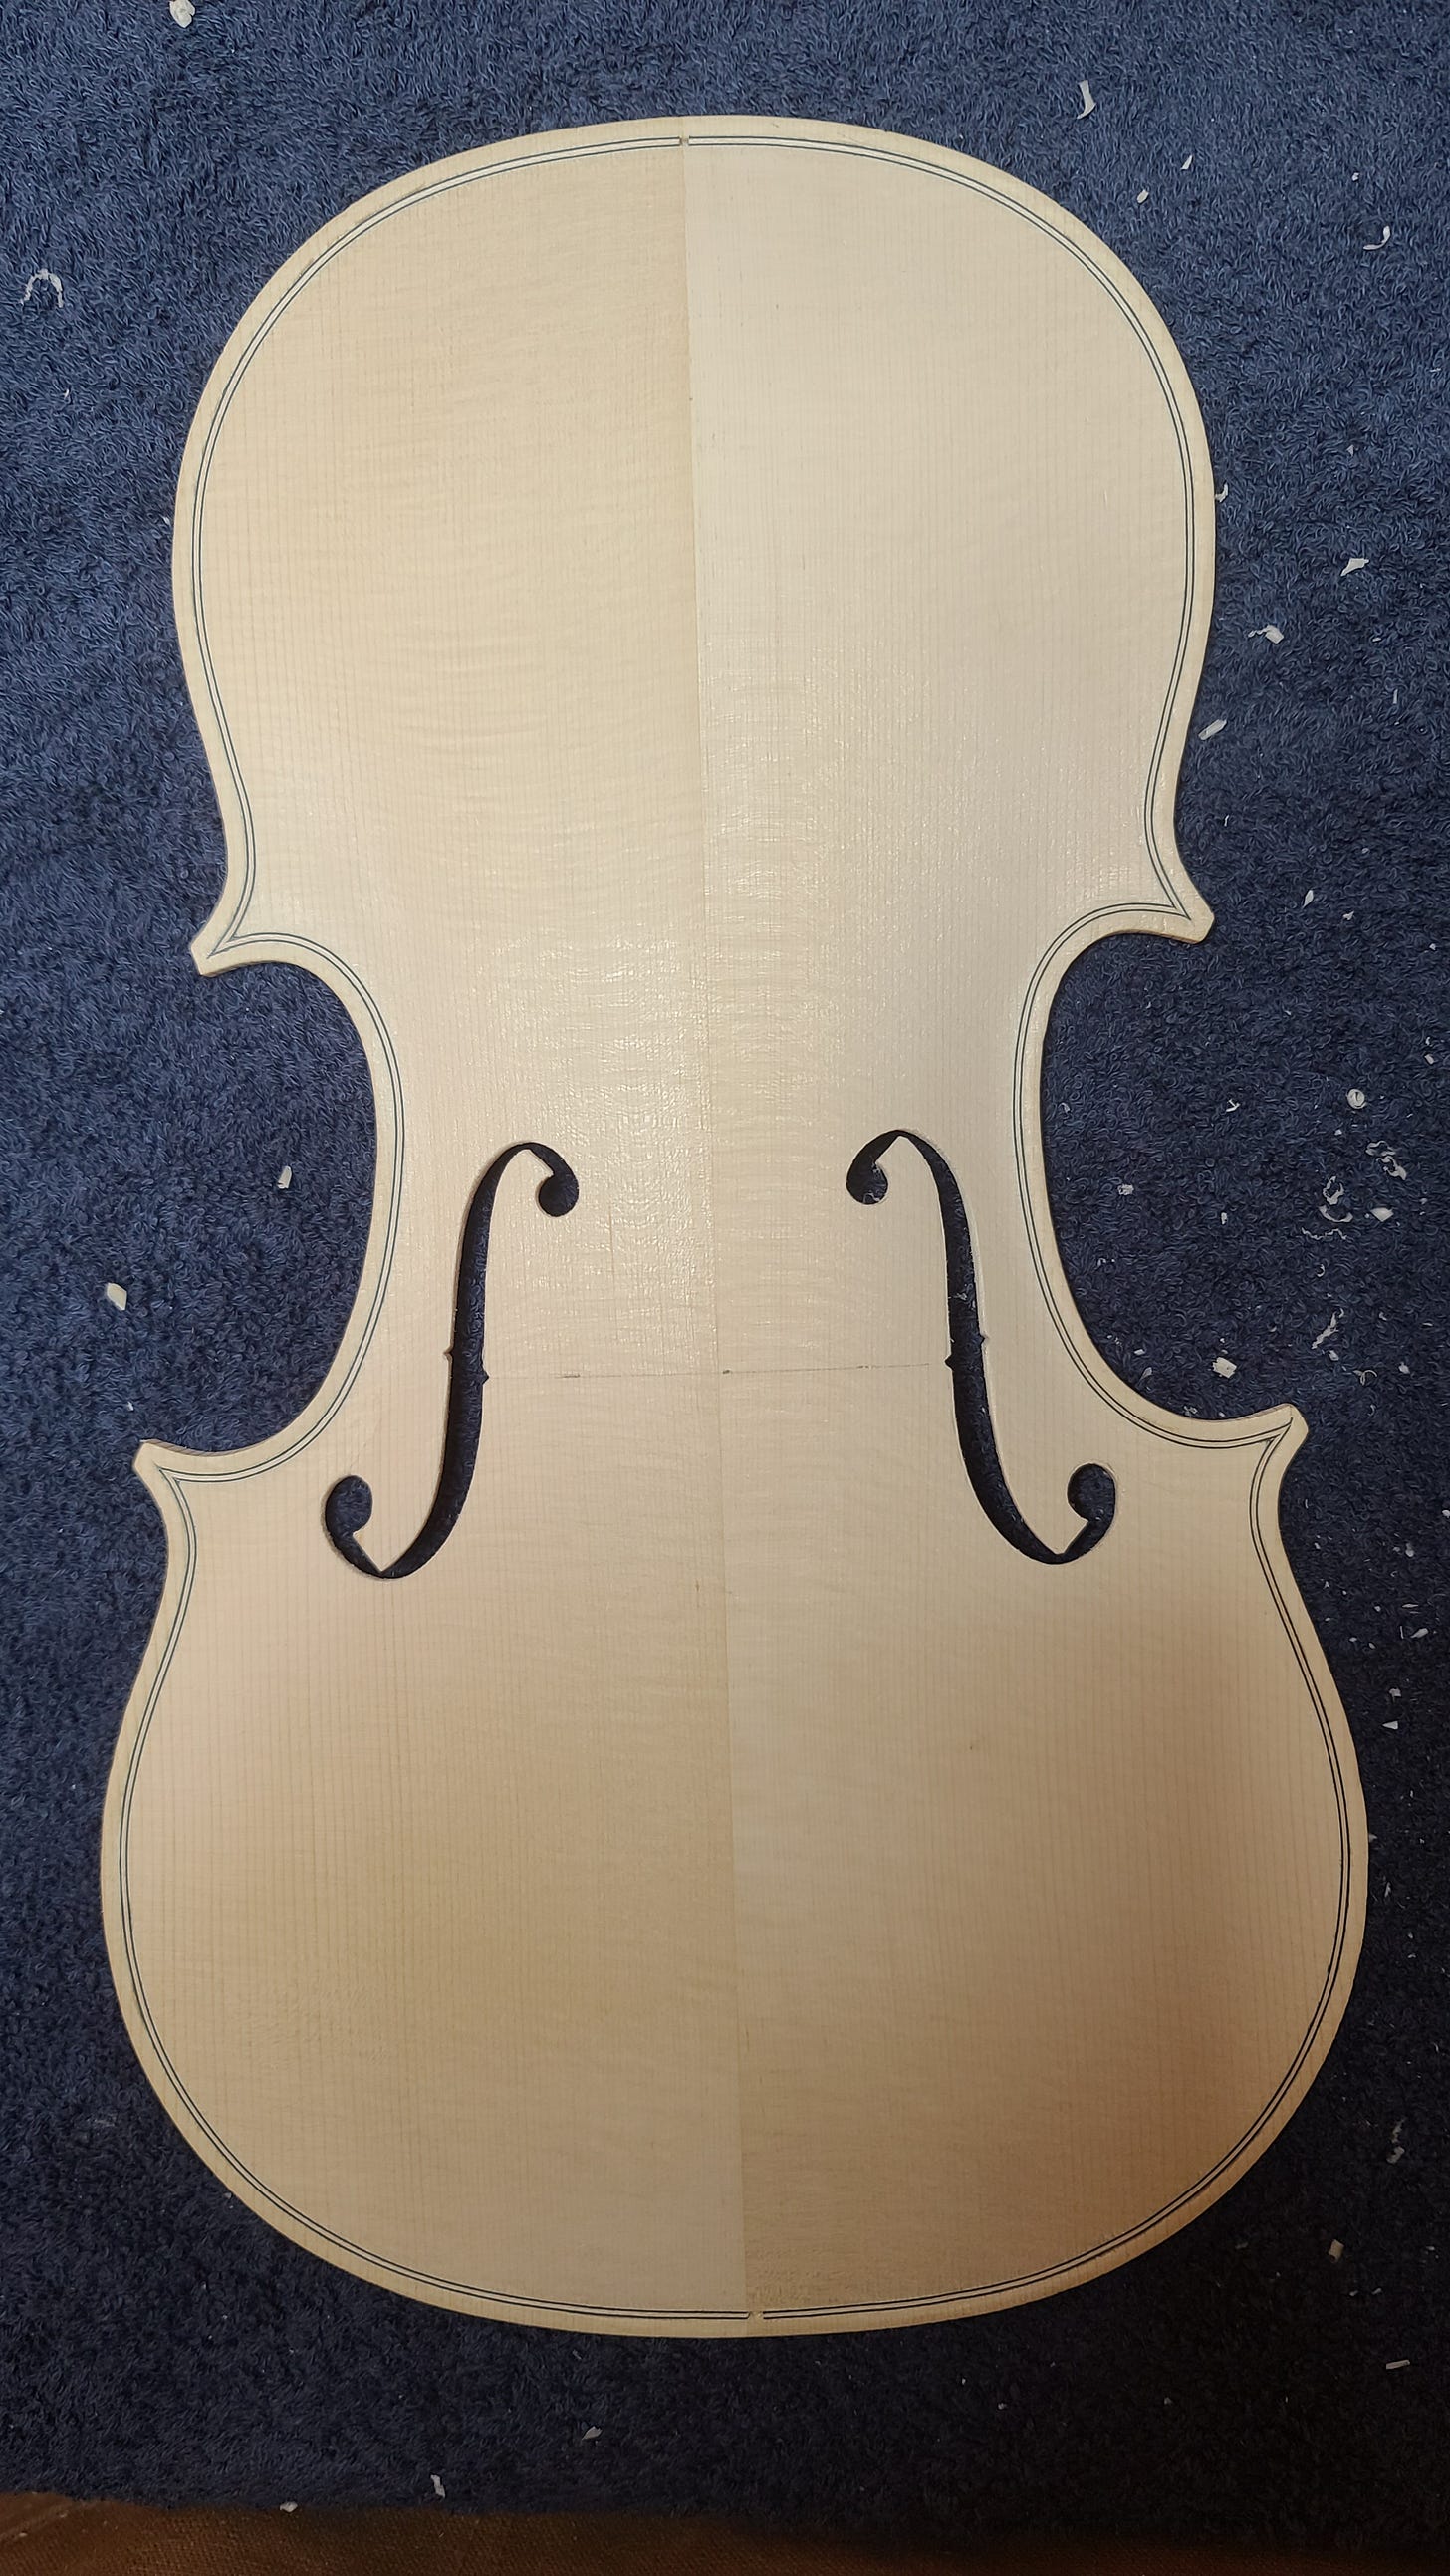
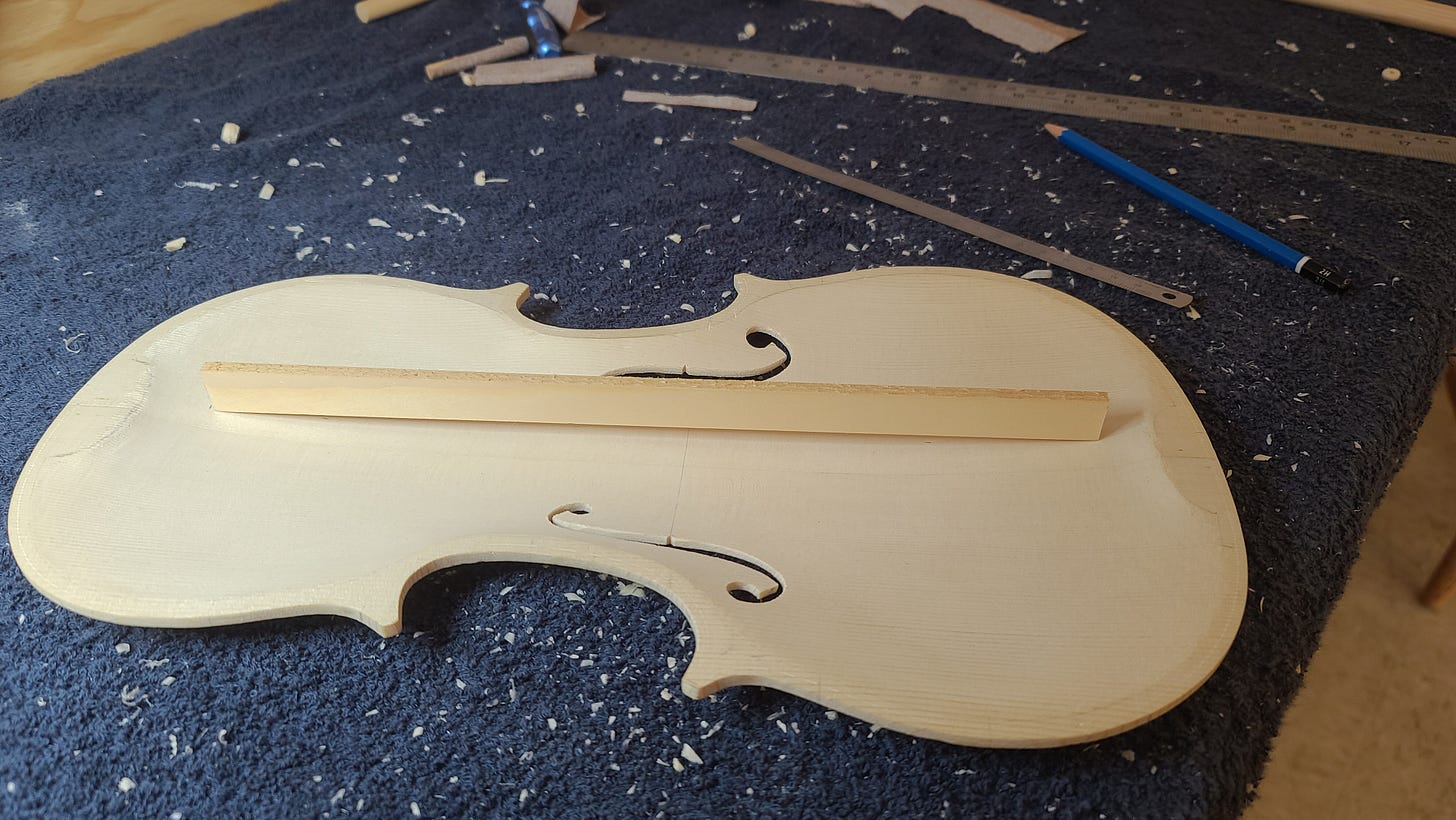
Here are my final f holes. I was pleased with them. It’s a pretty hard job to do really neatly. It was very satisfying. I’m looking forward to getting better at it.
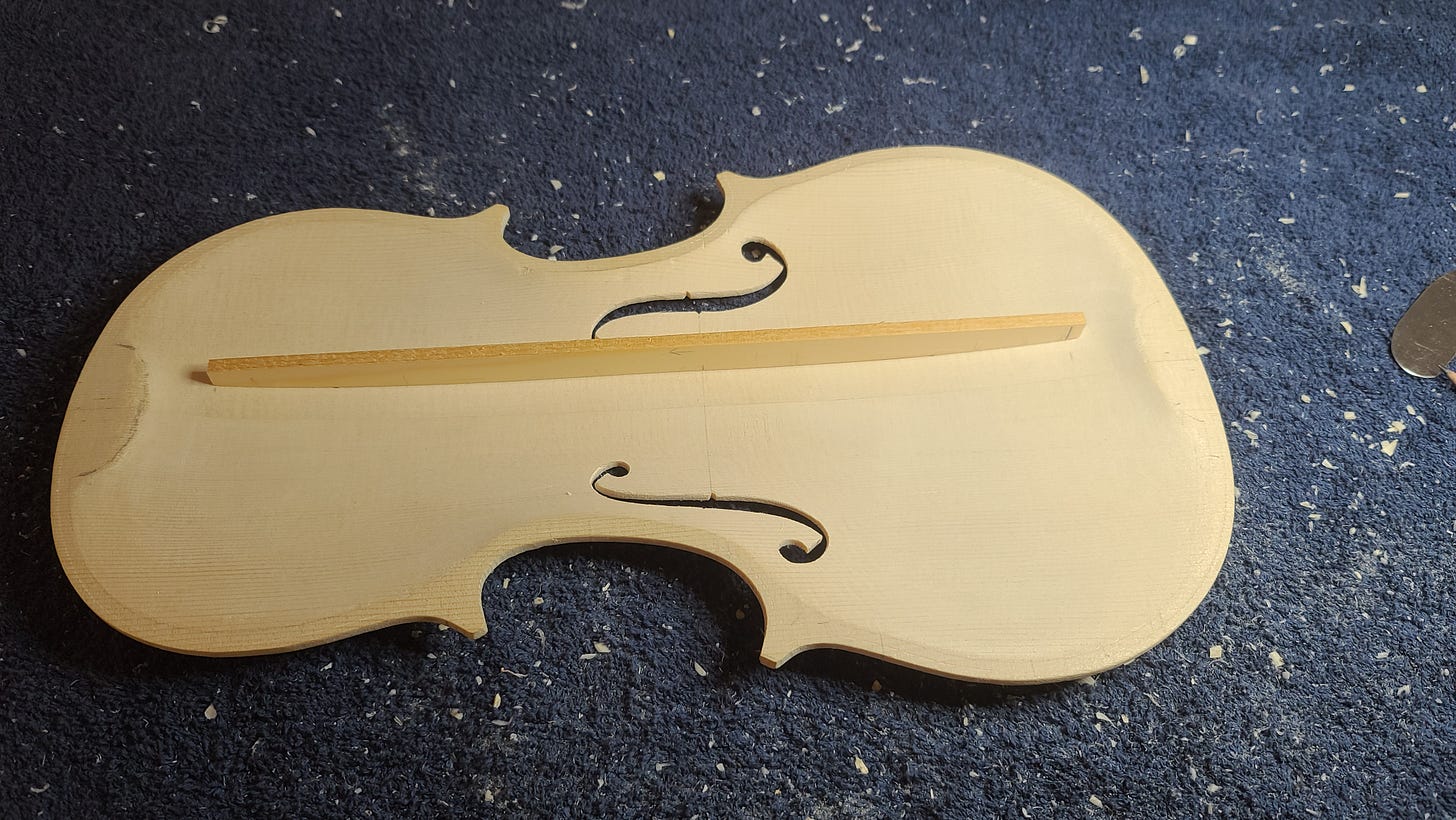
Next came the start of the dreaded bass bar. As mentioned in a previous post, fitting the bass bar is one of the most difficult tasks in the violin making process. The bass bar acts as a girder to strengthen the top against the pressure of the left foot of the bridge, just as the sound post (which we will get to) does against the pressure of the right foot. The bass bar is also critical for the sound of the violin. As the top vibrates, the bass bar adds to the resonating of lower pitches.
What is so tricky about the bass bar is that it has to be shaped to sit perfectly against the shape of the inside of the top. If done well, it should look seamless, like the bass bar is part of the same piece of wood as the top.
It starts like this.
Then, it is curved to roughly fit.
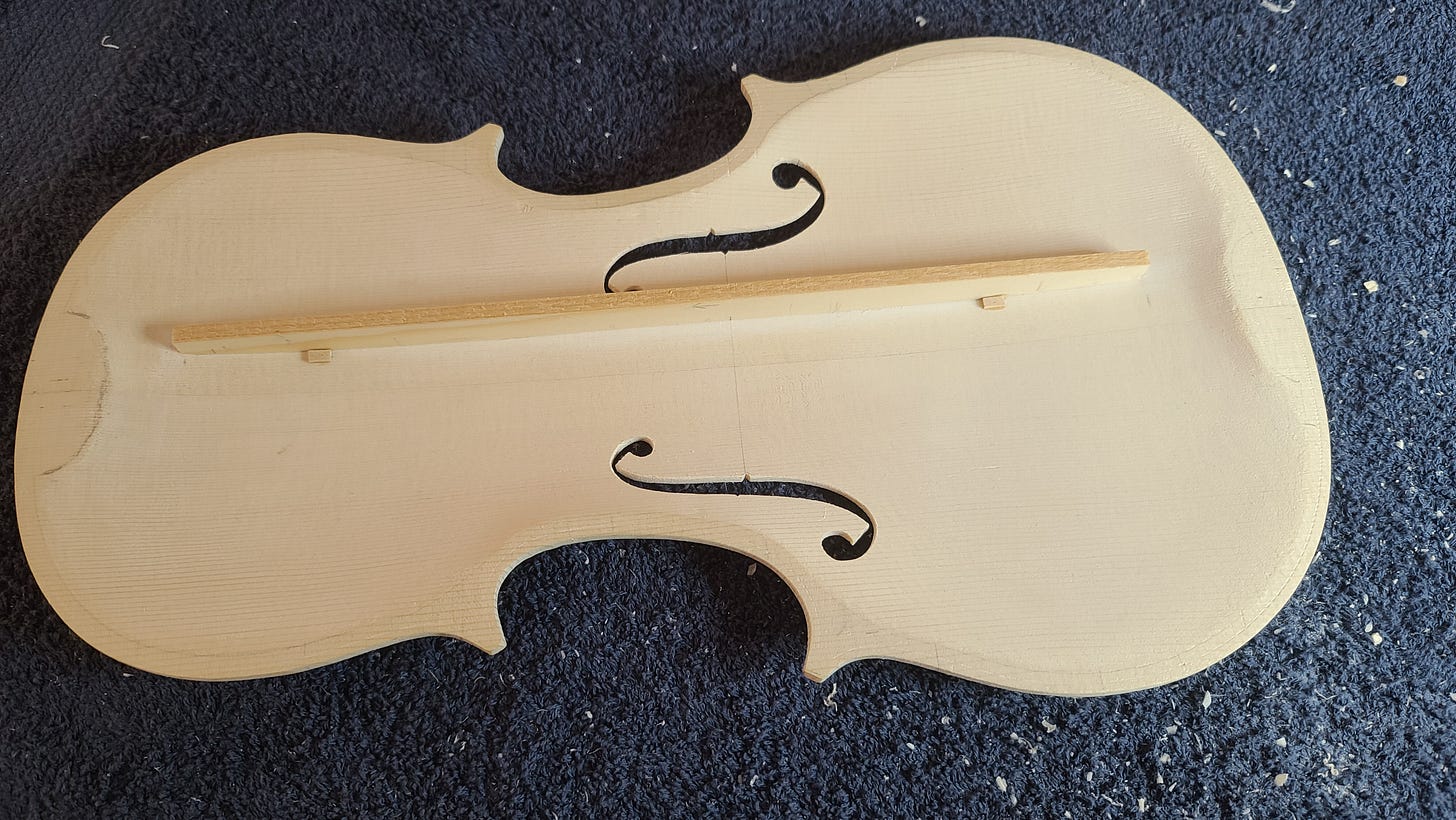
Small wooden cleats are temporarily glued in so that each time the bass bar is tested for shape, it is put back in exactly the same place.
This is as far as I got this week. I am expecting the bass bar to take a number of days to finish, with minute pieces of wood removed with a finger plane, file and scraper until it fits perfectly and is ready to be glued in. I’m both looking forward to and dreading the challenge.
Michael Duschenes is a student at the Canadian Violin Making Institute


Very impressive F holes. Your repair is impressive.
That was a bit tense, Michael! Bravo.